
When it comes to making delicious treats from from fresh-picked garden vegetables, turning fresh-picked cucumbers into homemade dill pickles is certainly high on the list of favorites.
Cucumbers are the second most-planted home garden crop behind tomatoes. And quite certainly, making pickles is part of the reason they are so popular.


Every growing season, we try to pass on a few all-time favorite garden recipes. Such was the case last year with Granny’s famous Southern Ice Box Pickle recipe last year. In fact, it turned out to be a big favorite for many.
So with that in mind, we’ll keep the pickle recipe theme going this year with a classic, crunchy dill pickle recipe
Crispy Homemade Dill Pickle Recipe
This recipe makes approximately 3 to 4 pints. It can be adjusted in equal portions to create the quantity desired.
Ingredient List:
- 3 lbs. pickling cucumbers
- 1.5 cups white vinegar
- 1.5 cups water
- 2 Tbsp. pickling salt
- 4 garlic cloves peeled
- 3.5 tsp. dill seeds
- 1.75 tsp. whole black peppercorns
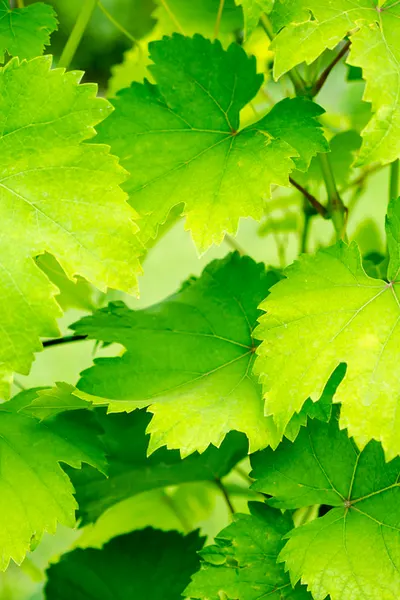
- 4 large fresh grape leaves
As with any home canning, always begin by washing and sterilizing your jars. Be sure to keep them hot prior to filling for the water bath method.

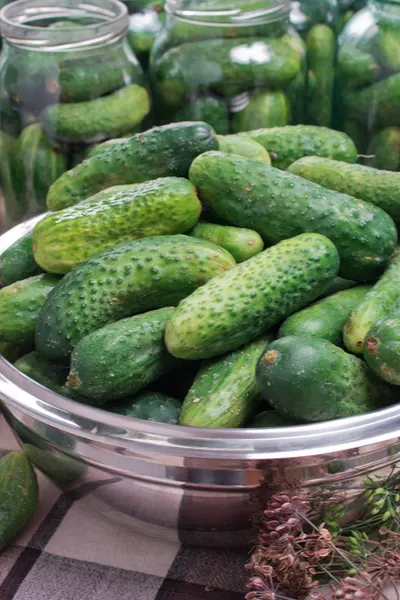
Before preparing your cucumbers, begin to heat the water bath so it is ready for your filled jars. Wash the cucumbers thoroughly, taking care to scrub the outer skin to remove any dirt.
Cut the ends from the cucumber and portion into slices, chunks or spears. Next, bring the vinegar, water and salt to a boil in a medium saucepan.
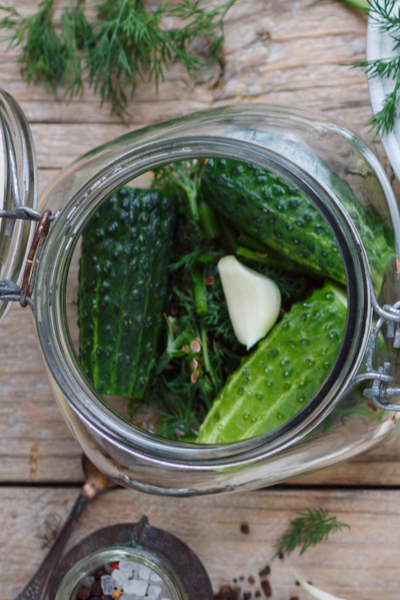
Now it is time to fill the jars! In the bottom of each jar, place a teaspoon of dill seed, 1/2 teaspoon of the peppercorns, and 1 garlic clove. Next, pack your cucumbers tightly into each jar.
Adding The Brine – Making Homemade Dill Pickles
Once the cucumbers are in tightly, pour the hot brine into the jar. Be sure to leave 1/4″ of head space at the top of each jar.

Next, insert a plastic knife around the inside of the jar to release any air pockets. To complete the jar packing, add 1/2 of a large grape leaf inside on the top each jar. The grape helps keep the pickles crisp once canned.
Finish by wiping the top of the jar off with a clean, moist cloth, then add the canning lid and screw on the band.
Hot Water Bath
To can your homemade dill pickles, place the jars down into your hot water bath for 10 minutes at a rolling boil. (Timing will need to be adjusted for altitude, see: National Center For Home Preserving)

When the time is finished, lift jars from the canner bath with a jar lifter and place on a towel to cool for 12 to 24 hours.
When To Eat Those Homemade Dill Pickles
Before storing, check to make sure the jars are sealed. To do this, simply press down on the center of the lid. If it doesn’t ‘pop’, you are good to go. If you are able to press down on the lid, refrigerate and use within a few weeks.
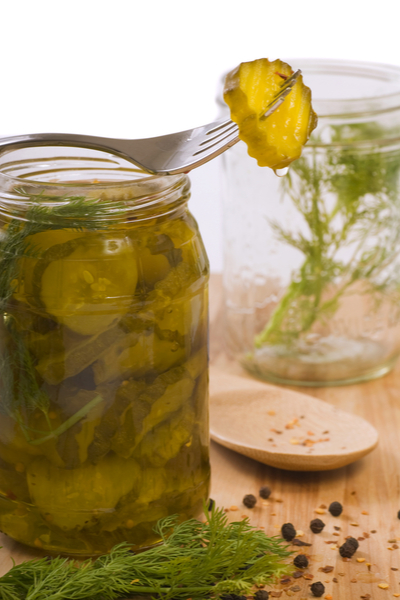

Although you will be eat the pickles right away, store them 2 to 4 weeks before opening. This allows the pickles to absorb the dill and seasonings to their fullest.
Be sure to check out our other straight-from-the-garden recipes on the Recipe Tab section on the website.
This Is My Garden is a website dedicated to spreading the love and knowledge of gardening around the world. We publish two new garden articles each week. This article may contain affiliate links.

