
When it comes to growing hardneck garlic, fall is the time for planting. And armed with a few key planting and growing tips, you can reap the rewards of an incredible harvest of garlic bulbs next summer to enjoy the whole year around!
There are two main types of garlic, softneck and hardneck. Both are certainly tasty and delicious, but each has their own unique characteristics. Softneck garlic tends to be smaller, but stores extremely well. Although hardneck does not store quite as long, it’s cloves tend to be larger, and more flavorful than softneck.
Softneck varieties grow best in warm, mild climates. You can plant softneck in the spring or fall, but it is far less hardy than hardneck. Therefore, if you have any kind of a winter – softneck garlic is not a good option for fall planting.

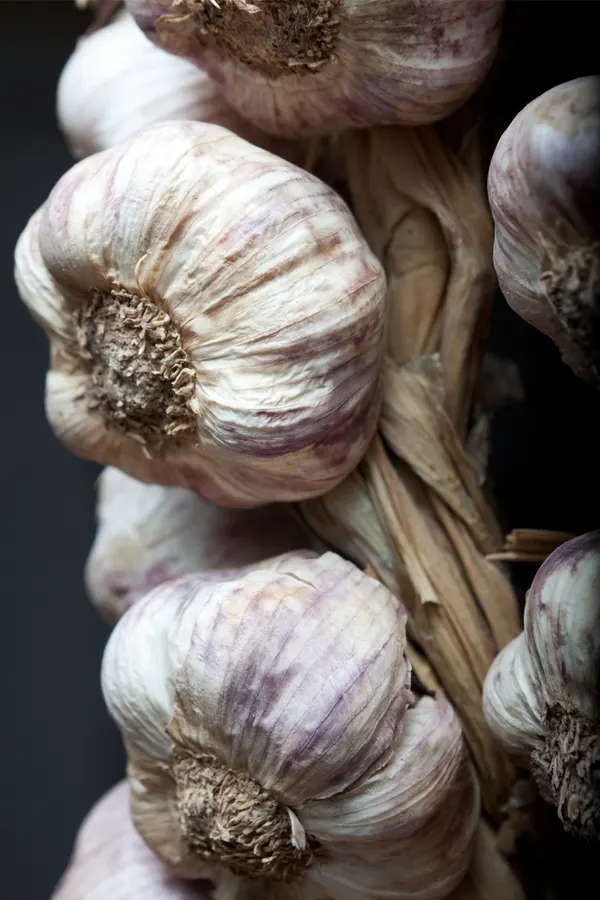
Hardneck garlic on the other hand is perfect for fall planting, even in climates with cold winters. In fact, it actually develops better flavor as it overwinters in the cold soil.
And that flavor is why so many true garlic aficionados point to hardneck garlic as the best garlic of all. With that in mind, here is a look at how to plant hardneck garlic this fall, and a few simple secrets that can help you get the most from your crop!
How To Plant Hardneck Garlic – The 5 Secrets To Success
#1) Knowing When To Plant Hardneck Garlic
The best time for planting hardneck garlic is in late summer or early fall. When to plant all depends on where you live, and how soon winter will arrive.
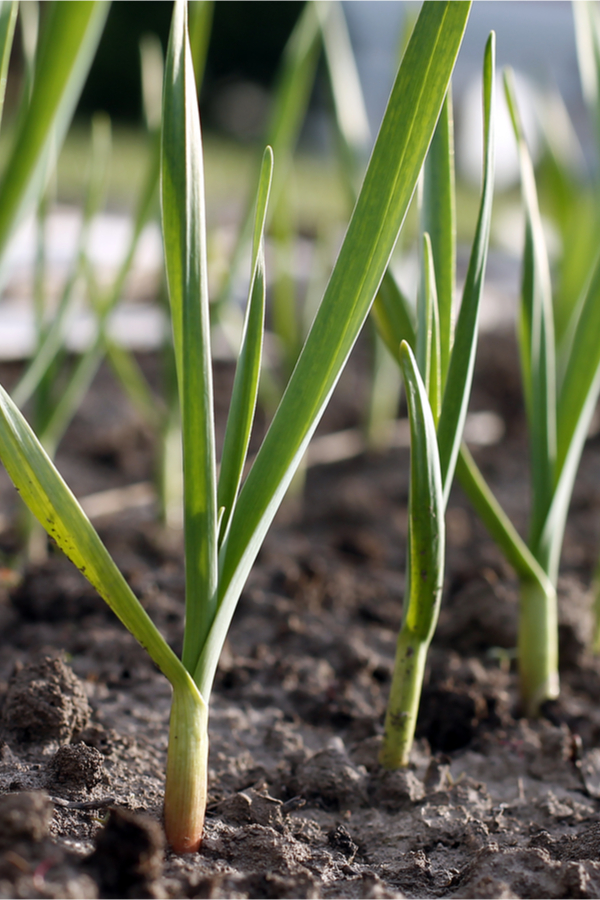
Hardneck garlic sprouts in the fall and will grow until the first frost. Much like planting fall onions, garlic needs to have at least four to six weeks of growth before the first hard frost hits.
This allows time for the cloves to germinate and establish in the soil before going dormant through the winter months. Making sure your garlic has enough time to establish roots is vital to its health and success.

If not enough roots grow before winter arrives, it can leave garlic vulnerable to freezing out over winter. In addition, little root growth in the fall will also lead to smaller bulbs during the next year’s summer harvest.
For best results, plant your garlic about 6 to 8 weeks before your area’s expected first frost date. This allows plenty of time for the garlic to set and grow even if there is an early frost.
#2) Purchase Good Seed Stock – How To Plant Hardneck Garlic
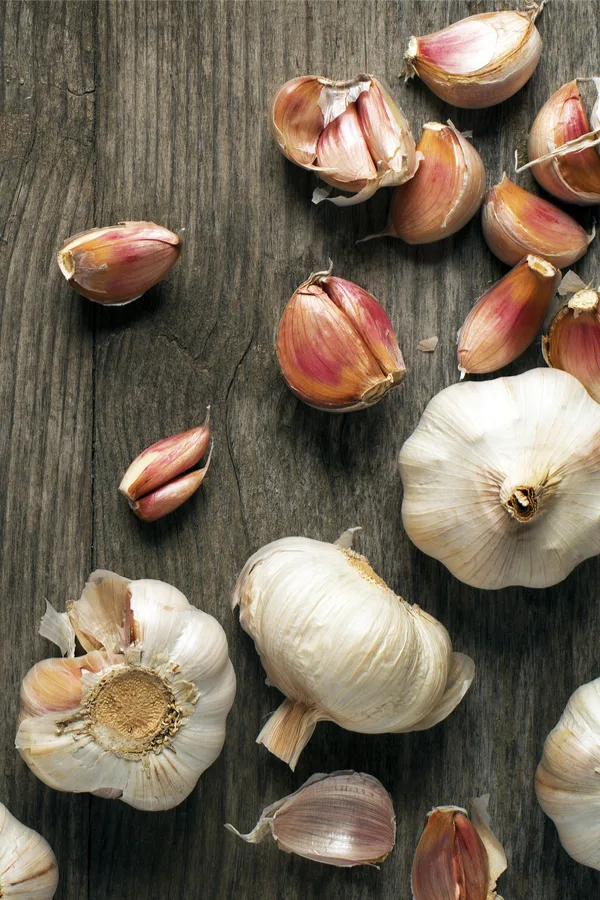
There are several options for purchasing your garlic bulbs for planting. Many local nurseries, greenhouses, or seed stores may carry hardneck garlic for planting.. You can also purchase locally-grown garlic at a farmers market to use as your initial seed.
There are also many on-line nurseries and seed stores that carry a wide selection of hardneck garlic bulbs for planting as well. SEED LINK : Siberian Hardneck Garlic Bulbs For Seed

What about garlic bulbs in a grocery store? It is actually best to avoid “grocery-store” garlic, as they are often shipped from distant locations and countries.
For one, the cloves may be treated with everything from pesticides to fungicides. In addition, it may be a variety that is not well-suited to your soil or growing conditions.
#3) Soak Before Planting – How To Plant Hardneck Garlic
One of the best way to ensure sprouting success is by soaking your cloves before planting. Soaking the cloves overnight in water helps to speed germination by hydrating the cloves.
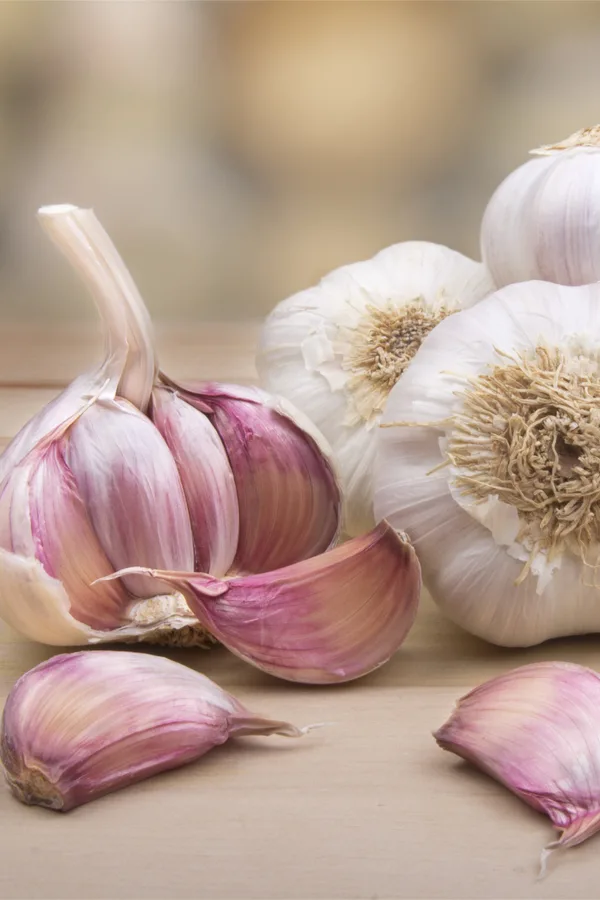
Each individual clove of a garlic head is a seed. To prepare the cloves for soaking, separate each clove carefully, keeping as much of the paper skin in tact as possible.
The outer paper casing protects the seed in the soil before it sprouts. By keeping as much of the papery skin in-tact, it helps prevent against rot and damage.

Next, fill a bowl or bucket with enough fresh water that will cover your garlic bulbs. Be sure to use well or distilled water and not city or treated water. Water that has been treated may contain chlorine, salt and other chemicals that can hinder germination.
Before adding in the garlic, mix in a teaspoon of baking soda to the water. It is thought by many to help increase germination rates and protect the crop against rot and disease. Soak the cloves overnight, or for at least 12 hours before planting.
#4) Prepare The Soil Properly – How To Plant Hardneck Garlic
You can plant garlic in raised beds, raised rows, or in a traditional garden set up. But no matter where you grow, it is vital to have fertile, well-draining soil. And as you will see below, the best way to provide that is with ample compost at planting time.
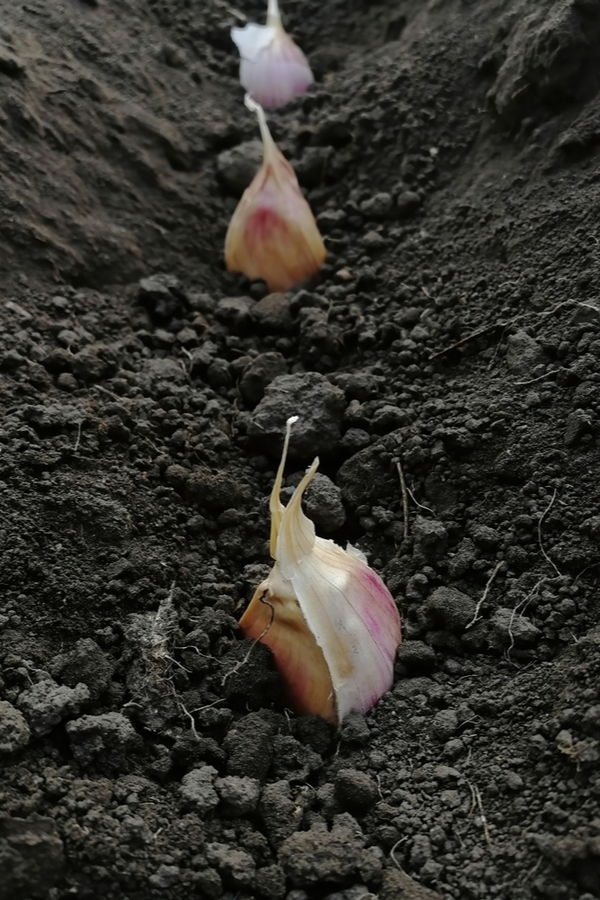
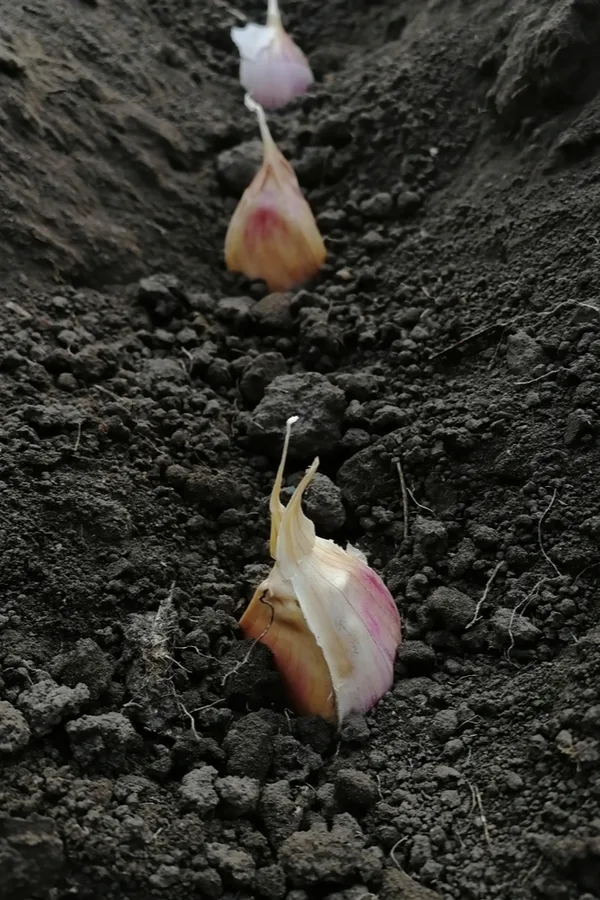
Plant garlic using the trench method. Begin by creating a trench 3 to 4 inches deep and a few inches wide. Next, fill the trench half-way up with compost. If you don’t have compost on hand, you can use a good potting soil mix to in the trench. See : How To Make Great Compost Fast
The compost (or potting soil) in the trench will provide plenty of loose and fertile soil for the garlic to grow. Plant each bulb down into the compost layer with the pointy end of the garlic clove facing up.
Cover the tips of the garlic with a few inches of soil, level to the surface. For multiple rows, space your garlic about four to six inches apart.
#5) Keep Competing Weeds At Bay – How To Plant Hardneck Garlic
If there is one thing that can hold your crop back from big bulbs and large yields, it is weeds. Weeds compete for the same nutrients your bulbs do. And by eliminating them, you allow all of the energy to go to creating bigger and tastier bulbs.
The best way to keep weeds at bay is with mulch. As soon as you plant your garlic, cover it with a few inches of straw or shredded leaves. This will keep weed seeds from blowing in, and keep moisture in the ground as well.
Check Out Our Podcast On Keeping Weeds Out!
Be sure to keep the crop well-watered, supplying water if it does not rain every three to four days until it germinates. Once the crop germinates, add a few more additional inches of mulch to insulate it through winter.
Garlic requires very little additional care. It will go dormant in the winter months once a few frosts or a hard freeze occurs. The plants will then spring back to life as warmer temperatures return early in the year.
The crop will be ready to harvest when the tops and foliage brown off. For most regions, this will occur somewhere between late June and late July.
Hang to dry for a few weeks in a cool dark area, and then clip off foliage to an inch above the bulb. The garlic will keep for 6 to 9 months, and the best of the bulbs can be kept and replanted in the fall for an even better crop!
Follow Our Facebook Page For Great Gardening Tips And Advice! This Is My Garden Facebook Page
This Is My Garden is a garden website created by gardeners, for gardeners. Jim and Mary Competti have been writing gardening, DIY and recipe articles and books and speaking for over 15 years from their 46 acre Ohio farm. They publish three articles every week, 52 weeks a year. Sign up today to follow via email, or follow along!

