
If you are looking for a simple way to grow vegetables, flowers and herbs – all without the space and time commitment a conventional garden requires, a 5 gallon bucket garden is the perfect answer!
Container gardening continues to grow in popularity each and every year. Not only does it allow those who might not have the space or time for a big garden the opportunity to grow, it’s also a great way for gardeners with physical restrictions or limitations to enjoy it as well.
Growing in containers eliminates many of the tedious garden chores that can be both time consuming and back-breaking. And it can even be more accessible if you raise up the containers with a plant stand or planter box.


But to create the perfect container garden, you don’t need to invest in expensive containers. Not when an ordinary 5 gallon bucket will do the job incredibly well. The 5 gallon bucket really is the perfect growing vessel for almost any type of plant.
The Perfect Size For Growing
With plenty of depth and circumference for soil space and growing area, it allows a big range for growing – from all kinds of vegetable plants, to beautiful annuals, perennials, herbs and more.
Even better, as you’ll see below, they are easy to dress up with simple homemade bucket planter boxes. They can certainly turn a simple 5 gallon bucket into a living work of art! But let’s first take a look at how to turn and ordinary bucket into a growing machine:
How To Garden In 5 Gallon Buckets
Creating A Planter From A 5 Gallon Bucket
Turning a 5 gallon bucket into the perfect growing container is extremely easy. Most importantly, always be sure to start by selecting a bucket that is labeled as BPA free or food grade. This ensures the plastic is safe and will not leach any dangerous or harmful chemical into your plants.
Luckily, nearly all stores now carry BPA free / food grade buckets. We actually have purchased many of ours from Tractor Supply. Their base branded bucket is 100% BPA free.
But you can certainly now find them in many stores and they are all quite economical. Especially whey you compare the buckets to the cost of conventional containers and pots that can be $20 or more!

Creating Drainage For Your Buckets – How To Garden In 5 Gallon Buckets
Once you have your bucket or buckets in hand, it’s time to turn them into growing containers. And that means drilling a few holes to allow for excess water to drain away.
Nothing will kill plants faster than water-logging their roots. And without creating a way for water to escape the bottom of the bucket, that is exactly what will happen.
To create good drainage, you will need to drill holes in the bottom of your bucket, and a few on the sides near the bottom. The bottom holes might seem obvious, but drilling four more equally spaced holes around the bottom sides (about 1″ up from the bottom) are equally important. (See photo below for hole placement)
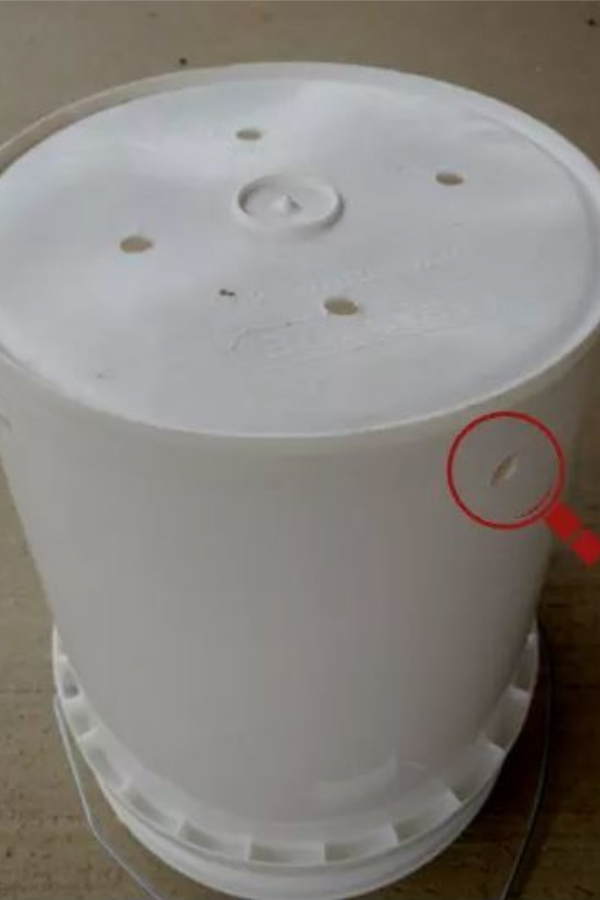
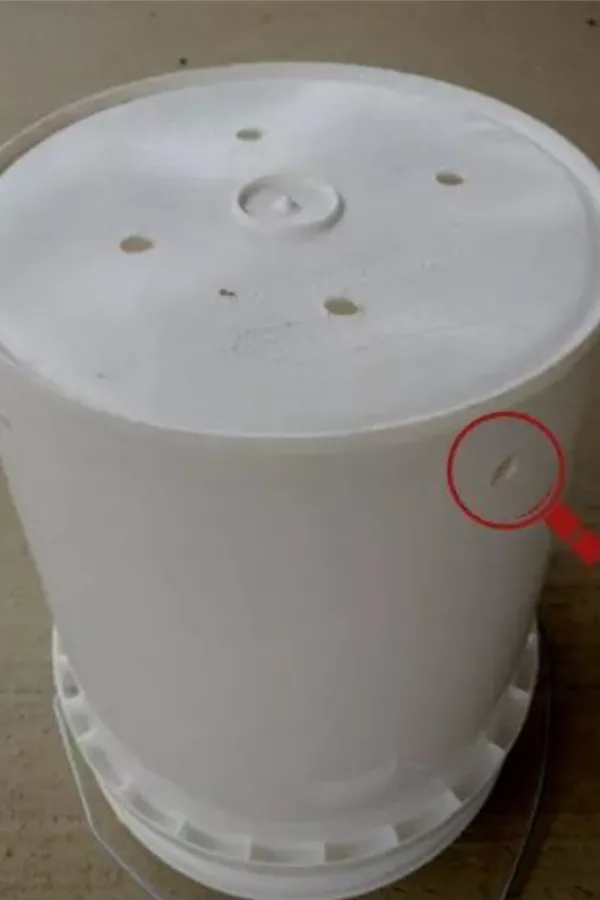
These holes allow for excess moisture to weep out, especially if the bottom holes might become blocked. To create each hole, use a 1/2″ or 3/4″ drill bit and slowly drill through the plastic. Drill slowly to avoid splitting or cracking the buckets.
Filling Your Bucket For Growing – Drainage Material
Now that your holes are in place, it is time to fill the bucket for growing success. That all starts by adding a bit of drainage material at the bottom. This can be anything from a shovel full of gravel or pebbles, to small twigs or bark mulch chips.
Without adding this to the bottom, the soil can plug up the holes and water can become trapped. This is a great idea to add in any pot or container you grow in to allow water to easily drain away.
Fill the bottom of your bucket up with about 3″ of material for best results. We like to use wood chips because they are light and easy to find. They also break down in the soil over time, and can be added into the compost pile at season’s end.
Filling Your Buckets With Potting Soil – How To Garden In 5 Gallon Buckets
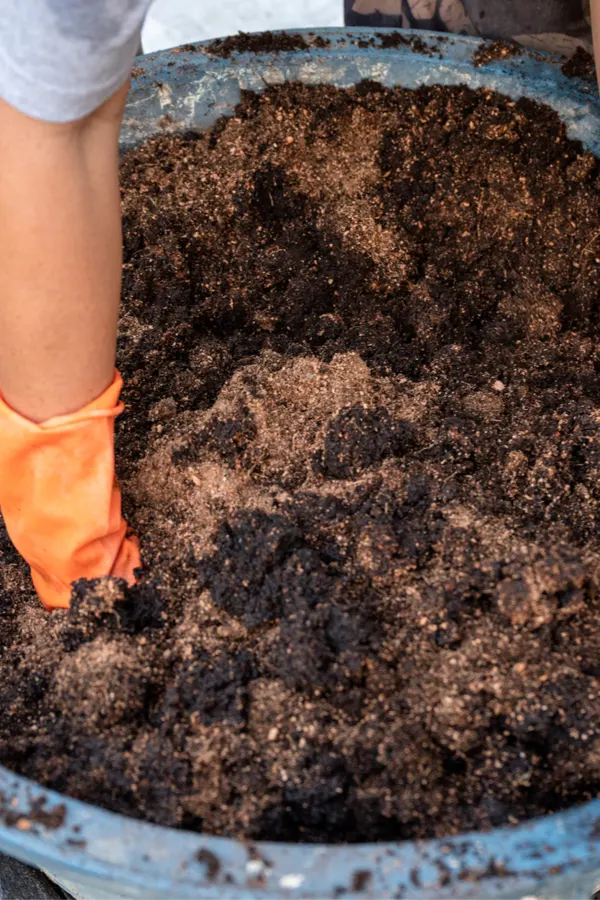
Next, it’s time to fill your buckets with potting soil. And is it ever important to make sure that soil is fertile, well-draining and loose! Although ordinary potting soils are available, we like adding in a bit of compost, perlite and worm castings to our soil to lighten it up and provide it with plenty of additional nutrients.
The compost and worm castings really add serious power to the soil. And it’s hard to beat the benefits of adding all-natural Perlite to your potting mix. Perlite is the white, popcorn-like substance you find in many potting soils.
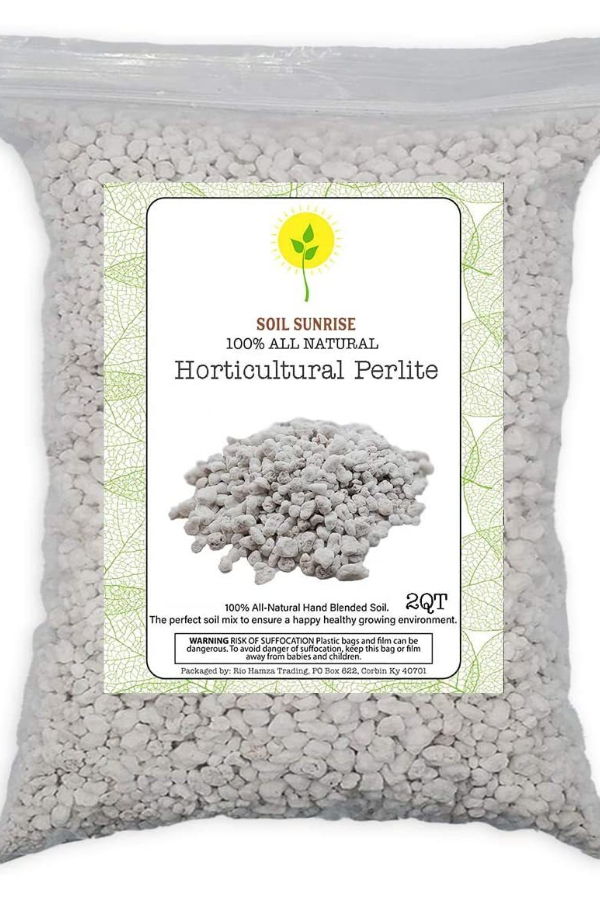
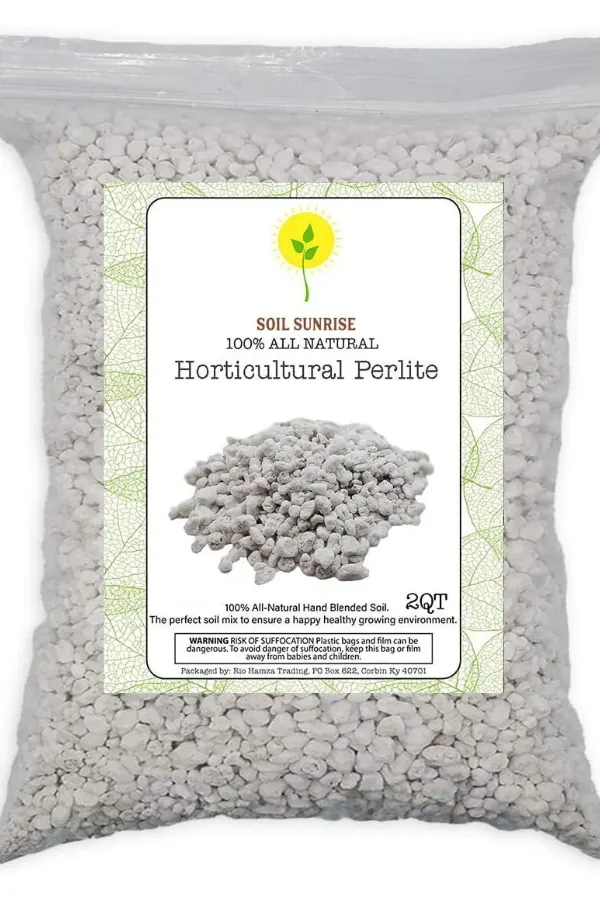
It keeps soil loose and allows for good drainage, all while lightening the weight of the soil. For more on our exact potting soil mix, see: How To Create The Best Organic Potting Soil For Growing Vegetables.
Filling The Buckets
At 14 inches high, and 12″ in diameter, you will need about .75 cubic feet of potting soil to fill each bucket. That total of course can vary a bit by how much drainage material you place in the bottom of each bucket. A good rule of thumb is that for each 2 cubic foot bag of potting soil, you can fill (3) 5 gallon buckets.
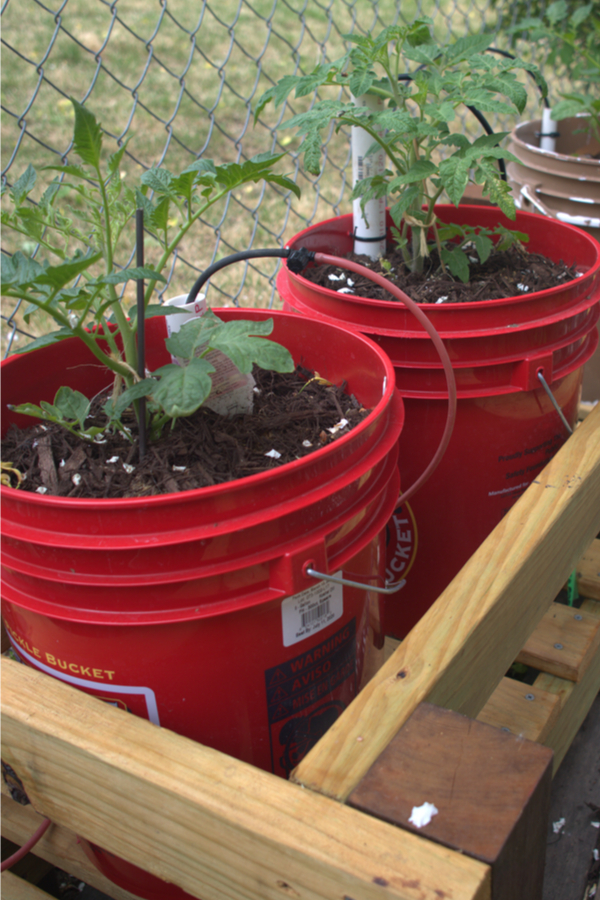
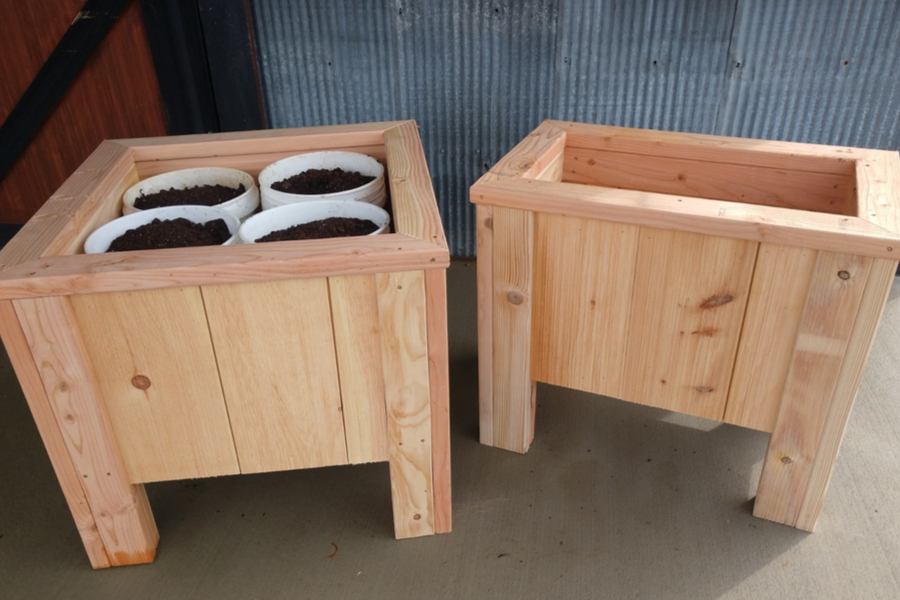
Although the buckets can be left to grow in the open, covering them or placing them in a diy planter box can make them quite attractive. It also can allow for trellises and supports to easily be attached for tomatoes, peppers, cucumbers and other plants that need a bit of support.
We use our DIY bucket planters that can hold (2) or (4) buckets at a time to create attractive planters that look great on the patio, or out in the yard! (See: 5 Gallon Bucket Planter Boxes)
Once your buckets are filled – it’s time to for planting. Now it all comes down to knowing how to water and fertilize your plants!
Watering & Fertilizing – Gardening In 5 Gallon Buckets
Watering
When it comes to watering containers, you will certainly need to water more often than in a traditional garden setting. Most 5 gallon bucket plants will be more than productive with daily or every other day watering.

The important thing is to not over-water. When watering, water deep to allow for the roots to grow deep. Check the soil about 2″ down for moisture. If it is dry, it’s time to water. If not, then back off to allow the buckets to drain excess water.
Fertilizing
With any type of container gardening, fertilizing is a must for consistent, strong growth. No matter how rich and fertile the soil is at the start of the growing season, a plant will consume much of the soil’s resources as it matures.
This is especially true when growing heavy feeders like tomato or pepper plants. But even if you are growing flowers, it’s important to add excess nutrients for better blooms.
The real key to success when fertilizing container plants is to provide a slow, steady diet of nutrients. Giving plants too much power too quickly can promote too much foliage, and not enough blooms or fruit.
For best results, fertilize your buckets every 2 to 3 weeks with compost tea or a light solution of organic liquid fertilizer. If growing vegetables, cease fertilizing once the fruits have begun to form in full. This will keep the plants from growing foliage, and not producing blooms and fruit.
End Of The Season Maintenance – Gardening In 5 Gallon Buckets
Perhaps one of the best features of growing in buckets is that the end of the season clean-up couldn’t be easier. Instead of having to clear an entire garden, you can simply pull your plants and empty your buckets!
The plant and soil material from the buckets are the perfect addition to a compost pile. As it incorporates with the additional materials in the pile, it recharges and rejuvenates over the winter.

As next year rolls around, it can be incorporated back into your buckets along with fresh potting soil. It truly is the perfect circle of revitalizing soil with compost!
Before putting your buckets in storage for the winter months, take time to rinse them out thoroughly. It is also a great idea to wipe them down with a weak bleach / water solution to kill off any bacteria that might be present.
Here is to growing vegetables in 5 gallon buckets, and to growing a garden no matter where you live!
This Is My Garden is a website dedicated to spreading the love and knowledge of gardening around the world. We publish two new garden articles each week. This article may contain affiliate links.

