
Looking for a few great ways to make your pumpkins last longer this fall? We have you covered today – whether you are using whole pumpkins for your displays, or even carving them up!
Nothing helps create a perfect autumn display like a few pumpkins thrown in the mix. Whether left natural, painted brightly with an autumn theme, or even carved into ghostly shapes, fall just wouldn’t be the same without them.
The only problem is getting them to last through the entire season. There is nothing worse than watching the pumpkins in your beautiful autumn display start to shrivel up and rot away. Especially when there are still a few weeks left to go during the decorating season.

But it doesn’t have to be that way! In fact, with just a few little tips and tricks, you can keep any of your fall gourds strong all the way through the decorating season. Here is a look at how to best preserve these iconic fall symbols – no matter how you use them!
How To Make Pumpkins Last Longer!
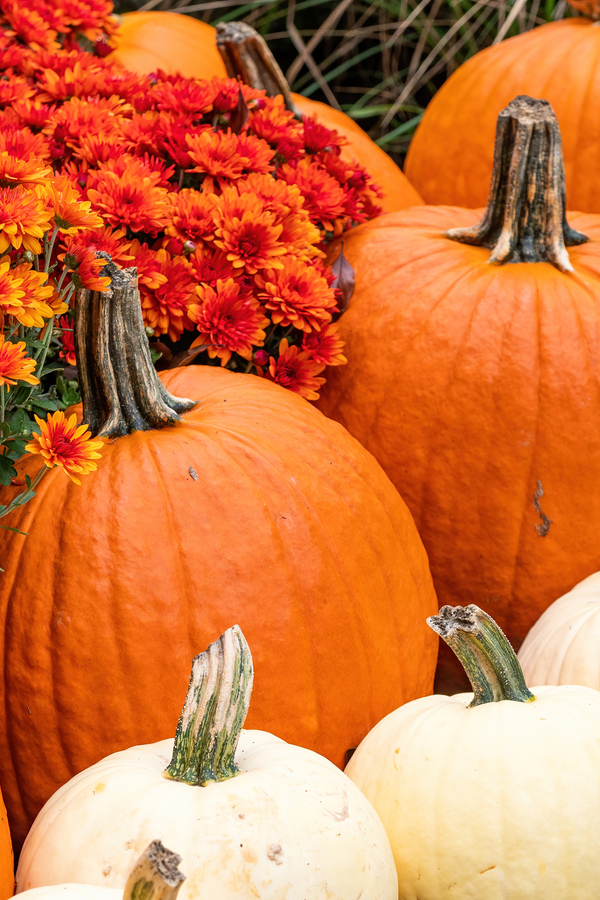
Select Gourds That Will Last
No matter how you decorate, longevity all begins with selecting healthy pumpkins. And the best way to determine if any squash or gourd is healthy is by checking out the stem.
Select only pumpkins with firm stems that are at least a few inches long. Missing, small, or a loose or decaying stem spells early trouble. Once a stems has been damaged, it will quickly lose its firmness, and in the process rot at a much faster pace.


At the same time, be sure to avoid any pumpkins with dents, bruises, or obvious signs of distress. Just like with any vegetables or fruit, blemishes on the outer skin deteriorate quickly. A deep nick, scratch or a soft spot is an open invitation for decay to accelerate.
Preserving Whole, Painted & Carved Pumpkins
Depending if you will be carving, painting or keeping your little gourd plain and simple, the approach to preserving will be a bit different. Here is a look at the best method for preserving based on how it will be displayed:
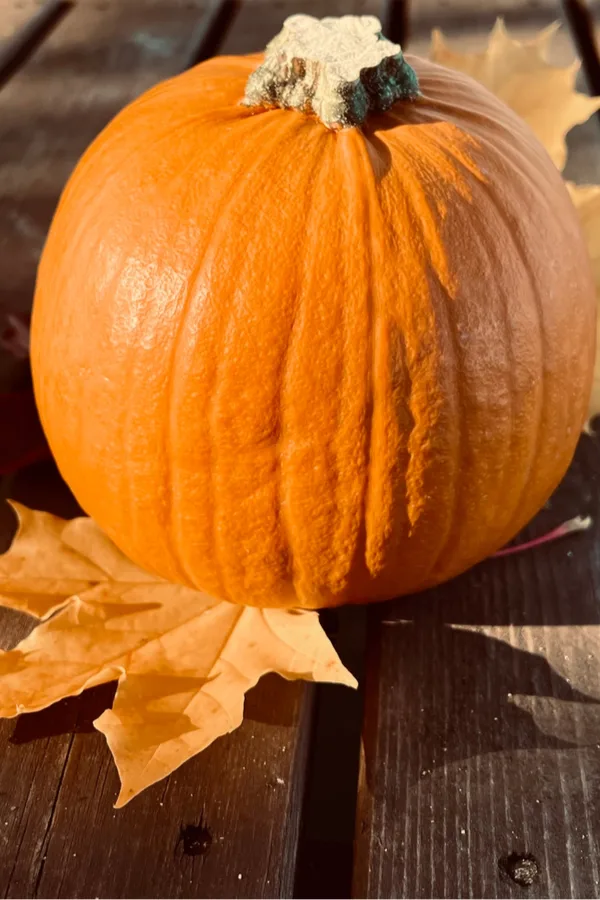
Preserving Natural Whole Pumpkins
If you will be keeping your pumpkin whole, preserving is a snap. In fact, with a simple two-part process, you can keep a healthy pumpkin looking great for a few months with ease!
Start by wiping your pumpkin down with a light solution of bleach and water. A few teaspoons mixed with a gallon of water works great to create an effective mix.
The bleach will kill any fungus and other bacteria on the outside that can lead to premature rotting. As always, remember when using bleach to wear protective gloves, eye wear and clothing.

Allow the bleach to dry, and then rub down the entire pumpkin with a good coating of mineral oil. Mineral oil acts as a preservative, helping to seal and keep moisture out. Not only that, it will make your pumpkin shiny and bright as well! Product Link : Mineral Oil
Although mineral oil is one of the best choices, you can also use vegetable oil, olive oil, or even a good car wax as an alternative.
Painted Pumpkins
Here’s the great news about painting pumpkins – it actually helps to preserve them naturally! The paint acts much like the mineral oil and a natural shield to keep moisture out.
Before painting, wash your gourd in the bleach solution as you would with leaving it plain. If there is any bacteria present, the paint can actually trap it in. This can cause it to rot out even faster than if it were left plain.

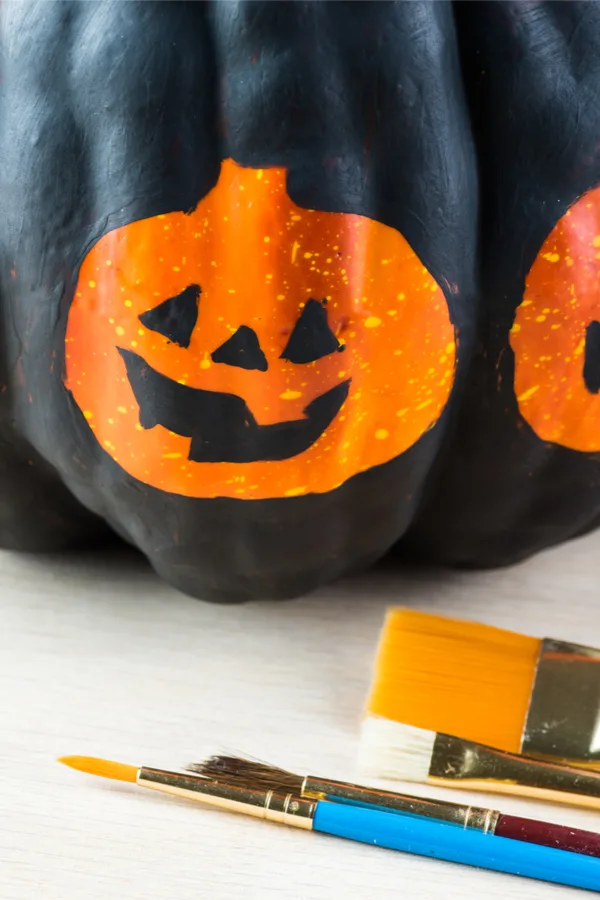
Once you paint your design and it has dried, add a final coat of mineral oil or wax on top to help protect the pumpkin, the paint, and make it shiny and bright.
Keeping Carved Pumpkins At Their Best
One thing is for sure. no matter what, once a pumpkin is cut, so is it’s life expectancy. With that said, however, there are ways to help preserve carved gourds for up to seven days or more. And that is far better than the usual two to three days!
First, carve your design. Next, after carving, rinse the inside out completely with water. Be careful to remove all of the loose pumpkin pulp as this will be the first to rot. As it does, it can quickly take the rest of the flesh with it.


Next, fill a container that is large enough to submerge your carved pumpkin. Use two teaspoons of bleach for every gallon of water needed. Again, be sure to wear protective gloves, glasses and clothing when working with bleach.
Keep it completely submerged under the water / bleach mixture for 3 minutes. Allow it to air dry to keep the bleach solution in tact on the pumpkin.
Finally, finish by rubbing mineral oil over all surfaces, inside and out. With this simple process, you will be amazed at just how much longer your carved pumpkins last.
Here is to enjoying your pumpkins longer than ever this autumn season! For more fall gardening ideas, check out our Fall Garden & Landscape category on the blog!
Follow Our Facebook Page For Great Gardening Tips And Advice! This Is My Garden Facebook Page
This Is My Garden is a garden website created by gardeners, for gardeners. Jim and Mary Competti have been writing gardening, DIY and recipe articles and books and speaking for over 15 years from their 46 acre Ohio farm. They publish three articles every week, 52 weeks a year. Sign up today to follow via email, or follow along!

