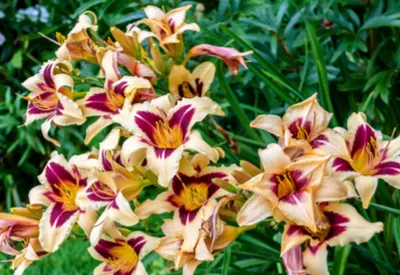
Yes, summertime really is the perfect time for dividing hostas and daylilies!
Many think that the summer heat is simply too hot to split and divide perennials from the landscape. This is indeed true for some plants. Take for instance ornamental grasses. Splitting and replanting grasses while in full-growth mode can lead to instant death for the wispy perennials. They simply have too tough of a time re-establishing their root systems in the sweltering summer sun.
However, when it comes to dividing hostas and daylilies, two landscaping staples, it’s the perfect time to create new plants!

Dividing Hostas And Daylilies In The Summer

Although you can split plants in the spring and fall, there are a lot of advantages to dividing hostas and daylilies in the summer. For one, you can easily tell which plants are overgrown and need to be split. It can be hard to judge a perennials growth in the early spring before its foliage has come to life. But in mid-summer, spotting over-sized plants is a breeze.
Splitting and replanting in the summer also allows time for the plants to re-establish roots by fall. Setting the stage for full-growth during the following year. Unfortunately, when dividing in the fall, it can take the entire next year for plants to really take off.
Summer is also a great time to purchase and add in a few small new varieties of plants to grow for future splits. Plant Links : 6 Plant Hosta Mixed Plant Variety
How To Divide Plants In The Summer
Dividing in the summer is a bit different from spring and fall splitting. Understand that once you dig up plants, it will take a few weeks for the root system to spring forth new foliage.
Don’t be alarmed as plants will lose all of their existing foliage. As the current growth dies off, fresh shoots will appear at the base of the plants as they re-establish growth.

Step 1 : Choose mature and / or overgrown plants to maximize the yield of new starts. Start by cutting the foliage of the plant down to around 2″ from the ground. This makes it easier when it comes time to split.
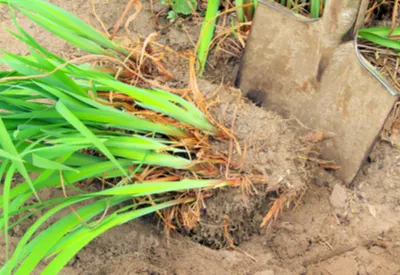
Dig up the entire plant, being sure to remove the entire root ball. For severely overgrown plants, dig around the edge of the whole plant to help loosen the roots from the ground.
Step 2 : Turn the plant over so that the flat, cut portion of the foliage is now laying on the ground with the root ball exposed. Use a sharp shovel or axe to slice the plants into new divisions. The axe works really well as a plant splitter, cutting roots quick, clean, and with ease. Product Link : Splitting Axe
Leave a minimum of one square inch of root ball for each new plant you would like to create. Two to three-inch cuttings are ideal for 6 to 8″ plant when re-established.
Depending on the size of the original, you can usually get 6 to 12 new plants with each plant divided.
Replanting The New Transplants

Step 3 : Dig new planting holes deep enough to plant roots along with 1″ of the existing top foliage underneath the soil. By planting a bit of the foliage under the soil, it helps to keep roots “mulched” and protected while they establish new growth. The remaining foliage on top will brown and die off completely as new growth slowly emerges.
Water at the time of planting, and continue to water every few days until new foliage begins to appear.
Potting Up Extra Plants
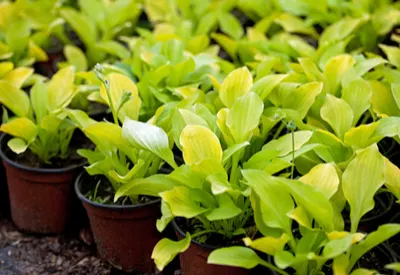
If you are not quite sure where to put all of your new plants, you can pot them up to give to friends, or to use later as needed.
Plant the roots of cuttings in pots, making sure pots are deep enough to plant the existing foliage at least 1/2 inch deep in the soil. Place pots outdoors in an area that receives at least partial sun. Water the cuttings every other day until new growth appears. At any point in the process, you can simply pop out the transplants and plant them. If overwintering, it is always a good idea to bring potted plants into your garage or barn for added protection. Be sure to check out more great info on our Perennials category on the website. See : Perennials Tab
Contribute To This Is My Garden
Share your backyard garden or gardening tip on This Is My Garden! Email us today at info@thisismygarden.com, and you could be our next feature! This article may contain affiliate links.
