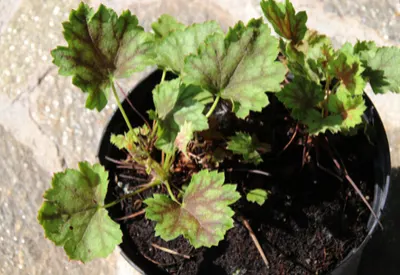
Whether you have daylillies, daisies, hostas, coral bells, black-eyed susans or nearly any perennial for that matter, late Summer and early Fall are the perfect time to divide perennials!
Dividing perennials is an excellent way to add a whole slew of free plants to your landscape It also helps keep plants healthy, manageable, and blooming strong year after year.
How To Divide Perennials In Late Summer And Fall

When plants begin to crowd one another, it’s a good time to divide!
As perennials mature, their roots become crowded. When they pack together, the roots of a plant have an increasingly difficult time drawing nutrients from the soil.
The result is less growth in foliage up top, and less energy to provide blooms. In fact, overcrowded roots and overgrown foliage are usually the main culprit when perennials stop blooming.
Late summer and early fall are the best times to dig up and divide perennials. It allows the new divisions plenty of time to settle in and establish roots before winter sets in.
By the following spring, plants are over the shock of planting, and ready to grow.
3 Tips To Help Divide Perennials
Select The Largest Plants – Pick out the more mature and healthiest of your plants for dividing. Not only will these give you the most new transplants, they are also the plants most in need of division.
Do not attempt to transplant those that show obvious signs of disease or have poor root structures. Healthy plants equal healthy transplants.

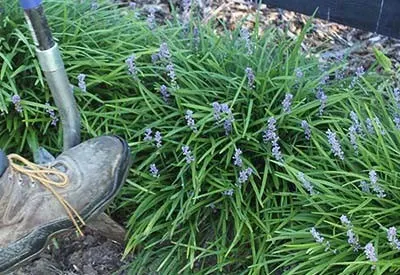
Dig a few inches back from the root zone when digging up plants
Dig Around The Root Zone – Use a sharp spade or shovel to dig up plants. Begin digging a few inches beyond the outer edge of their root zone. In nearly all cases, the root zones will line up with the base of a plant’s foliage.
Dig around the entire plant and then lift up from the ground. Be sure to dig deep enough to remove the base of the roots.
Don’t fret if you happen to slice off a few outer roots. Perennials can handle a bit of damage, but the more intact the roots, the better the chance of transplanting success.
Turn Your Plants Over To Divide – Begin by turning the plant over so that the foliage is facing down into the ground. This allows you to see the entire root structure and makes dividing a snap.
Use a sharp shovel or axe and divide by cutting straight down through the root zone. An axe comes in handy for extremely tough or large root balls. Split in even sections based upon the size of the root ball. As a general rule of thumb, create new transplants at least a few inches each in diameter.
Remember that the size of the new root ball will determine the size of the plant the following year.
Replanting Perennials Splits – 3 Tips To Success

You can always re-pot transplants for use later, or to give to others for transplanting.
Replant Divisions Quickly – For starters, replant your new divisions as quickly as possible. Plants and their roots can dry out quickly. The faster you transplant, the more chance for success. If you don’t have space, or are not sure where you will be placing the new divisions, pot the transplants up to use at a later date.
Amend The Soil – When transplanting, dig the hole two to three times the size of the new root ball. Add in a generous amount of compost to the hole. If no compost is available, use a good potting soil mix instead. This loose, nutrient filled soil will help the roots to quickly become established before winter sets in. Product Links : Dr Verm’s Premium Soil Builder – Bagged Compost
Water Is The Key – More than anything else, water is the key to a transplants success. Water the roots well at planting time, and be sure to give the new divisions plenty of water through late fall. Transplants may lose some or nearly all of their foliage in the dividing and transplanting process. This is normal and does not mean the root structure has died. Continue providing water two to three times a week. New growth should appear by the time fall sets in, and the plants will be ready to roll next spring.
For more on perennials, check out our Perennials Tab on the website.
Share Your Garden or Garden Tips
Share your backyard garden or gardening tips with the world! Email us today at info@thisismygarden.com, and you could be our next feature! This article may contain affiliate links.
