A homemade root cellar is the perfect way to successfully store fresh fruits and vegetables.
Before modern-era refrigerators and freezers became commonplace, it was the only way to keep food on the table through the long winter months.
But as more and more people are getting back to growing their own produce, root cellars are making a comeback. It truly is an inexpensive and effective way to store a harvest.
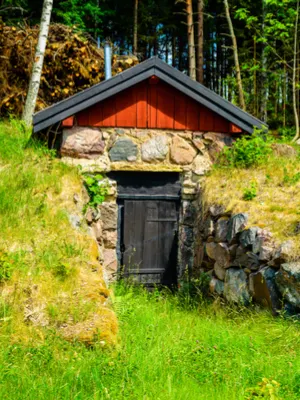
A hillside root cellar
Creating A Homemade Root Cellar
How A Root Cellar Works
By definition, a root cellar uses the natural thermal cooling properties of the earth to create a cool and humid space for storage. And for fresh vegetables and canned goods – cool and humid are ideal.
To be effective, root cellars need to be dug to a depth of at least 10 to 12 feet. It is at that depth that the soil regulates the surrounding are to a cooler temperature with added humidity.
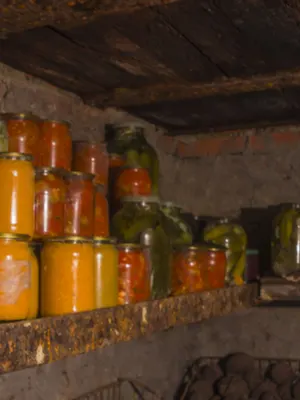
Root Cellars are also a great place to store canned good. The cooler temperatures are perfect for keeping the jars stable, and out of the damaging rays of light.
Both of these conditions are ideal to keep produce from spoiling.
Vegetables release ethylene gas as they begin to ripen. It is this gas that helps to decompose and rot the fruit. But cool temperatures help slow that ripening process.
Likewise, with increased humidity, vegetables have less chance of drying out or shrinking.
The best example of this is a home basement. If you walk down into a basement on a hot summer day, you know the cool, moist feeling that surrounds you.
It is one of the reasons that basements, or a portion of a basement, can make for an excellent root cellar.
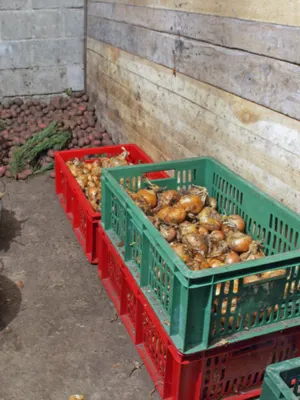
Root cellars are a great way to store large harvests of potatoes and onions to use all year long.
Here are 3 great options for creating your own homemade root cellar – including using that basement!
3 Ways To Create A Homemade Root Cellar
The Basement Cellar
If you are lucky enough to live in a house with a basement, you are one-step ahead in creating your own cellar.
The best location for a basement cellar is the north and east walls. They can sectioned off to create a sealed space from the rest of the basement.
Insulating the walls making up the inner portion will help to regulate the temperature and humidity best.
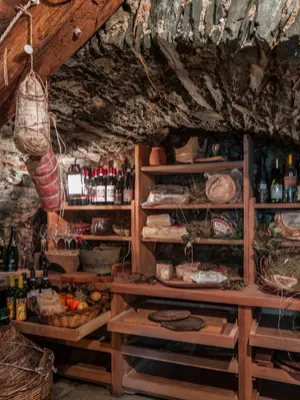
People from all over the world have been using underground root cellars for storage for centuries
Most full-depth basements will provide enough moisture and cool air to store vegetables for up to 3 months or more. These spaces are also perfect for storing all of your canned goods as well.
Venting the space to provide a fresh exchange of air to the outdoors will help the vegetables keep even longer. It can be as simple as a small window vent, or a PVC pipe placed at the bottom of the space and vented out at the top.
Hillside Cellar
A second option is to dig into the side of an existing hill. This approach uses the thermal mass of the earth in the hill to keep the air and humidity regulated.
Supporting the sides and back of hillside cellars can be done with concrete block, stone, or timbers. Once again, venting the space with a pipe out of the top of the hill will keep the air fresh and let gasses escape.
Some even create their own “hilliside” by mounding dirt or rocks to create a cellar area on a flat space. It works well as long as the earthen walls are thick enough to keep the temperatures regulated.
Fully-Dug Earthen Cellar
If you want to go all in, there is always the complete underground cellar approach!
An underground cellar needs to be dug to a depth of at least 10 feet to achieve maximum thermal protection from both summer heat, and winter cold.
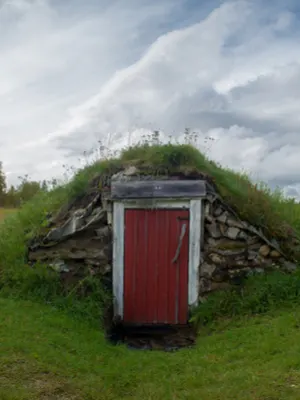
Creating a homemade “hillside” root cellar from mounding dirt and rock
Concrete block, wood timbers, or even poured concrete are all excellent choices for walls. Most important, of course, is to make sure it is structurally sound to keep the earth from caving in.
Although floors in an underground cellar can be left bare, concrete or even brick helps to keep the temperature and humidity levels more regulated.
They are also important in keeping mice and other pests from invading your stockpile of food.
Be sure to check out our articles on growing root crops – which are perfect for root cellar storing! See : Growing Root Crops
This Is My Garden is a garden website created by gardeners – for gardeners!
We publish two articles every week, 52 weeks a year. Sign up below to receive them free each week via email, and be sure to follow us on Facebook This article may contain affiliate links.
