
Autumn is fast approaching and that means it’s time to cut back and divide your overgrown ferns to save them to grow again next year. Not only can it save big on your gardening budget – but it can give you even more ferns to decorate with next spring and summer!
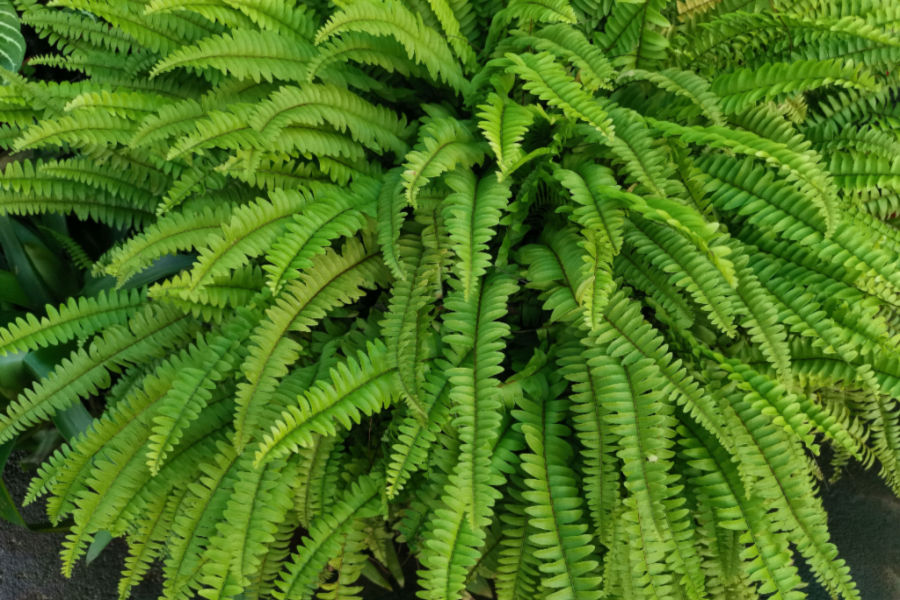
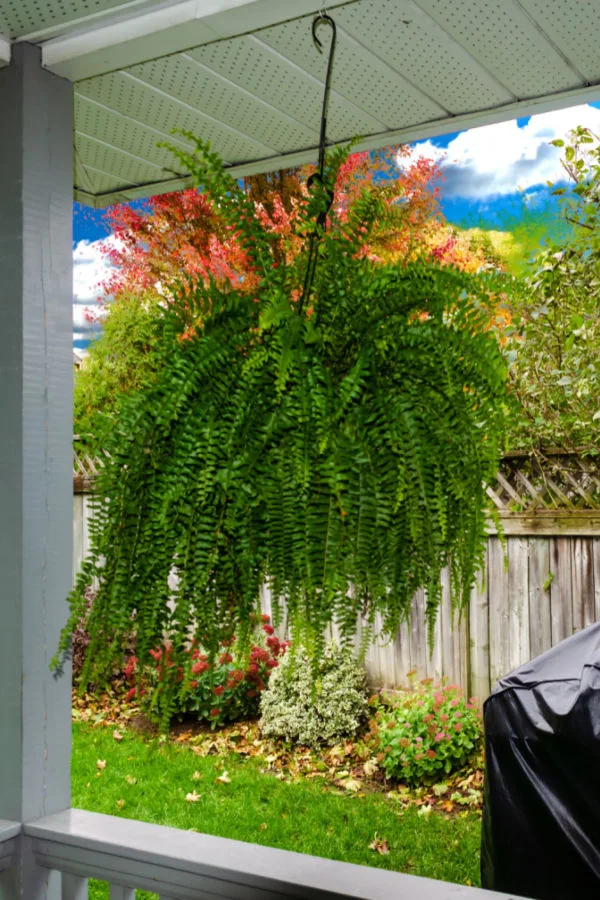
All too often, the end of a growing season spells the end of the road for ferns. Especially ferns growing in containers or hanging baskets. By early fall, many ferns have grown to such a massive size, they are simply impossible to take care of
For starters, although incredibly beautiful with their massive fronds and foliage, most ferns begin to grow their roots so large late in the season that they have used up all of the available space in their current container.

This can make even watering the plant a difficult task. The overgrown, root-bound soil is unable to absorb hardly any moisture when watered. Any water given to the plant simply goes directly past the plant’s roots, and right through the bottom of the basket or container.
Secondly, the plants have grown to such an enormous size, it’s difficult to to find space to bring them inside to overwinter. Sadly, all of these issues usually result in most ferns being tossed away for good.
Saving Ferns – How To Divide Overgrown Ferns
Fortunately, it doesn’t have to end that way at all for your ferns – and the process to save them is easier than you might think!
Over-sized ferns can actually be split in early fall to create smaller plants. By doing this in late summer or early fall, there is still plenty of time for the new transplants to develop a bit of new foliage. Then, they can easily be brought indoors to overwinter and use again next year.
Not only is it a great way to keep your fern plant alive, but a perfect way to create even more ferns for next year’s porch and patio. And it can all be done with just a few simple steps!

How To Divide Overgrown Ferns In The Fall
Trimming Your Fern Back – How To Divide Overgrown Ferns
Although ferns can be divided almost any time during the growing season, fall division allows you to create manageable-sized plants to overwinter indoors.
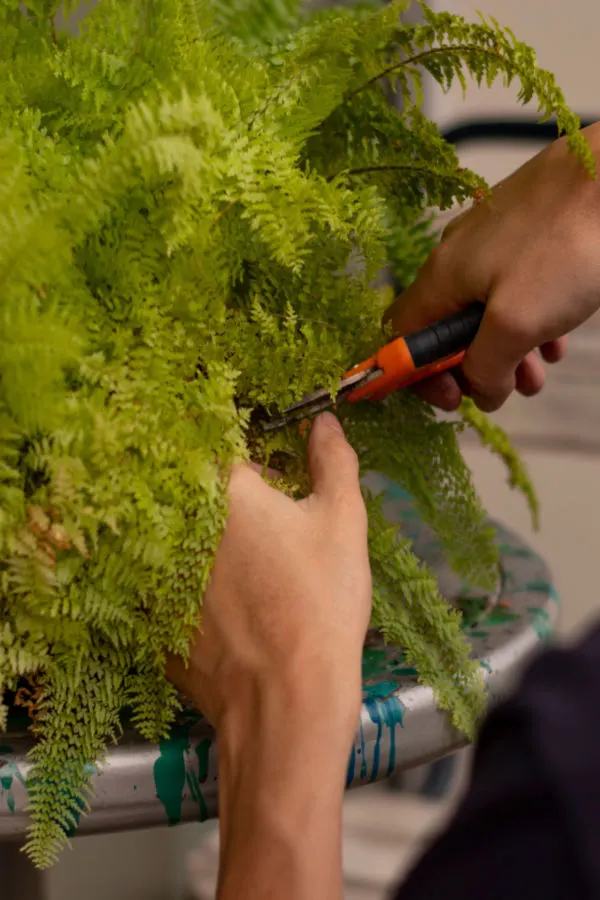
A day or two before dividing your ferns, stop watering your plant. This will allow the roots to shrink a bit and makes cutting the roots much easier. Begin by giving the plant a haircut. With a good pair of hedge shears, scissors or clippers, trim the entire plant back to a few inches of growth.
This helps in two ways. First, it makes dividing and transplanting much easier. With less foliage and fronds in your way, working with the plant is far less difficult. Secondly, it will allow for new growth to form faster as it does not have to work its ways through old foliage.
After cutting the fronds off of the plant, you can place the cuttings in your compost pile. Not only are they great for the pile, it is also just one more way your plant can give back even more to your landscape!
Removing & Dividing Ferns – How To Divide Overgrown Ferns
Removing The Fern
Now it’s time to remove the fern from its container. Usually at this point of the year, it is as simple as turning over and pulling the fern gently out. You many need to use a knife to cut free any roots that have grown through the bottom container holes to make removal easier.

Don’t worry if you have to tug a bit hard on the plant to remove it. Ferns are tough and can handle a bit of jostling to get the plant to break free. If you happen to cut a few roots in the process, it will not harm the plant in any way.
Dividing The Fern
Now it is time to split your fern to create smaller divisions. Using a sharp shovel or knife, (A Hori Hori Knife is excellent for this and so many other garden tasks!) divide the root ball of the fern into equal portions to create new plants.
Most potted ferns can be divided in half or into three equal pieces to create a good-sized transplant. Plants of this size can easily be repotted to overwinter, and will still provide a large fern for next spring and summer.
Re-Potting The Fern – How To Divide Overgrown Ferns
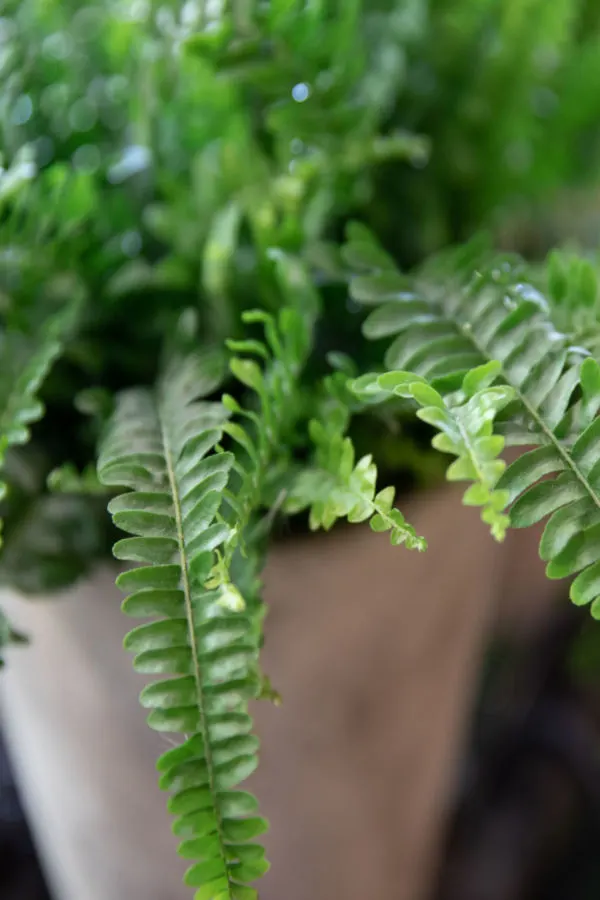
Now it’s time to re-pot your fern divisions! One thing to consider before replanting is the size of your container. Ferns do not do well when there is too much space in a container, so select containers that are about a quarter to a third larger than the size of the plant’s root division for best results.

Begin by filling the bottom of your container with a high quality potting mix. Next, place the transplant down into the pot. Fill around the edges with the potting soil, gently firming the soil to the roots of the plant.
There is no need to fertilize ferns at this point. In fact, ferns require little additional nutrients to thrive. If you use a good quality good potting soil, it will contain more than enough nutrients to power good growth. See: How To Create Your Own Amazing Potting Soil At Home
Bringing Indoors – How To Divide Overgrown Ferns
If done early enough in the fall and if temperatures are not freezing at night, place the plant in a shady area outdoors. The warmer weather will help start the new growth before having to bring indoors. You will usually see new growth in a few weeks.
As soon as the threat of frost is in the forecast, it’s time to bring your fern indoors. Do not worry if new growth has not occurred yet. The fern will continue to develop and live indoors and be ready to go next spring.
Ferns overwinter and grow best indoors in moderate, indirect lighting. A cool basement with indirect lighting from a basement well widow works well. As will the corner of room that receives a bit of natural light from a nearby window.
Avoid southern facing windows, or placing the plant directly in the window. Fern’s tender foliage can easily burn from the combination of the sun’s rays and heat coming through the glass.


Indoor Care
In the indoors, ferns suffer more from over-watering than not getting enough. Only water when the soil completely dries out. This allows the plant’s roots to continue to grow and not rot out from excess moisture.
As spring rolls back around, take the plants back outside as soon as the threat of frost has passed. Allow them to slowly acclimate and by the time mid spring is in full swing – your new plants should be thriving!
Here is to not throwing away your ferns this year – and to dividing your overgrown ferns to have even more beauty next growing season!
Follow Our Facebook Page For Great Gardening Tips And Advice! This Is My Garden Facebook Page
This Is My Garden is a garden website created by gardeners, for gardeners. Jim and Mary Competti have been writing gardening, DIY and recipe articles and books and speaking for over 15 years from their 46 acre Ohio farm. They publish three articles every week, 52 weeks a year. Sign up today to follow via email, or follow along!