One of the best ways to ripen late season fruit and vegetables is with a simple DIY harvest rack.
And creating one at home couldn’t be easier!
Harvest racks are perfect for ripening tomatoes, peppers, and fruits such as peaches, cherries and plums. And they are also great for curing everything from garlic to potatoes and onions as well.
Late season vegetables can be slow to ripen as autumn settles in. The cooler, less humid conditions make it difficult for them to mature.
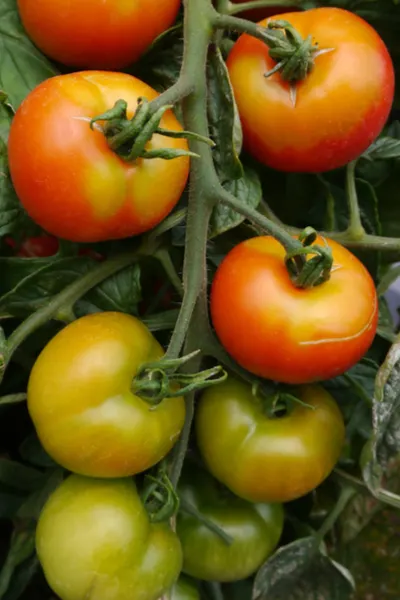
And adding to the issue, the amount of sunlight a plant receive dwindles every day as winter approaches.
The fluctuations create a whole myriad of problems for plants trying to ripen what is left on their branches and stems.
And many times, leaving them on the plant leads to their demise as they ultimately succumb to pests or disease.
Not to mention, it can keep you from pulling plants to get that all important garden clean-up done! (See : 3 Keys To A Great Garden Clean Up)
Ripening Fruits & Vegetables With A DIY Harvest Rack
Many late season fruits and vegetables will continue to ripen after they have been picked.
But only if given the right conditions. And unfortunately, that is not in a refrigerator.
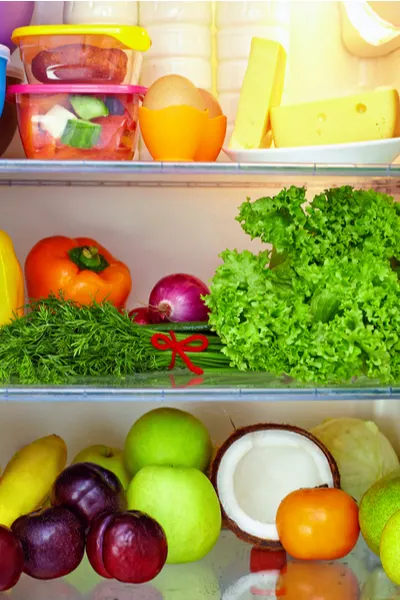
Contrary to popular belief, under-ripened fruits and vegetables will not ripen in a refrigerated space.
The cool and dark conditions bring an abrupt halt to the entire ripening process. Leaving you with produce that can never be used.
Ripening Immature Fruits and Vegetables
The key for ripening success lies in providing a place and space that can keep fruits and vegetables dry. All while allowing a bit of light and airflow as well.
And for those tasks, nothing fits the bill better than a homemade harvest rack!
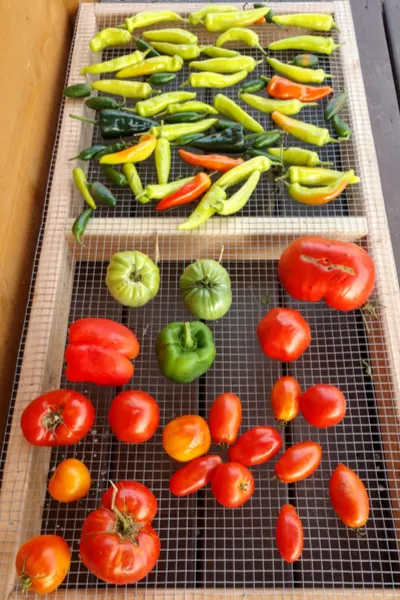
A harvest rack allows ripening vegetables to receive airflow underneath as well as on top. And if placed in a shaded area that receives plenty of indirect light, it can work wonders to ripen garden produce in quick fashion.
And with just a couple 2 x 4’s and a bit of hardware cloth, you can assemble one in less than an hour. Here’s how:
How To Create An Inexpensive DIY Harvest Rack
Materials Needed:
- (2) 2 x 4 x 8 – Untreated lumber
- 1/2″ mesh hardware cloth 2′ x 4′ : Product Link : 24″ Galvanized Hardware Cloth
- U Nails ( Fencing Nails) : Product Link : Poultry Staples/ Fencing Nails
- (12) 2 1/2″ screws
Cutting & Assembly:
Begin by cutting (2) 48″ long pieces, and (3) 21″ long pieces from the 2 x 4 x 8’s. It is important to use only untreated lumber since it will be holding fruit and vegetables.
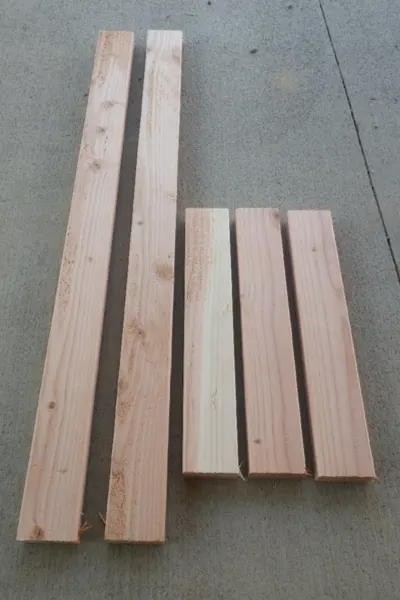
On a flat surface, assemble the pieces into a frame, with two 21″ pieces on each end, and one in the middle at the 2′ point.
Place the 21″ pieces inside of the 48″ pieces. This will make a completed frame that measures exactly 2′ x 4′.
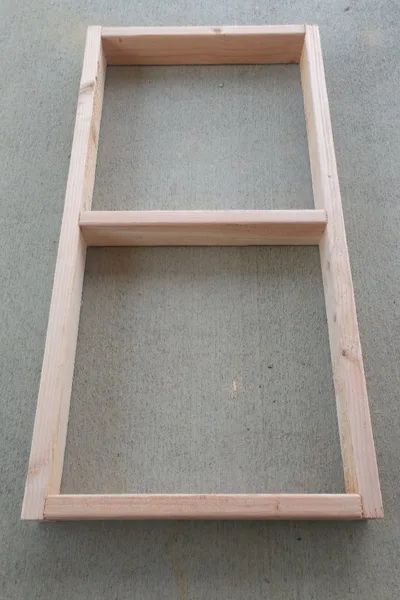
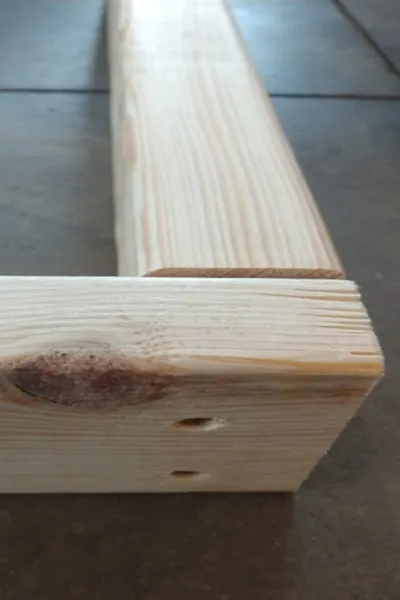
Pre-drill holes before screwing to reduce the chance of the wood splitting. Next, finish assembly of the frame by driving in two screws into each board joint to secure.
You will use a total of 12 screws to assemble the frame.
Attaching The Hardware Cloth To The Harvest Rack
All that is left to complete the project is to attach the hardware cloth.
Simply roll the metal hardware cloth out on top of the frame and attach with staples or fencing nails.
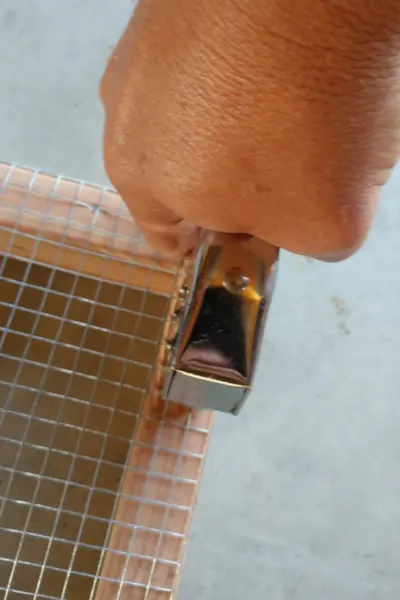
Complete by trimming off any excess hardware cloth from the end with a pair of wire snips or wire cutters.
Place your harvest rack out of direct sunlight, but in an area that receives plenty of natural light and air-flow. Back porches and covered patios both work well.
Here is to creating your own DIY harvest rack and ripening those late season fruits and vegetables!

This Is My Garden is a website dedicated to spreading the love and knowledge of gardening around the world. We publish two new garden articles each week. This article may contain affiliate links.
