Starting your own vegetable and flowers from seeds is a great way to save money, especially when you can make free seed starting containers with easy to find recycled materials!
Plastic seed starting cells and trays can be expensive, not to mention difficult to re-use. And unfortunately, the biodegradable options available are even more costly.
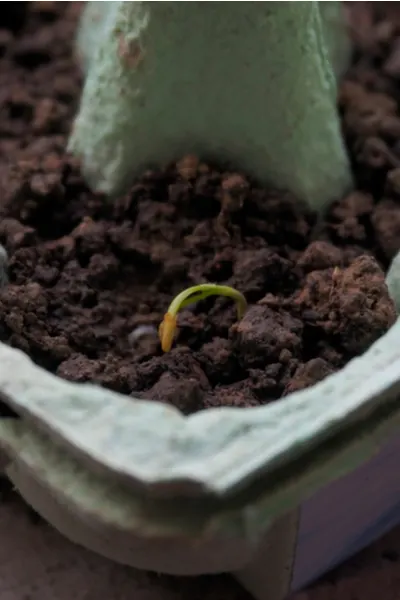
But there is a simple solution. Homemade seed trays are easy to make by recycling commonly used items around the house. Not only is it a great way to save on seed starting costs, but it helps out the environment too.
Here are 3 great options for making homemade seed starting containers using recycled materials, all for free!
3 Ways To Make Seed Starting Containers From Recycled Materials
Toilet Paper / Paper Towel Rolls
Cardboard paper towel and toilet paper rolls make incredible seed starting cells. And they are certainly easy to come by!
To use, begin by cutting the cardboard rolls into 2″ sections. Next, cut four ½” slits into the bottom of the 2″ roll, and overlap the strips to make a small container. (See : How To Make Trays From TP / Paper Towel Rolls)
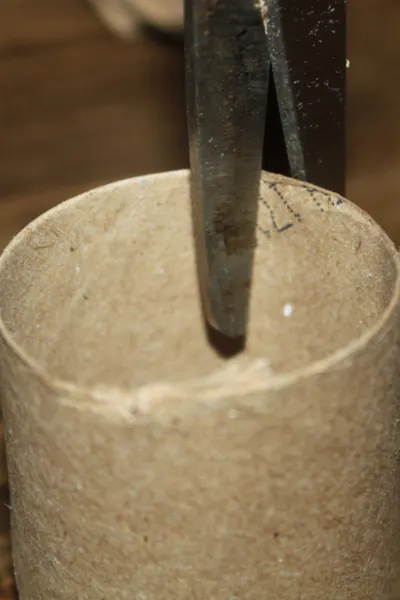
All that is left is to fill with a quality seed starting mix, and plant with seed. You can use square or rectangular baking pans as trays to hold the cells upright as they grow.
The best of part of all, cardboard is biodegradable. That means you can plant the entire seed and cardboard sleeve together!
Using Egg Cartons To Make Seed Starting Containers
Egg cartons are a great way to start a large number of seedlings, all in one single container.
Simply cut the top cover half off of the carton, keeping only the egg cell side. Next, poke a small hole with a pen tip or large nail into the bottom of each cell. This allows cells to drain off any excess moisture when watered.
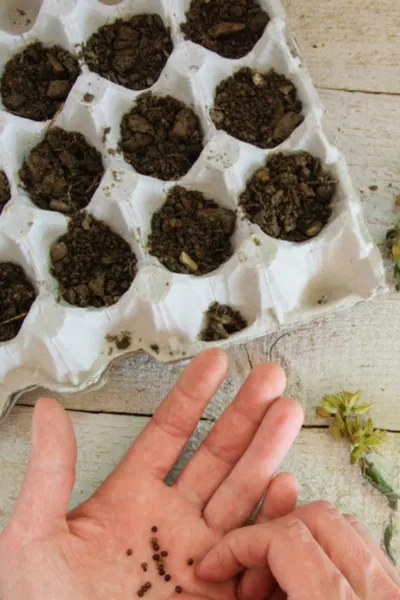
Next, fill the individual cells with a high quality seed starting mix, and plant with seed.
Cardboard trays work better than foam or plastic, as they allow moisture to escape and wick out. And since cardboard is biodegradable, the entire cell can be planted right into the soil.
Simply cut each cell away with a pair of scissors and plant directly into the soil.
Yogurt Cups
Yogurt cups are great for creating larger, more spacious individual seed starting cells. Plants can develop larger roots before being transplanted outdoors.
To use, always begin by cleaning and rinsing out the yogurt cups with dish soap and water. Next, poke a few small holes in the bottom to allow for drainage.
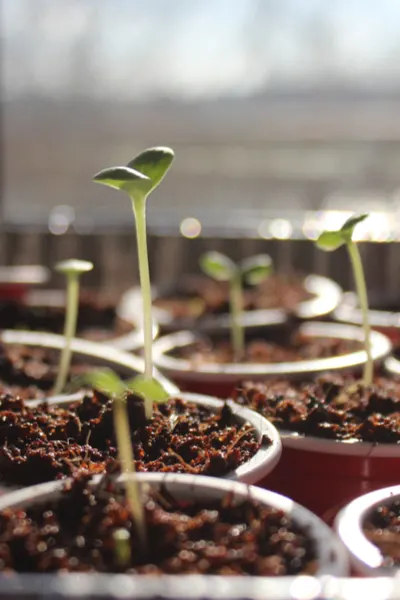
All that is left is to fill and plant, and watch your plants grow!
The larger yogurt cups are usually big enough to allow for a lot of growth indoors. This makes for a larger plant that is ready to take off when transplanted outdoors.
Yogurt cups are also a great choice for replanting seedlings that have outgrown smaller cells.
And remember, whatever you use to grow your seeds in, take time to label them as you plant or transplant! It is easy to get plants confused as they grow if they are not labeled.
A fine tip sharpie works best, and won’t be wiped off by the frequent watering. Here is to making your own seed starting containers this year!
For more on how to start seeds indoors, check out (How To Start Vegetable & Flowers Seeds Indoors With Ease)
This Is My Garden is a website dedicated to spreading the love and knowledge of gardening around the world. We publish two new garden articles each week. This article may contain affiliate links.

