
If you are looking to add more usability and flair to your outdoor space this year, building a wood pergola may be just the solution.
As families find themselves spending more time than ever at home, they continue to look for ways to make more use of their outdoor space. And whether it be for enjoying an outdoor meal, or creating a space to relax or entertain, a pergola can answer the call.
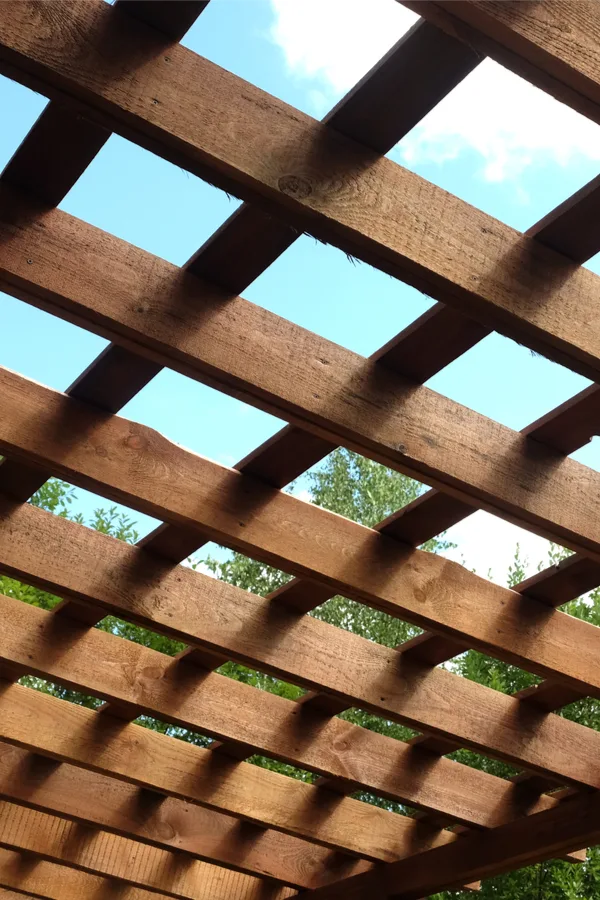
Pergolas are wonderful for adding a bit of shade to patios, flower gardens, or any area of your landscape. And can they ever be outfitted to fit any need!
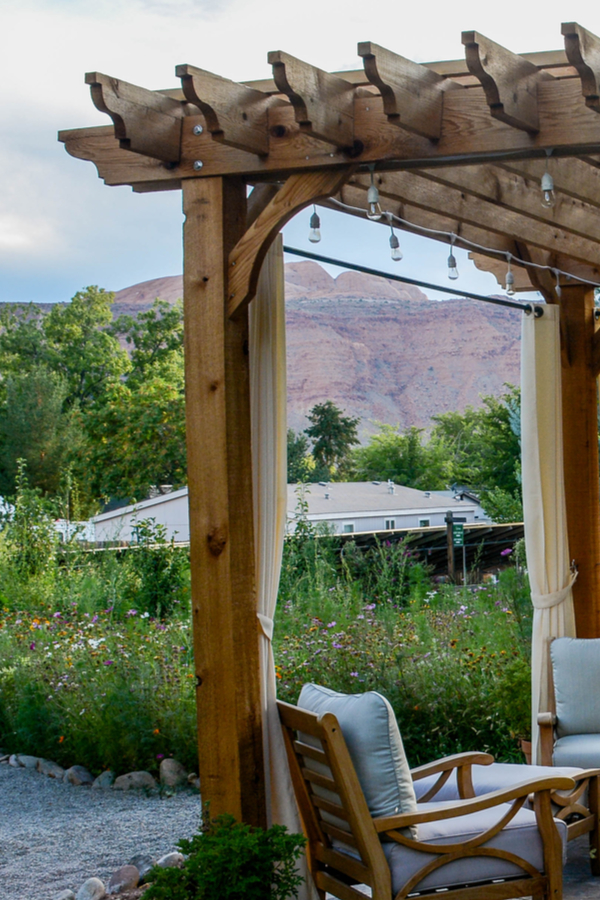
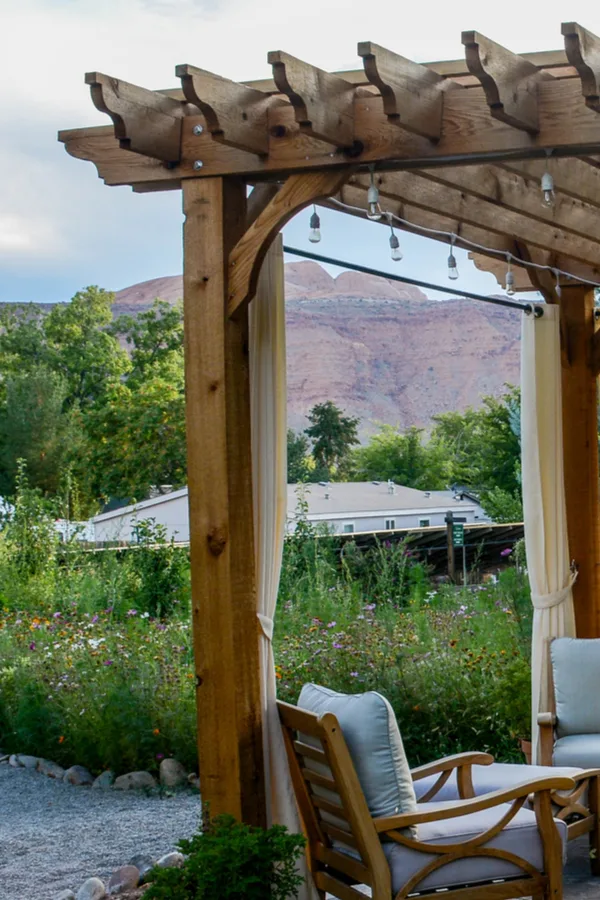
By adding string lights, outdoor furniture, or other accessories like fans, small fire pits and more, you can create a gorgeous outdoor entertaining area. Throw in a few flowering hanging baskets and container plants, and you might even feel as though resort living has come to your backyard.


Sound too expensive? It doesn’t have to be. Contrary to popular belief, creating a backyard pergola doesn’t have to cost a fortune. Especially when you can create it DIY-style and save hundreds, if not thousands in the process!
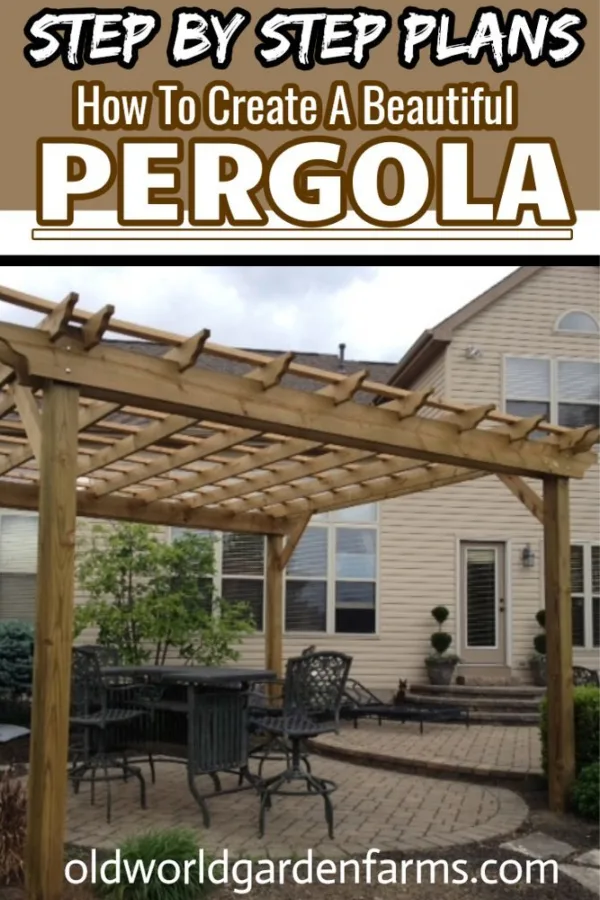
Here is a look at 5 simple keys to success for building your own beautiful backyard wood pergola. And more importantly, one that is strong and sturdy, but won’t break the budget!
Building A Wood Pergola – 5 Simple Steps To Success
#1 Select The Right Lumber
Creating a sturdy, long-lasting pergola all begins by selecting the right lumber for the project. To create a wood pergola that will stand up to the rigors of outdoor life, that means staying far away from wood that is too thin, or won’t hold up over time.

Treated lumber is by far the most economical choice of all. Although prices have soared over the last year, it is still the best option when it comes to creating your outdoor masterpiece. Although cedar is rot resistant, it can still have warping and failure issues if too thin, or if not treated or stained. And the price of cedar? Well, astronomical is probably the best description of all!
Treated lumber has come a long way from the wavy, warped board available years back. Not only can it be left natural for those who want the a weathered look, it can also be stained or painted to match any decor. Rough-sawn untreated pine is an option, but it must be stained or painted.
The rough texture of rough-sawn wood will hold up better that planed wood. If using untreated wood, the posts should always be mounted above ground.
As a final tip, always head to the lumber store to pick out your own boards. Even if you are having it delivered. Taking a few minutes to select straight, undamaged boards for your project is vital. It will also go a long way in making the build a much smoother process!
#2 Use Sturdy Posts
Like any structure, a pergola is only as strong as its framework. And for a pergola, that means investing in thick, strong posts and frame boards.
Although 4″ x 4″ and even 4″ x 6″ posts are a less expensive option, they don’t provide long-lasting support for a wood pergola. Their thinner size is more apt to warp and sag over time. In addition, they can struggle to hold any additional weight or strain. That means adding items like hanging baskets, swings or a ceiling fan are all but impossible.
But that all changes when you use beefier post options such as 6″ x 6″ or even 8″ x 8″. Yes, they are a bit more costly, but they can more easily hold and distribute the top weight of a pergola. Especially when adding any additional options. And when you consider you only need 4 posts, it is certainly worth the extra expense.
#3 Creating A Strong Top Frame – Building A Wood Pergola
Much as with the posts, the thicker the frame and top stringer boards are, the stronger a pergola will be. Avoid using lumber that is less than 2x (1.5″ thick) in thickness. 1x lumber is certainly a less expensive option, but will warp and twist quickly.
A pergola consists of 4 major components : posts, header boards, purlin boards, and top stringer boards. (see diagram in the photo below) The posts support the header boards that create a frame on each side of the pergola.
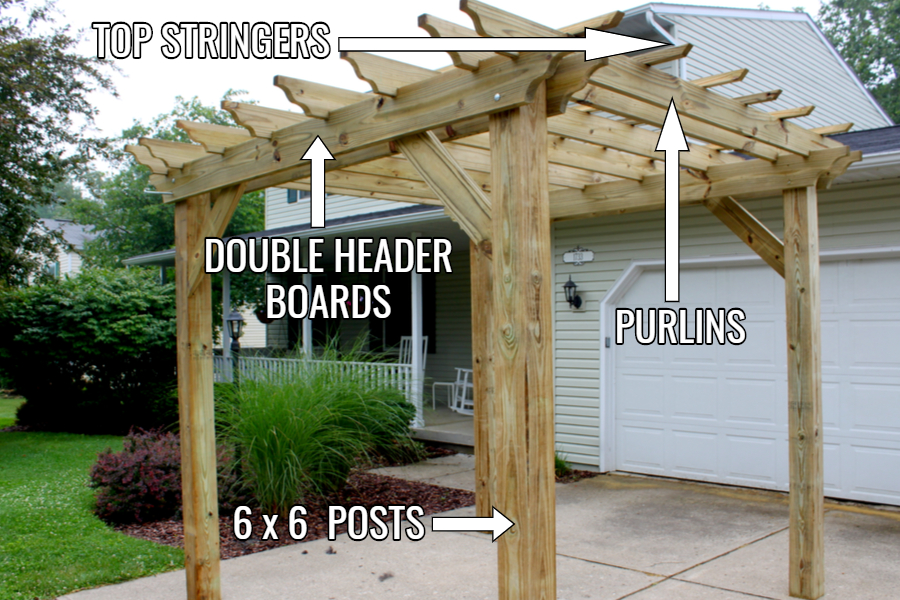

Header boards span from post to post, and need to be strong as they carry the load of the fancy purlin boards. Header boards should be 2″ x 8″ or 2 x 10″ boards for maximum strength.
The purlin boards are the cross pieces that connect to the header boards. Avoid using 2 x 4’s here and go with 2 x 6’s or 2 x 8’s. The extra width will keep the piece strong and steady.
The final top stringer boards go the same direction as the header boards, and lock down the purlin boards by screwing down into them from above. These can be 2″ x 4’s (flat), or even 2″ x 2’s. They do not carry any load, and instead act to keep the purlin boards in place and eliminate warping.
As for how big a span you can have with 6×6 or 8×8 posts, a good rule of thumb is to not span over 16 feet with just four posts.
#4 Notching Purlin Boards For Added Strength

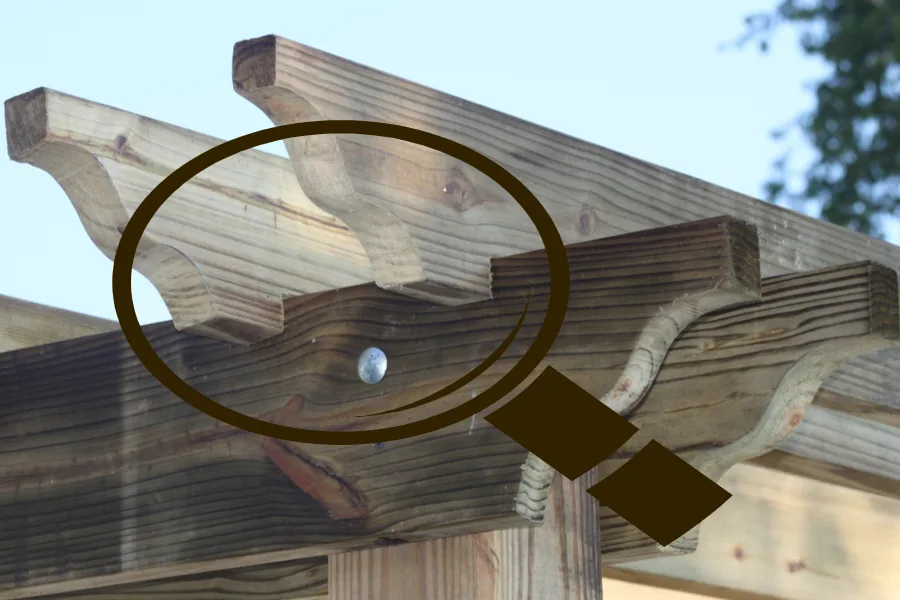
One of the easiest ways to add strength and beauty when building a wood pergola is to notch the purlin boards so they sit down into the header boards. Not only is this an attractive detail, it adds more strength to the pergola.
Notches can be made fairly easily with a jigsaw, and eliminates the need for unattractive metal hardware. See : Complete Step By Step Pergola Plans From OWGarden
#5 – Secure Your Wood Pergola
One of the biggest mistakes home DIY’ers make when building a wood pergola is not securing it properly. No matter how strong or thick the wood, wind can take it in a heartbeat.
To secure, posts can either be buried in the ground, or attached to a concrete pad or footing for stability. The posts are the anchor and stability for the entire structure, and securely hold the entire top together.

If buried, posts need to be deep enough to provide support, and below the frost line in your area to avoid heaving out of the soil.Always check local building codes to follow local guidelines and rules.
For more great DIY landscaping projects, check out our entire Garden DIY Category on the blog.
This Is My Garden is a website dedicated to spreading the love and knowledge of gardening around the world. We publish two new garden articles each week. This article may contain affiliate links.

