
Looking for a few simple and easy ways to save your old coffee grounds this winter to use in your garden next spring and summer – all without having to worry about them molding?
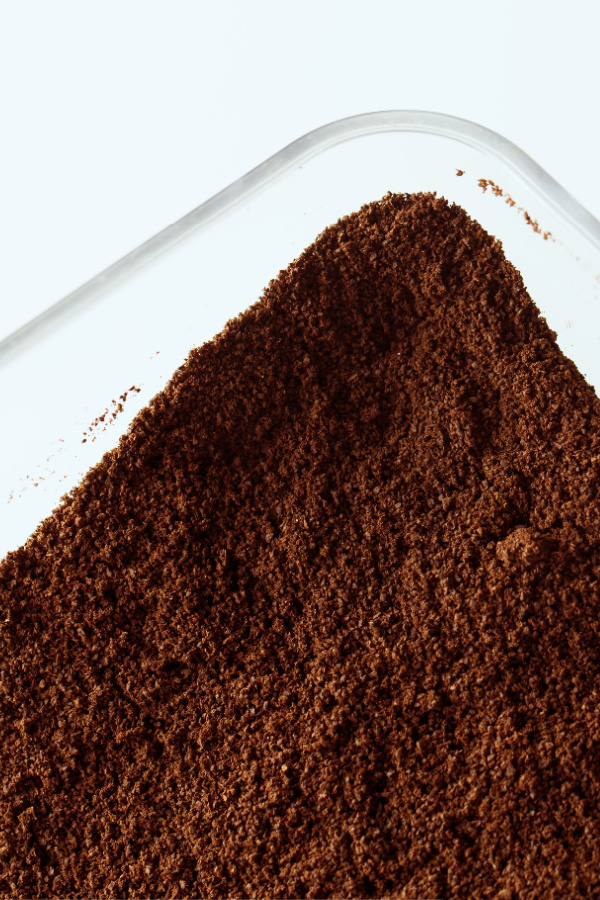
There is little doubt that coffee grounds are one of the most beneficial (and free!) byproducts around for bringing life to soil and plants. The trace minerals and nutrients that spent grounds contain are perfect for not only powering up plants, but for improving the soil as well.
Coffee grounds are great for mixing in with potting and seed starting soils to provide a light dose of nutrients and help seedlings and plants retain moisture. They also provide the same powerful benefits when used in the planting holes of vegetable and flower transplants. And the list goes on and on!

In fact, when it comes to gardening, there are so many great uses for old coffee grounds that it’s almost impossible to ever have enough on hand. Which is exactly why saving them all winter long can be a huge help. That is, as long as you can save them without molding before you need them!
Saving Coffee Grounds – The Issue Of Molding Grounds
Unfortunately, for many, saving coffee grounds in the winter can bring some challenges. Especially when you are trying to keep them all the way through winter to use the following spring.
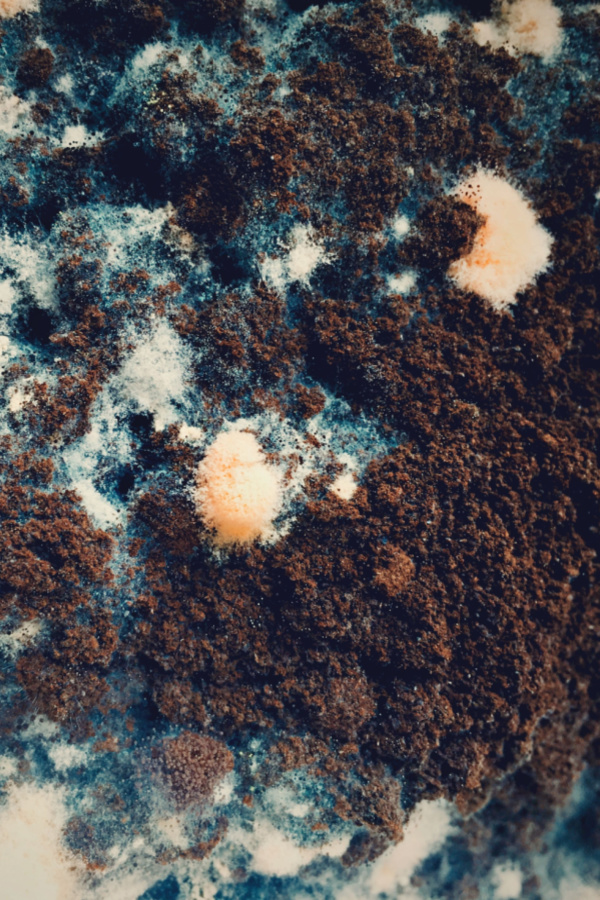
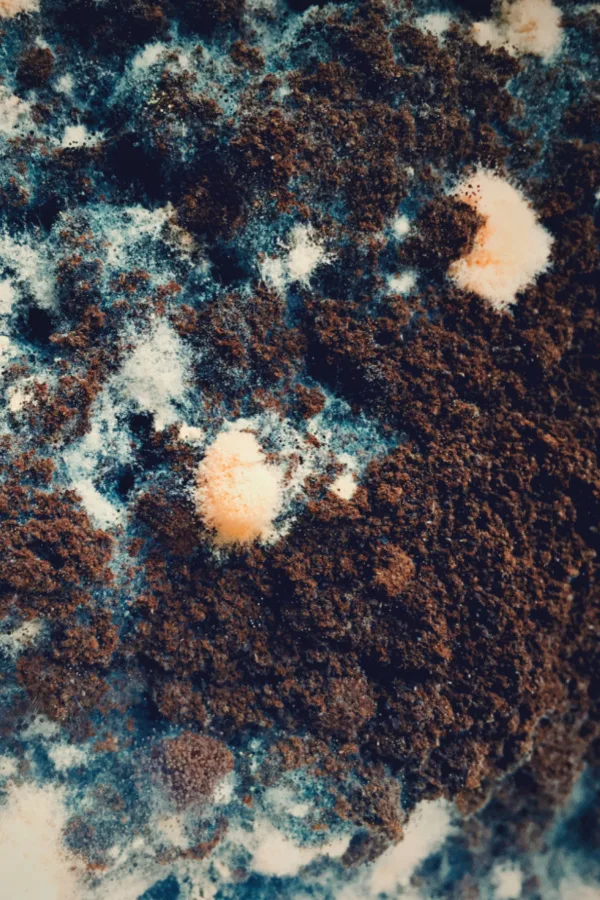
One thing is for sure, left to their own accord, spent coffee grounds will mold quickly. The very thing that makes them so great for using in soil – their ability to hold moisture – also makes it difficult for them to dry out.
Because of that, when simply placed into a container or plastic bag at room temperature, the moisture and minerals within the grounds combine quickly to develop algae and mold. Adding to the problem, once the grounds mold, they can smell nothing short of awful.
For many gardeners, the hassle is simply too much. Instead of saving their grounds for spring planting, they either place them in their compost pile or even worse, toss them away.
But here’s some good news – you can save coffee grounds all winter long without mold ever being an issue. In fact, as it turns out, there are actually two very easy ways to collect and save your old coffee grounds all year around – and without a single bit of worry of them molding or smelling!
2 Simple Ways To Save Coffee Grounds In Winter
Method 1 – Freezing
By far, the best, quickest and easiest method for saving your coffee grounds is to freeze them. As it turns out, the physical makeup of coffee grounds actually makes them perfect for freezing.
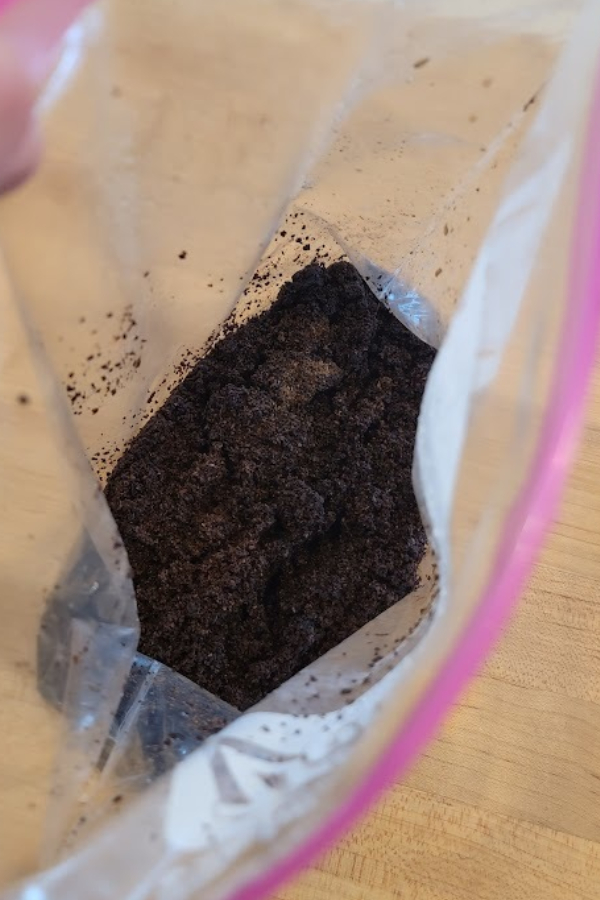
First and foremost, once frozen, any chance of mold, mildew or smell from the grounds disappear. Even better, because coffee grounds will not freeze together completely, it’s easy to manage and continually add more every day or two – and take out what you need when you need it.
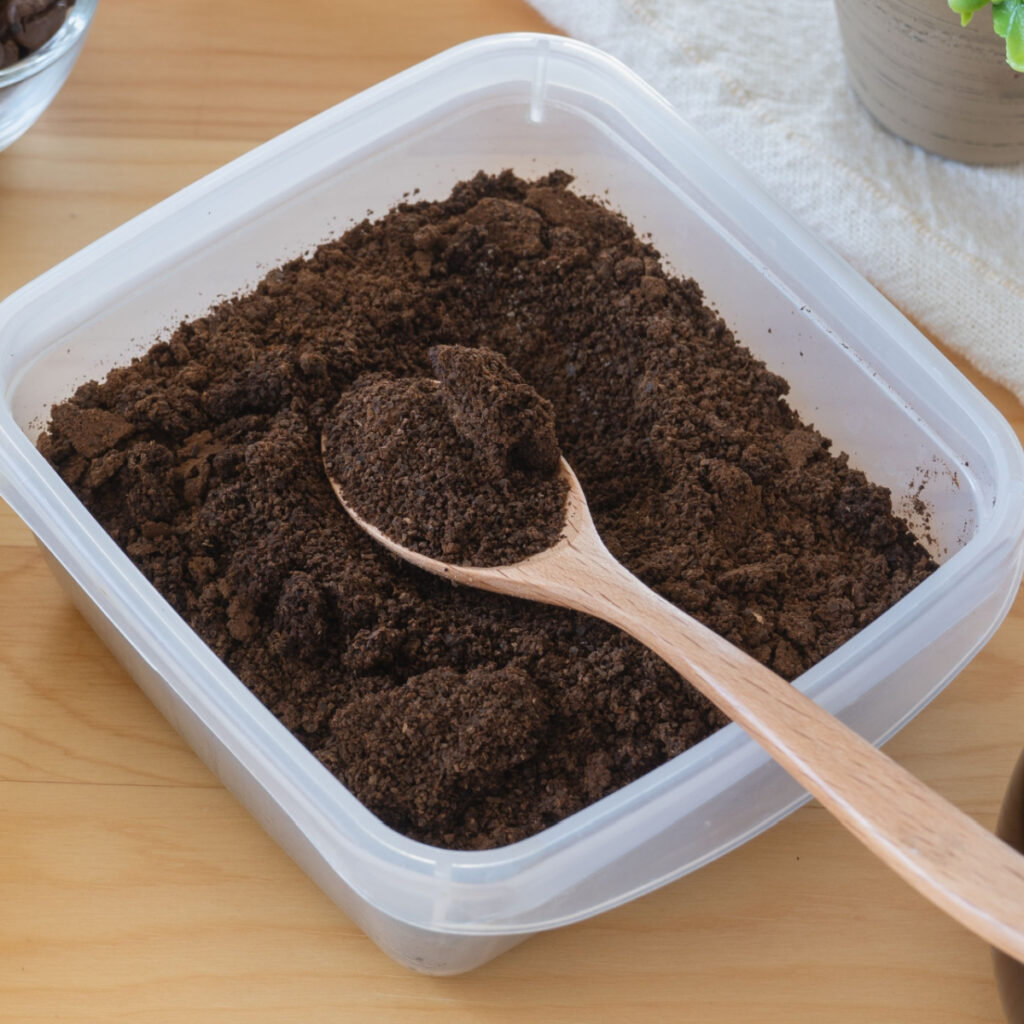
When freezing, just place a plastic container or freezer bag in your freezer and fill it as you go. There is no need to dry out the grounds first. Just scoop them into the bag each morning straight from the coffee filter.

Storing Grounds With Ease
This method actually lets you store an amazingly large amount of grounds in a small space. We especially like the freezer bag option. The frozen grounds can be squeezed in and crushed in the bag as you go, and fit into small spaces in the freezer with ease.
In fact, with this method, a single gallon freezer bag will hold a month or more’s worth of daily coffee grounds. The best part of all, frozen grounds are easy to use and mix as you need once spring rolls around.
They break apart fast and can be divided with ease. Simply take out what you need when you need it – and the rest can stay safe and frozen. As for the paper filter – you can recycle it right in your compost pile if you wish!
One place you do not want to store old coffee grounds is in your refrigerator. The cool, damp air in a refrigerated environment actually makes it easier for mold to form and bloom.
Method 2: Dry Storage – How To Save Coffee Grounds In The Winter
If you simply have no room to store your grounds in your freezer, there is another great option for saving them without the concern of mold – and for that, you simply have to dry them out first. Once grounds are completely dry, they will not mold – but they key to success is to make sure they are completely dry!
Listen In To Our Podcast Below On Using Coffee Grounds!
This can be accomplished with a couple of different methods. It really all comes down to how quickly you want to dry them out, and how much effort you want to put into it.
The fastest method is to place your grounds on a cookie sheet and then “bake” them on low heat in your oven. The good news is you can usually fit a weeks worth of grounds on a single baking sheet – and in that short amount of time, there is little chance of the grounds molding before you bake them off.
To use this method, start by spreading out the grounds on the cookie sheet into a thin layer. Next, set your oven on 175° to 200° Fahrenheit.
Place the cookie sheet or baking pan on the middle rack, and let the heat do its work. Most grounds will dry out within an hour or two. Once dry, allow the grounds to cool, and then store in an airtight container. Once completely dry, there is zero chance of them molding.
Air Drying
You can also dry out your grounds naturally without the help of an oven. If you have a warm room of the house that is not overly humid (basements do not work well for this) it allows the grounds to dry out over time.
Start by placing a paper towel down on a baking or cookie pan. The paper towel underneath will help to wick away moisture while they air dry from above. Next spread out the grounds to a fine single layer.
Let the grounds sit for about a week or two, occasionally stirring them up to allow the air to circulate. If they are not drying out fast enough, you can place a fresh paper towel down to finish the job. This method takes a bit longer to dry out completely, but saves the use of an oven.
Other Uses For Winter Coffee Grounds – How To Save Coffee Grounds In The Winter
Last but not least, if you can’t freeze or dry your grounds, whatever you do, don’t throw them away! There are actually a couple of great options to use them – the first being to help power and fertilize your houseplants. See: How To Use Coffee Grounds On Houseplants
You can also use the coffee grounds in your compost pile. The nitrogen in coffee grounds works to heat up a pile, helping to break down carbon materials quickly. This can be especially helpful in the winter months.
Although the grounds might mold indoors in the winter, an outside compost pile is a perfect alternative. If it’s too cold, the grounds will simply freeze until it warms. If you are trying to save grounds indoors and they do mold, do not throw them away.
Just take them outside and place them in your compost pile. They will break down in the pile over time and still add their nutrients, and the mold will disappear as well. All without worry of ever harming your pile.
Here is to saving your coffee grounds this winter without having them mold. And, to having plenty of grounds on hand next spring to power all of your plants and soil!
This Is My Garden
Follow Our Facebook Page For Great Gardening Tips And Advice! This Is My Garden Facebook Page
This Is My Garden is a garden website created by gardeners, for gardeners. Jim and Mary Competti have been writing gardening, DIY and recipe articles and books and speaking for over 15 years from their 46 acre Ohio farm. They publish three articles every week, 52 weeks a year. Sign up today to follow via email, or follow along!