Did you know that if you missed planting your tulip bulbs last fall, you can still plant them this spring? And even better, still get them to bloom too!
Tulips are a beautiful addition to a spring garden. They are among the first of all blooming plants to emerge once the long winter season begins to come to an end. With their thick green foliage and colorful blooms, they certainly are a welcome sign that summer is near.
Traditionally, the planting of tulip bulbs occurs in the fall. This works very well for tulips, and for a couple of very important reasons.
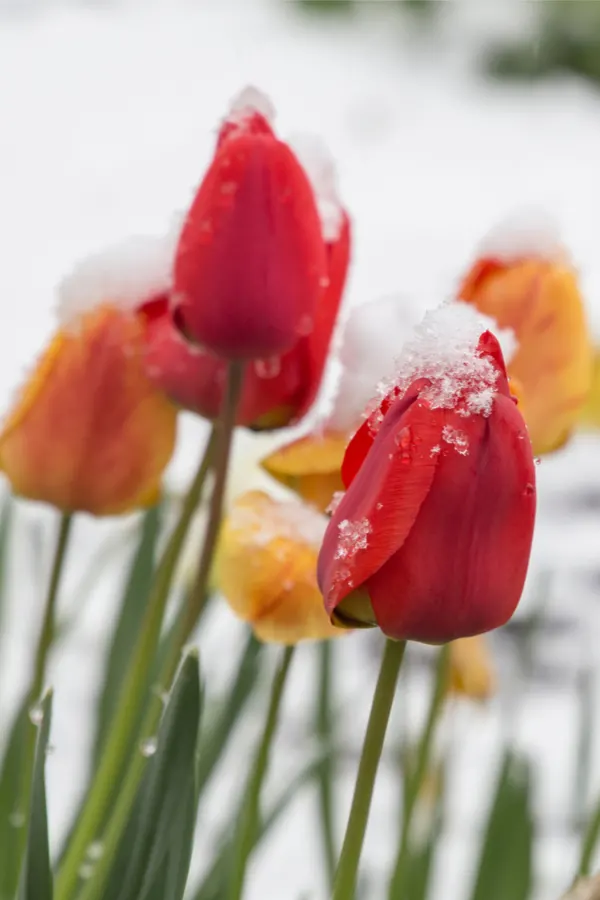
First and foremost, by planting the bulbs in the fall ground, it helps protect them through the perils of winter. If left out in the elements, tulip bulbs are simply unable to survive the extreme cold. But more importantly, by planting in the autumn soil, the bulbs also have the opportunity to safely chill over the winter.
That chilling process is extremely vital for tulips. Unfortunately, without it, they simply can’t sprout and bloom in the early spring.
Beyond Fall Planting…
For this very reason, most gardeners assume if you fail to plant tulip bulbs in the fall, spring blooms are impossible. But here is the good news – that just isn’t the case! Even though fall planting is certainly the most popular way to plant tulip bulbs for spring blooming – it is not the only way.
In fact, believe it or not, with just a little bit of help, you can plant your tulip bulbs in the early spring, and still get them to bloom a few weeks later. Whether in pots and containers, or even in the ground!
How To Plant Tulips In The Spring – And Still Get Them To Bloom!
Planting tulip bulbs in the spring instead of the fall takes a little more effort and planning. But one thing is for sure, it certainly isn’t difficult to do.
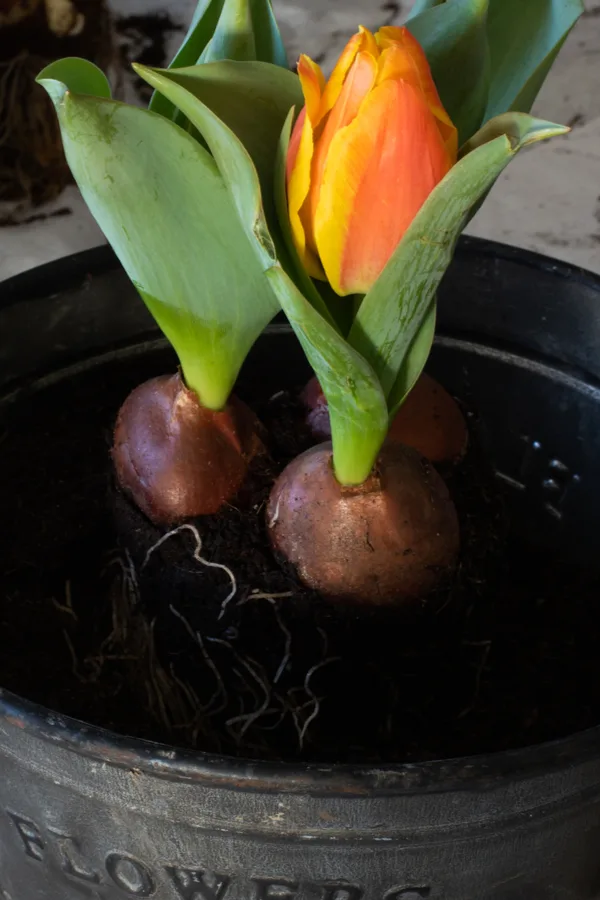
Success really comes down to providing the bulbs with the same chilling period they would have in the ground. Then, getting the bulbs into the ground or pots to still sprout and bloom. With that in mind, here is a look at the process, beginning with how to chill your bulbs.
Chilling Tulip Bulbs – How To Plant Tulips In The Spring
It is certainly a fact that tulip bulbs require cold climatic conditions to bloom properly. On average, tulip bulbs require around 14 weeks of chill to collect and store all the nutrients they need. This chilling prepares them for the entire process, from sprouting to blooming.
The chilling process allows for a bulb to absorb nutrients from the soil around it. As it rests at a cool temperature, it slowly absorbs the food it needs to sprout and eventually flower.
Without a chance to chill in the soil, the bulbs simply don’t have enough power to grow. The end result are tulips that may not even push through the soil. And of course, without that, there can be no big, beautiful blooms!
How To Chill Bulbs Without A Fall Planting – How To Plant Tulips In The Spring
Simply planting bulbs in the early spring will not allow enough time for them to chill and absorb nutrients. Chilling occurs when temperatures are lower and in the 40 degree Fahrenheit range.
Over a typical winter, the soil below the ground is plenty cool enough to chill. But by spring, the soil warms too much, and when that happens, the bulbs take in little to no nutrients.
That means if you want to plant bulbs during the spring, you need to start the process of chilling in late winter. That way, when the bulbs are ready to go in the ground in the spring, they are ready to grow!
When it comes to chilling in the winter, there are a couple of methods that can work.
Options For Planting Tulips After Fall – How To Plant Tulips In The Spring
The method you use to chill your bulbs over winter will all depend on where you live and the climate outdoors. If you happen to live in a warmer area with no snow pack, or you are in the midst of an unusually warm winter in a cold climate, you can actually still plant your bulbs outside in January or February.

As opposed to the other plants, tulip bulbs prefer cold weather, as long as they can be in the ground. If your soil is not frozen solid, and you can create planting holes in the first few months of the year, then plant away!
Dig your holes to the desired depth, and plant the bulbs in a mix of compost and soil. The compost will help the bulbs absorb nutrients at a much faster rate, which can be helpful when planting late. Finish by placing a few inches of straw or mulch on top, and wait for spring!
For most, the above option simply isn’t a possibility. For most northern climates, there is either a heavy snow pack on the ground by January, or the ground is frozen. Don’t despair – you are still in luck. All you need is a refrigerator and some compost or potting soil, and you are in business!
Chilling Bulbs In A Refrigerator – How To Plant Tulips In The Spring
One great trick for planting tulips during the spring season is to create space in your fridge for the chilling process. Planting your bulbs in nutrient-rich soil and then keeping them in your refrigerator will mirror the outside developmental condition that they need to survive.
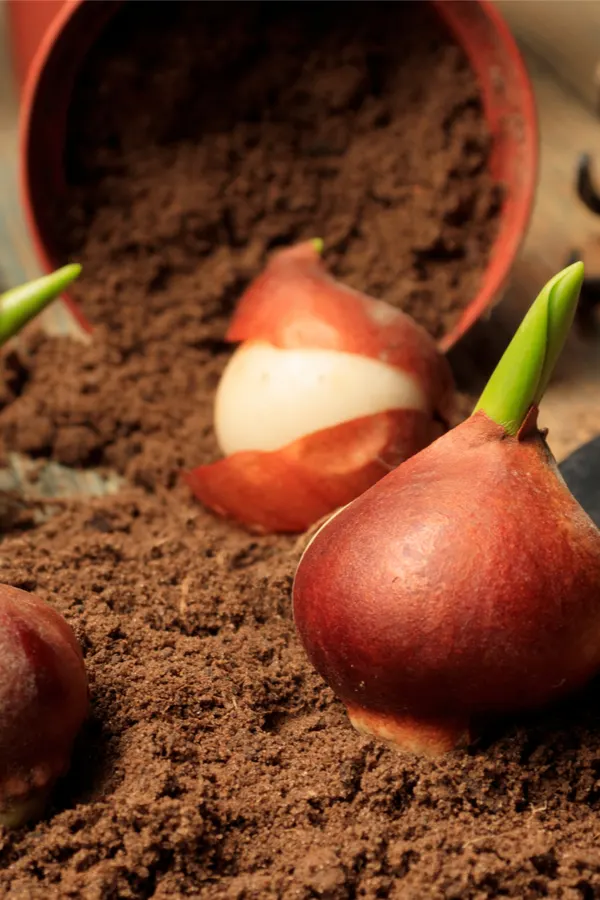
The best way to do this is using a small nursery pot or container. Make sure it is freezer safe (no glass or clay pots) and fill it with a good potting soil with a bit of compost added in as well. Plant the bulbs in the soil with the tips facing up.
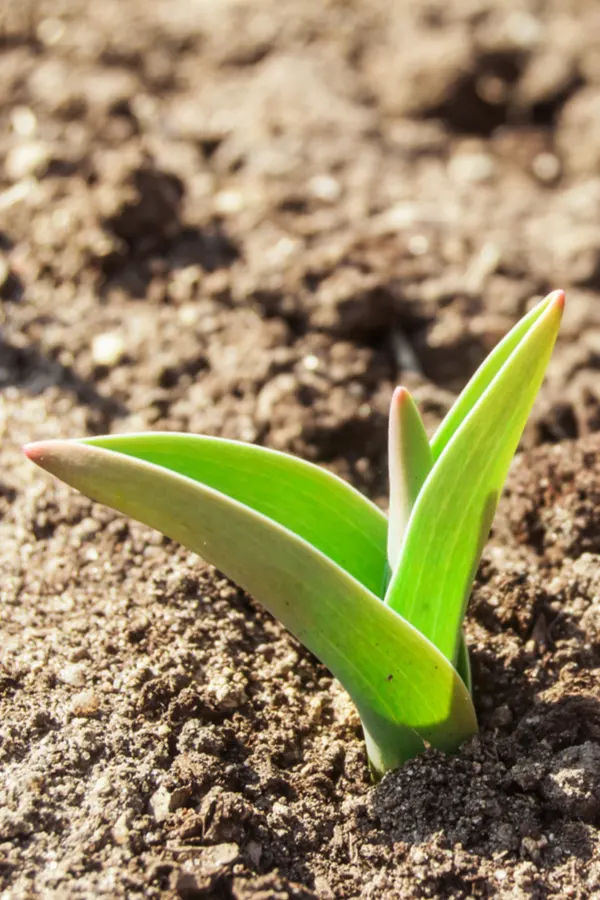
Next, wrap the container in a plastic bag and close it airtight. Take the bag and place it inside the fridge for ten to twelve weeks. Be sure to check the soil every few weeks to make sure the soil is moist. If the bulbs dry out, they can not continue to absorb the nutrients they need.
Planting The Tulip Bulbs – How To Plant Tulips Bulbs In The Spring
You should chill the bulbs in a refrigerator before you plant them for about 10 to 12 weeks. The longer the better in this case. In fact, if you can go 14 full weeks, that is best.
As late winter gives way to early spring, it is time to plant your bulbs! Planting time will depend on where you live, but a good rule of thumb is to plant when daytime temps are still only reaching 50 to 55 degrees (F) on average. If the soil gets too warm, it may not allow for the bulbs to sprout.
Planting In Pots & Containers
If you are planting in containers, fill your planters with soil in advance and leave them outdoors or in an unheated garage. This will allow the soil in the pots to stay cooler, and once the bulbs are planted in them, they can continue to absorb nutrients.
Remove the bulbs from the refrigerator and carefully plant them into the pots, covering them with soil as you normally would. Again, make sure the tulip bulb points are facing up when planting.
You may find at this point that some of the tulip bulbs are already sprouting. That is actually a great sign! Once you are finished planting, set the pots outdoors to continue to grow.
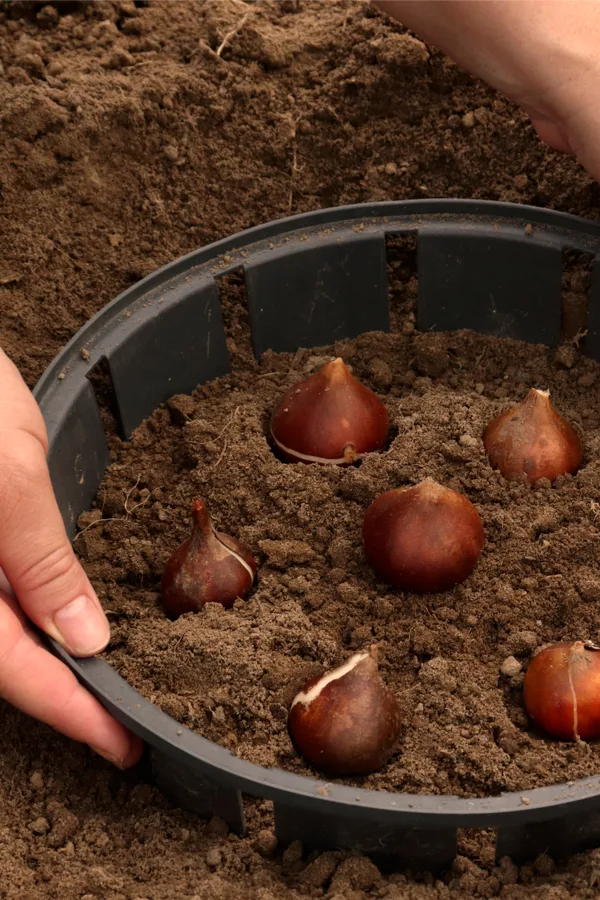
As an added note, with spring planting, be wary of hungry squirrels and chipmunks. They can easily spot fresh soil and often will try to dig it the area up. Mulch will help, but you may also want to use a planting basket to protect the bulbs under the soil. See : How To Protect Tulip Bulbs From Squirrels
Planting In The Ground
When planting in the ground, start by digging a hole that is 8 to 12 inches deep. Add in plenty of compost to the bottom of the planting hole and plant the bulb with the tip facing up. Water the soil and make sure the soil is slightly moist when planting.
At least six inches of the hole should be moist as tulips are a big fan of water, but be careful not over-saturate the soil. Slightly and lightly compact the soil as you fill in the hole, and then cover with a bit of straw or mulch.
Continue to water to keep the soil moist while the tulips begin to sprout and grow. Again, be careful not to over water, it only needs to be moist. And just like that, you should have some beautiful tulips blooming, even though they were planted in the spring!
Conclusion
Remember that conditions such as climate, cool soil, moist environment etc. can and will all play a role in how successful spring planting will be.
Here is to planting a few tulips this spring and still getting them to bloom! For more on planting spring, summer and fall bulbs, see our entire section dedicated to Planting Bulbs on the blog.
This Is My Garden is a website dedicated to spreading the love and knowledge of gardening around the world. We publish two new garden articles each week. This article may contain affiliate links.

