
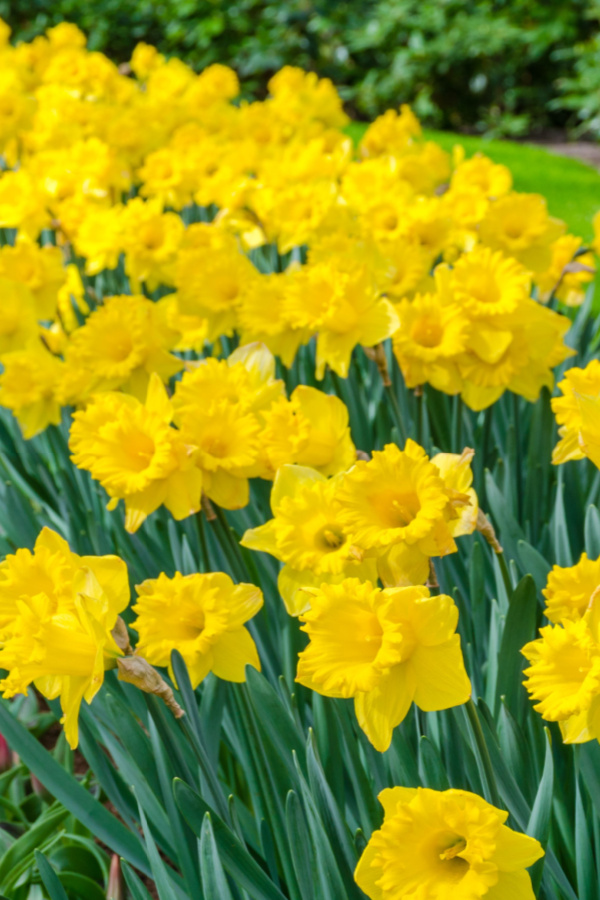
When it comes to taking care of your daffodils after they bloom in the spring, did you know that how and when you cut them back can make a huge difference in just how vibrant and plentiful their blooms are next year? Or if they will even bloom at all?
It’s true! Although daffodils are one of the most popular early spring flowering bulbs of all (they trail only tulips in that category), they also happen to be one of the most misunderstood when it comes to how to take care of them. Especially once they finish flowering.
The great news is that taking good care of your daffodils in the spring isn’t difficult. Nor does it have to be time consuming. But although daffodils are easy to plant and fairly maintenance free, what you do (or don’t do) in mid to late spring once their blooms begin to fade can pay huge dividends when it comes to the following year’s performance.

How To Care For Daffodils After They Bloom – Spring Daffodil Care
When it comes to caring for your daffodils once they finish flowering, there are four simple but important tasks that need to take place. And, as you will see below, more than anything else, getting the four tasks completed in the correct order is the real secret to making sure your daffodils bloom even better next year.
The four steps in order are as follows. The first is deadheading or removing the old blooms from the stems. The second is to remove the foliage after it dies off. The third is then to divide any plants or bulbs that have grown too large. And the fourth and final chore is to then fertilize your bulbs to re-energize them.
Three of the four tasks – deadheading, cutting back and fertilizing need to take place every year. These three play the biggest role of all when it comes to powering the following year’s bloom set.
As for splitting and dividing overgrown bulbs, that only needs to occur every four to six years. We will cover more on the when and why of dividing later in the article, but let’s start by taking a look at when to deadhead your plants – and when it’s safe to remove the foliage. And yes, they need to be done at separate times!

When & How To Deadhead Daffodils Blooms – How To Care For Daffodils After They Bloom
Plants that grow from bulbs store most of their power for blooming well in advance of when they actually bloom. For spring blooming bulbs like daffodils, that means energy to bloom must be built and stored the previous growing season.
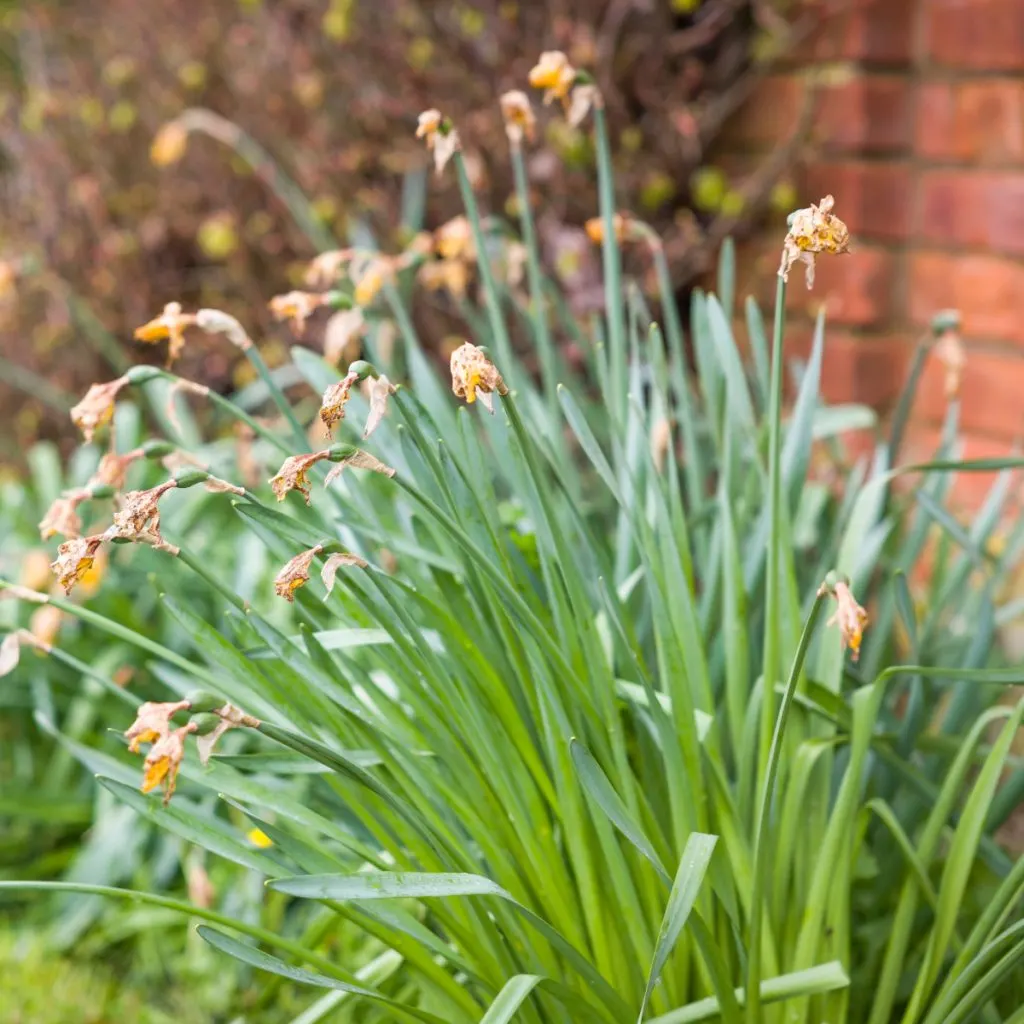
Much as with annuals and perennial flowers, the dying and decaying blooms of daffodils continue to use resources from the plant as long as the flowers remain on the stem. Resources that instead should be helping to save and store power for next year’s bloom cycle.
By simply removing old blooms as they begin to fail, you help power up next year’s flowers. Instead of wasting energy trying to heal failing flowers, the bulbs save the energy for future use. But when you remove the flowers – it’s vital to not remove the foliage. And this is where many gardeners make a crucial mistake.
When To Remove The Foliage From Daffodils – How To Care For Daffodils After They Bloom
As important as it is to remove fading blooms to help conserve bulb power, removing the foliage too early will actually steal future power from your bulbs.

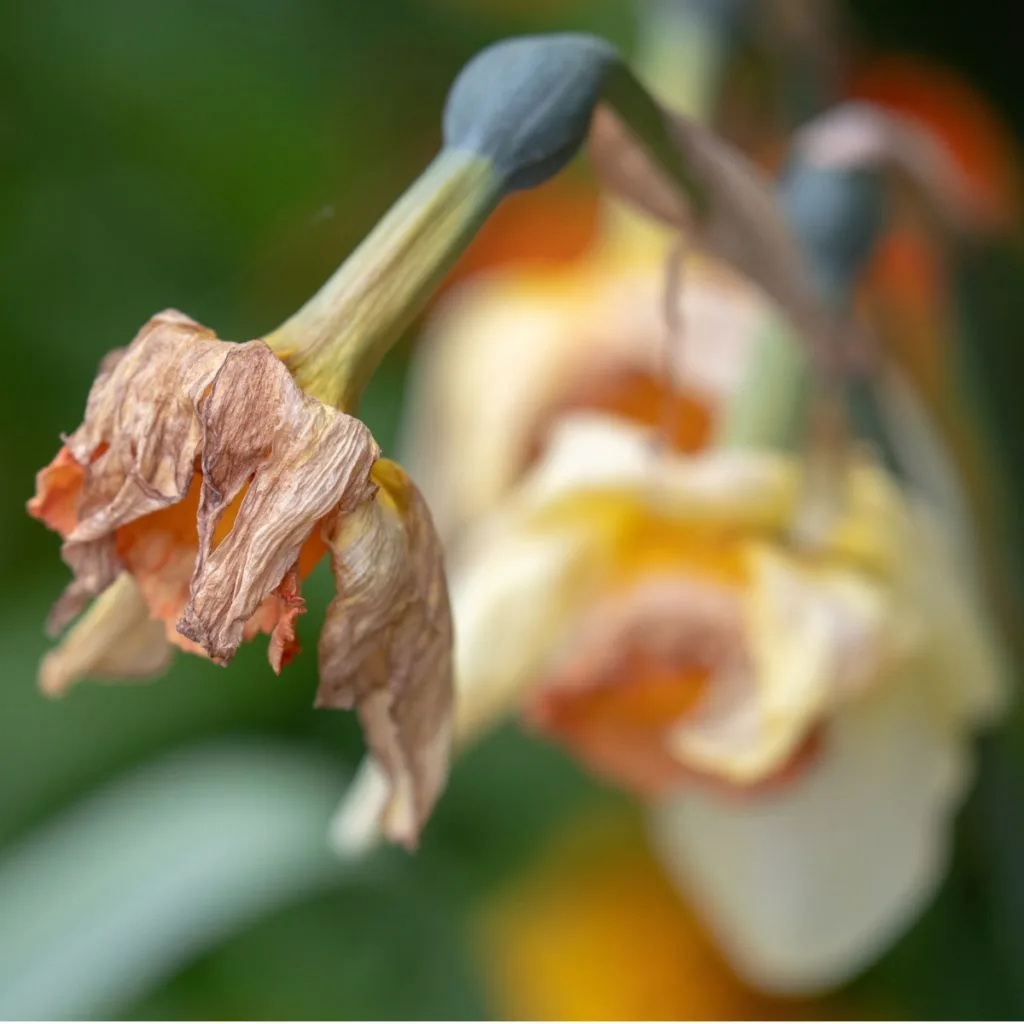
Once daffodils start to near the end of their blooming cycle, their foliage begins to brown and fade. Many gardeners at this point feel the need to cut the plant to the ground to clean up and clear their beds. Unfortunately, cutting the foliage back early will severely impact next year’s blooms.
Why? Because as the foliage of a daffodil slowly fades, it feeds the bulbs below. Through the process of photosynthesis, the leaves capture the sun’s rays and convert it to energy. Energy that is then stored in the bulbs below to help propel the following season’s growth and bloom cycle.
By removing the foliage before it dies off completely, the photosynthesis process stops. The result being far weaker bulbs that have far less energy in reserve to bloom next spring.
For best results, resist the urge to spring clean daffodil beds. Allow all of the top growth to completely die off first. Not just until it is mostly dead or half dead, but until it completely browns off and is totally void of life. This simple step can help your bulbs store a tremendous amount of power for next year.


Dividing Overgrown Plants – What To Do With Daffodils After They Bloom
One of the best attributes of daffodils is that they truly are one of the lowest-maintenance plants around. Unlike many other bulbs, they can remain in the ground over winter, all without the worry of freezing out in most climates.
Adding to their allure, they also do not require division as frequently as other bulbs. In fact, most daffodils can easily go a minimum of four to six years without the need to divide. As slow bulb growers, some can even go as many as ten years or more without any issue at all.
In general, dividing bulbs needs to occur when either the foliage becomes too dense, or the bloom sets begin to decrease in intensity.
Dividing should take place in the early fall. Dig around the edges of the plant carefully to keep from nicking or damaging any of the bulbs. Next, lay the bulbs out where the sun can help to dry them out for a week or two.

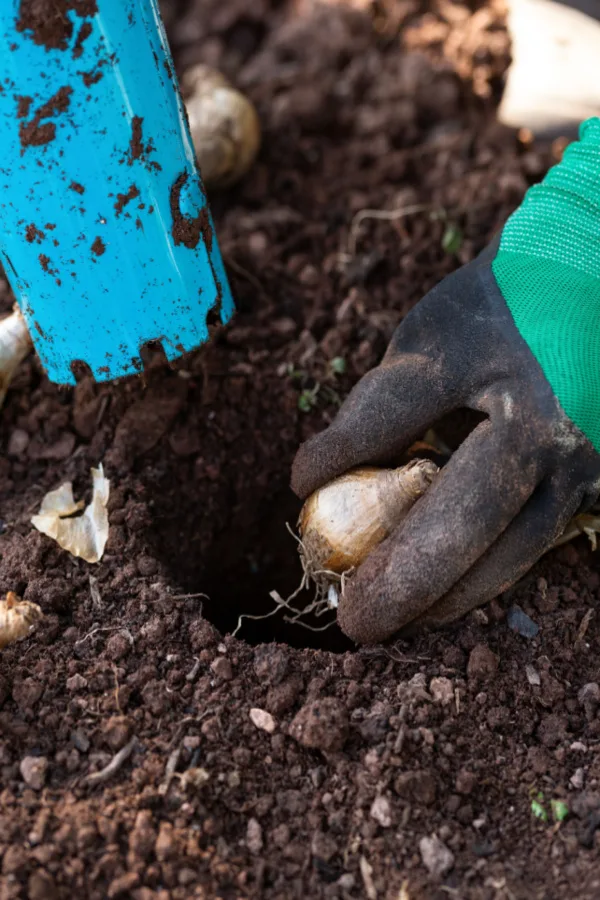
Once the bulbs are dry they will be easy to separate. All that remains is to plant them in the ground in the fall and wait for even more glorious flowers next spring!
Fertilizing Care – How To Care For Daffodils After They Bloom
Last but not least, once a year, you need to fertilize your bulbs. Even though cutting the spent blooms off and allowing foliage to completely die back helps the bulbs to power up, providing them with an extra boost of energy is the real ticket to big blooms.
Although they only need a single dose of fertilizer, you can actually apply it either in early spring or mid to late fall. Both are more than fine to help the bulbs, although spring fertilizing is thought to help the same year blooms a little more.
If fertilizing in the spring, it needs to be done early. As the first shoots of daffodils appear through the top of the soil, apply a well-balanced granular bulb fertilizer to the soil surface. This will provide a boost of nutrients to the bulbs just as they begin to set their blooms.
For best results, use a fertilizer that is somewhere in the 3-5-3 to 5-5-10 Nitrogen, Phosphorus, Potassium (NPK) range. These lower amounts are exactly the range bulbs need most, supplying needed energy, but without overpowering them. Product Link : Espoma Bulb Food

If fertilizing in the fall, apply late in the season a few weeks before your first average frost. Again, you can use a well-balanced granular bulb fertilizer to do the trick. Fertilize late, when plants can no longer grow. Fertilizing too early in late summer or early fall will promote late season growth that can leave the bulbs susceptible to winter damage.
For more on fertilizing another big spring flowering plant, be sure to check out our article on the best way to fertilize peony bushes in the spring.
Here is to taking care of your daffodils after they bloom this spring, and to setting the stage to a spectacular flowering show next year as well!
This Is My Garden
Follow Our Facebook Page For Great Gardening Tips And Advice! This Is My Garden Facebook Page
This Is My Garden is a garden website created by gardeners, for gardeners. Jim and Mary Competti have been writing gardening, DIY and recipe articles and books and speaking for over 15 years from their 46 acre Ohio farm. They publish three articles every week, 52 weeks a year. Sign up today to follow via email, or follow along!