
With just a little care after they complete their bloom cycle, you can keep your creeping phlox plants healthy and strong year after year – and maybe even get a second bloom from them too!
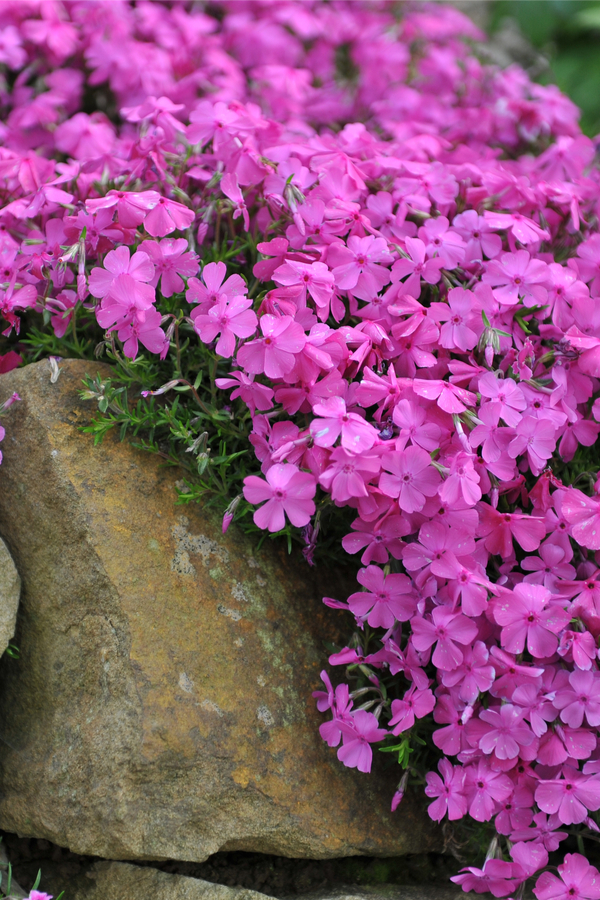
Creeping phlox is one of the first perennial plants to provide a burst of spring color in the landscape. Its mossy, fern-like foliage quickly becomes covered in waves of blooms in early spring. With varieties that can flower in pink, red, white or purple, the plant is certainly an early-season eye-catcher!
The perennial is wonderful for a whole slew of reasons. Not only is it easy to maintain and grow, it can also handle most soil types without missing a beat, including rocky, hilly and uneven planting areas.

There are two main types of creeping phlox, Stolonifera and Moss phlox (Subulata). Stolonifera is the larger of the two varieties, and usually grows to about a foot in height. Moss phlox, on the other hand, stays lower to the ground and flowers at around six inches in height.
Of the two, Moss phlox is more commonly grown. Not only does it’s low mounding nature provide incredible interest, it also is hardy in warmer climates. Moss phlox can grow in zones three through nine, while Stolonifera is best planted in zones five through nine as it struggles with high heat summers.
No matter which variety you grow, the good news is that both bloom at around the same time in the spring, and even better, take similar care throughout the year to keep them healthy and strong.
What To Do With Creeping Phlox After They Bloom
Deadheading & Pruning
The biggest part of caring for phlox as they complete their blooming cycle involves deadheading and pruning.
As blooms begin to fade away in late spring, it is important to remove them from the plant. Not only does this help to keep the plant from becoming unsightly, it also helps to improve its health and vigor.


Much as with any perennial or annual flower, spent blooms continue to consume resources from the plant as long as they remain attached. Unfortunately, it is in a plant’s DNA to attempt to feed, heal and energize any part of it that is failing, and that includes fading blooms.
Although it would be nearly impossible to remove each bloom as it fades from a creeping phlox plant, it is important as the entire plant begins to fade at the end of spring to shear off all of the blooms.
The Important of Deadheading – Creeping Phlox After They Bloom
A complete deadheading as blooms fade accomplishes a couple of very important things for creeping phlox. First, it allows the plant to now put its energy into growing thick, vibrant summer foliage.
Good strong foliage growth means the phlox can begin to store more energy through the process of photosynthesis. And that is energy is extremely important – not just for preparing for better blooms next spring – but in some cases, getting the phlox to bloom again in late summer.
That’s right – by simply deadheading the entire plant as it fades, many times, it can produce a great second bloom! And even if it doesn’t – it still helps to store big power for the following year’s spring bloom in the process.


How To Deadhead / Prune In Late Spring – Creeping Phlox After They Bloom
Late spring deadheading can also coincide with pruning and shaping your plant. In fact, the two processes really go hand in hand.
So what is the easiest method for deadheading and shaping? Although you could certainly use hand held pruners to clip flowers and stems off individually, a good pair of hedge shears will do the chore in short order. Even better, a string trimmer can make really quick work of the chore!
Using the hedge shears or string trimmer, cut back the plant to shape it for summer growth. To do this, cut the mound back a few inches down. This process will not only remove all of the old blooms, but allow you to shape it as well. Product Link : Fiskars Garden Powergear2 Hedge Shears
Fertilizing Creeping Phlox – Creeping Phlox After They Bloom
There are actually two optimum times to fertilize creeping phlox. In the very early spring just as they begin to bud, and right after they finish blooming.
Fertilizing prior to blooming helps to power stronger and more proficient blooming. Fertilizing after the plant completes its bloom cycle helps to replenish lost nutrients, and promote strong summer growth.
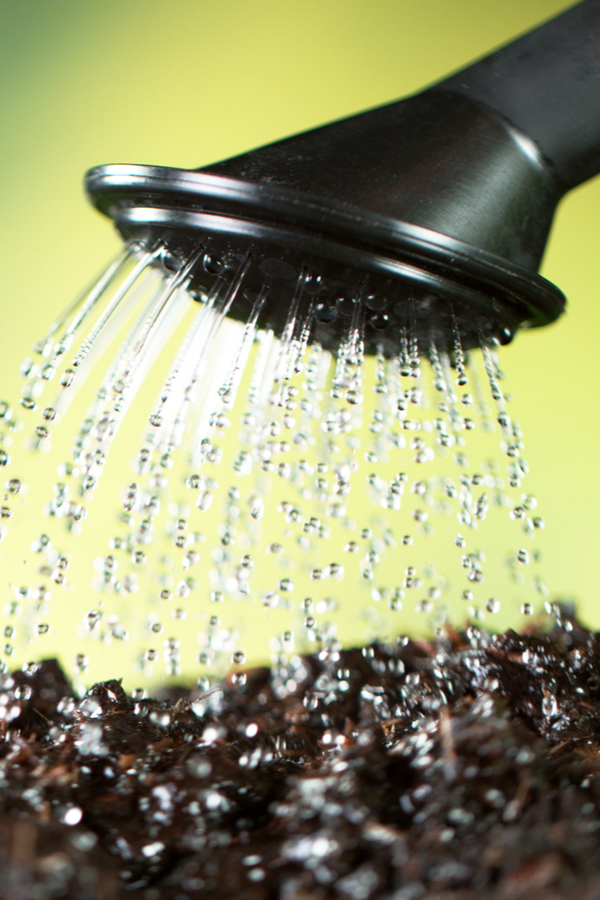

There are several great options for fertilizer when it comes to creeping phlox. Since they do not require massive amounts of nutrients, compost is one of the best. A few inches applied around the plant’s base will provide a wonderful, slow-release of nutrients over the summer.
This allows the compost nutrients to slowly work into the soil every time it rains. It truly is one of the best ways to fertilize perennials that need steady and slow power over the summer.
In lieu of compost, a light application of a balanced, all-purpose fertilizer will do the trick. When fertilizing in the early spring for flowering, the all purpose fertilizer is the better choice as it will feed the plant more quickly for the coming blooms.
Mid Summer / Late Fall Phlox Care – Creeping Phlox After They Bloom
Whether your phlox bloom for a second time in late summer or not, the plants should be cut down in mid to late fall before the cold of winter settles in.
This will not only help keep the plants compact and manageable next spring, but also improve flowering on the new growth as well. Even more, by cutting them back in late fall, it also protects them from powdery mildew, which they can be quite susceptible to.
Dividing & Fertilizing Phlox
Once cut back, this is the perfect time to divide and transplant overgrown clumps. Phlox should be divided every three to four years to keep plants energized.


To divide, simply dig up the plant, trying to keep the root ball in tact as much as possible. Once out of the ground, you can turn the plant over and slice new divisions. By turning the plant over, it is easier to take your shovel through the root ball to create even sizes of new starts.
For large plants, do not replant the center area, as these areas are the first to die out. When dividing, try to dig plants up in early fall. This way, they still have four to six weeks of warmer weather (before heavy frosts) to re-establish in the soil.
As a final not, phlox should not be fertilized in late fall. Providing power just before it is going dormant can promote tender young growth that can be highly susceptible to winter damage. (See : Why Not To Fertilize Perennials In The Fall)
Here is to taking care of your phlox after they bloom this spring, and to powering an even healthier bloom set next year!
Follow Our Facebook Page For Great Gardening Tips And Advice! This Is My Garden Facebook Page
This Is My Garden is a garden website created by gardeners, for gardeners. Jim and Mary Competti have been writing gardening, DIY and recipe articles and books and speaking for over 15 years from their 46 acre Ohio farm. They publish three articles every week, 52 weeks a year. Sign up today to follow via email, or follow along!