Looking for a few key tips on what to do with your black eyed Susan plants after they bloom near the end of summer?
Black eyed Susan is a great choice for the home landscape for so many reasons, and it’s easy to see why. With bloom periods that can last for nearly a month – and the ability to survive and thrive in all kinds of soil types and climates – the flowering perennial brings long lasting color and interest to summer flowerbeds.
In addition to its long blooming time, black eyed Susan plants also happen to be one the most drought tolerant and deer resistant perennials around. In fact, once established, they rarely if ever need to be watered. Even better, not only do deer not like them, most other animals and insects leave them alone as well.

Even though black eyed Susan can bloom for weeks on end, as summer begins to turn to fall, the plant slowly starts to end its bloom cycle. And when the plant does, it’s the perfect time to spring into action with a little fall care.
Not only can a little bit of late-season maintenance help keep your flowerbeds neat and tidy, it can also prepare your black eyed Susan plants for even better flowering next year.
With that in mind, here is a look at what to do with your black eyed Susan when they stop flowering – including how and when to cut them back – and how to divide and transplant ones that have overgrown their space!
What To Do With Black Eyed Susan Plants After They Bloom
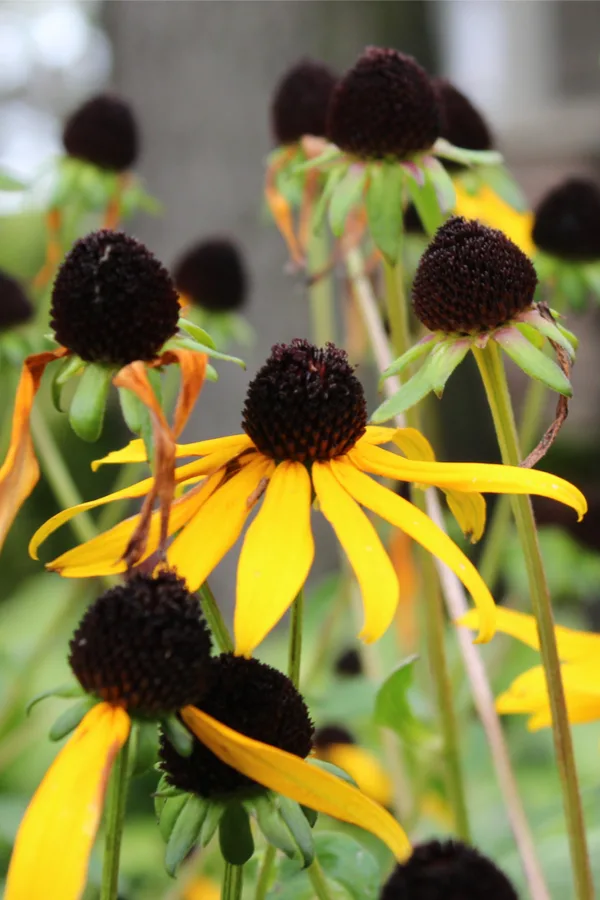
Unlike many other flowering perennials, allowing the fading blooms to remain on your black eyed Susan plants will not affect the following year’s plant performance or blooming cycle.

For many perennials, allowing the blooms to remain can drain resources – but it just isn’t the case for black eyed Susan. Because of that, it really boils down to a matter of personal preference for when to cut back.
Cutting Back In The Fall
Many gardeners prefer to cut their black eyed Susan plants back to the ground as soon as the flowers and stems begin to fade. This is certainly a great way to keep flowerbeds neat and tidy. But there are a few other reasons this route can be the better choice.
For starters, cutting back in the fall helps to protect the plants from disease, mildew and pests. When allowed to overwinter, the decaying foliage is an easy place for mildew and other disease to fester. It can also be the perfect hideout for pests and insects to overwinter and then multiply.
But the biggest reason many choose to cut back black eyed Susan earlier is to keep the plants under control. Black eyed Susan plants are prolific self-seeders.

In some locations, the plant can begin to crowd out other perennials if allowed to spread to quickly. And by allowing seed heads to remain and scatter, this can sometimes happen too fast. But by cutting the stems back as they fade, this eliminates the worry of your plants taking over.
Allowing Plants To Remain – What To Do With Black Eyed Susan Plants After They Bloom
So with all of those advantages of cutting back – you may be wondering why some prefer to leave their flower heads in place. As it turns out, there are also a couple of great reasons to let plants decay on their own.
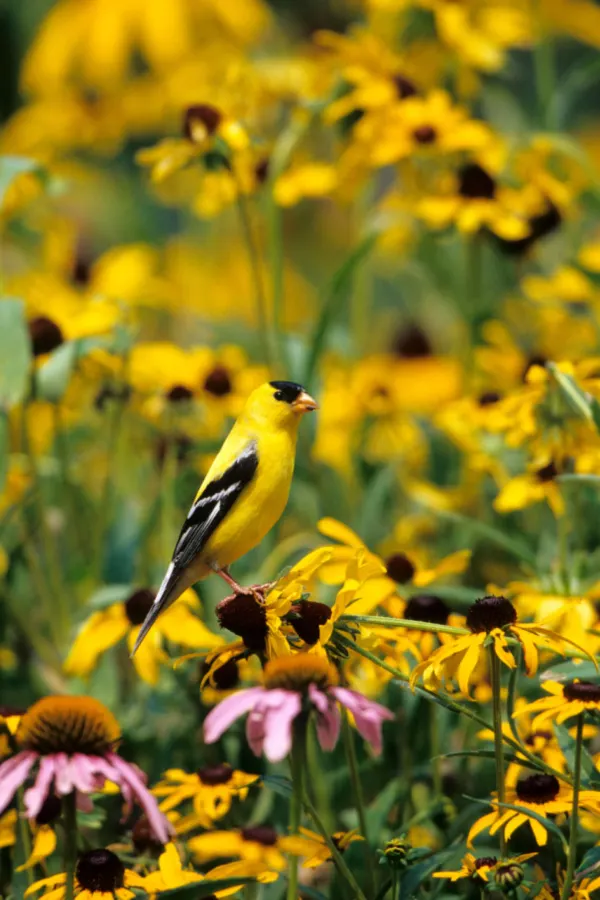
For starters, the seed head of black eyed Susan are a great source of food for birds. And when allowed to dry on the stems, it can help feed them through the long, cold winter months.
In addition, allowing the seed heads to remain can mean even more plants for the following year – and some welcome that with open arms. Black eyed Susan reseeds quite easily, and is often spread to new places by wildlife.

Again, it really comes down to a matter of personal preference. That is, unless you have an issue with mildew or disease already appearing in the fall. (more on that below)
Some gardeners still cut their flower stems back, but save the seed heads and place them elsewhere to feed the birds. It certainly can be a great way to take the best course of action for both the birds and your flowerbeds!
Disease & Mildew – Fall Care For Black Eyed Susan
Black eyed Susan will sometimes become infected with mildew and disease as fall approaches. Especially with a summer that has been unusually wet or cooler than normal.
To prevent infection from coming back and/or spreading, it is important to take action if your plants show any sign of mildew or disease. Allowing these plants to overwinter can lead to increased disease issues the following year and beyond.
At the first sign of disease, cut any plants that show signs of infection down to the ground. This include the foliage, stems, seed heads and flowers. Do not attempt to compost any plants or foliage that have been removed for disease and mildew.
Unfortunately, the average home composting bin simply doesn’t reach high enough temperatures to kill the disease off. The result is compost that can easily re-infect plants when used in the garden and flowerbeds.

Dividing & Transplanting Overgrown Plants – Fall Care For Black Eyed Susan
In addition to being a self seeding plant, black eyed Susan plants can also be divided and replanted as transplants. In fact, you should divide mature plants and split every three to five years to keep them healthy and blooming strong.
If allowed to grow too thick, the roots begin to crowd one another out. Once this occurs, blooming cycles will become shorter and less intense. This is true for nearly all perennials. See: How To Divide Your Perennials In The Fall – Create More Plants For Free!
You can divide in the spring or fall with success. However, of the two choices, fall is best. The biggest reason fall is better is it allows you to see which plants have grown a bit too large for their space.
If dividing in the fall, it is best to divide as soon as the plant’s foliage begins to show signs of dying back. This will allow enough time for the new divisions to establish in the soil before winter sets in. Dividing later can put the plants at risk of freezing out.
How To Divide – What To Do With Black Eyed Susan Plants After They Bloom
To divide, begin by cutting back the foliage to within a few inches of the surface of the soil. This will make it easier to see and divide the plant once it is out of the soil. Next, dig around the outer edges of the plant with a sharp shovel. Once you have cut the edges, dig down deep and lift the plant from its planting hole.

After the plant is out of the hole, turn the black eyed Susan’s roots over and divide into equal sections. Just like with all perennials, the size of your divisions will dictate the size of next year’s plants.
Transplant your new divisions into new planting holes. To help them establish quickly, amend each hole with a bit of compost. When transplanting, it is always good to water in the new divisions every few days to help them re-establish.
Mulching & Overwintering – What To Do With Black Eyed Susan Plants After They Bloom
Mulch new transplants with a few inches of fresh mulch to help protect them through the old winter months. Depending on how warm your autumn is, you may see new growth emerge from the base of the transplants.
This will not harm the plant in the least. The foliage will simply die back when hit with the first freeze or heavy frost. Once spring rolls around, your new plants will be ready to roll. Because black eyed Susan is such a low maintenance plant, fertilizing is not necessary.
Here is to taking care of your black eyed Susan plants this fall – and to having them perform and bloom better than ever next year!
Follow Our Facebook Page For Great Gardening Tips And Advice! This Is My Garden Facebook Page
This Is My Garden is a garden website created by gardeners, for gardeners. Jim and Mary Competti have been writing gardening, DIY and recipe articles and books and speaking for over 15 years from their 46 acre Ohio farm. They publish three articles every week, 52 weeks a year. Sign up today to follow via email, or follow along!
