Did you know that summer is the best time to save marigold seeds from your plants to grow again for free next year? And is it ever easy to do!
Beyond their beauty and toughness, marigolds act as an amazing companion crop, helping to repel many unwanted pests. Aphids, whiteflies, and tomato hornworms all steer clear of plants when marigolds are planted nearby. And to boot – they also repel mosquitoes as well.
But perhaps best of all, marigolds are incredibly easy to grow from seed. And although you can start marigold seeds indoors to grow as transplants, they grow and bloom so fast from seed, many gardeners simply sow the seed directly into their flowerbeds for easy growing. So the more seeds you can have on hand, the better!

But even though most gardeners wait until fall to start collecting old bloom heads for next year’s seeds – as it turns out, summer is the better time for saving. Here is a look at why you should start saving seeds now – along with a few simple tips to help you harvest loads of seeds that will have you ready for growing beautiful marigolds next year. And all for free!
Why Summer Is The Best Time To Save Marigold Seeds
When To Harvest & Save Marigold Seeds
So why is mid to late summer the best time for saving marigold seeds? For starters, by mid summer, plants are fully mature. That means they are producing their best blooms. And when it comes to saving any seed from any plant, you always want to save the best blooms possible. See: How To Keep Marigolds Blooming Big In The Summer – 3 Simple Secrets For More Blooms!
Selecting big, bright blooms from the healthiest plants gives you the best chance to get the same great plants with the same bright blooms next year. It all comes down to genetics. And healthy marigolds give you the best chance for another stellar crop.
In mid to late summer, while your marigolds are blooming, keep an eye out for blooms that are starting to fade. You’ll notice that the petals will have started to dry and shrivel up. The base of the bloom, also called the seed head, will also be starting to turn brown. But instead of deadheading these blooms, allow a few of the best to dry up completely.

Harvesting The Seeds
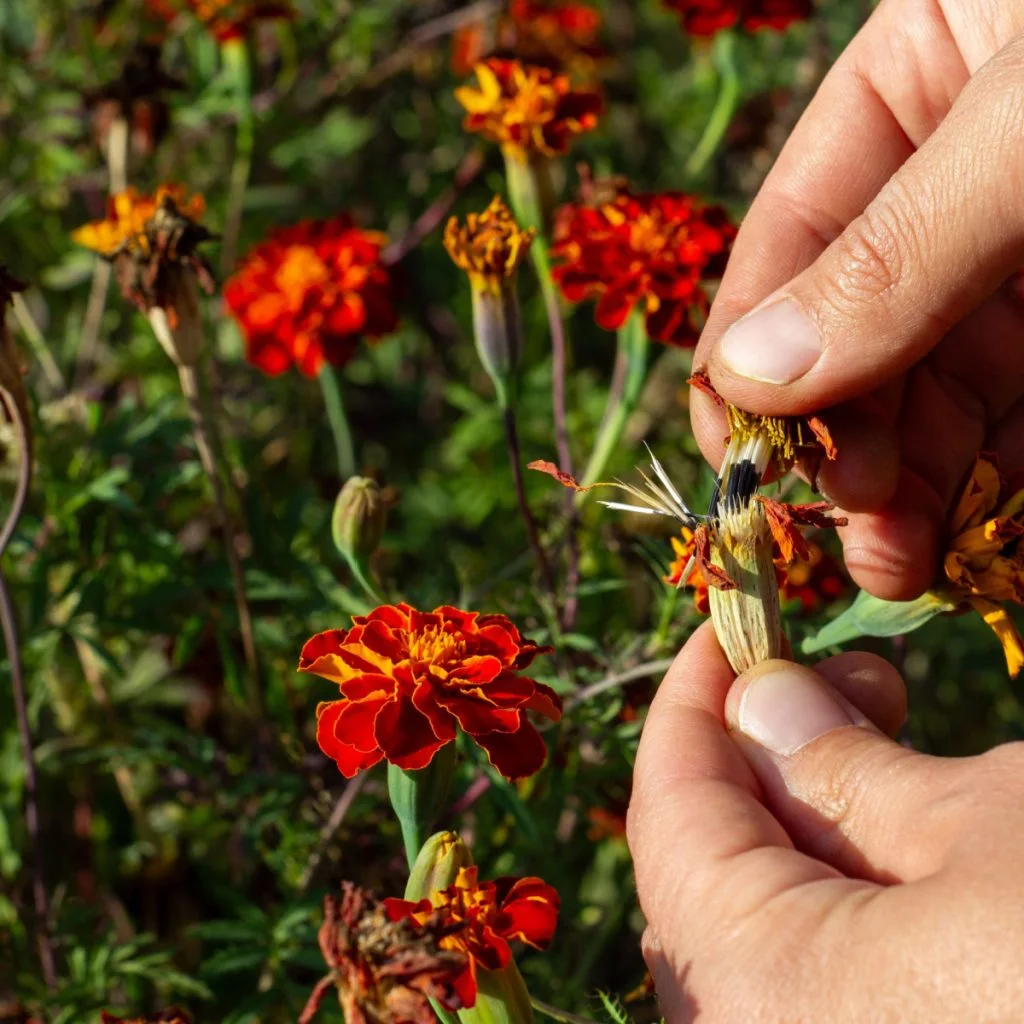
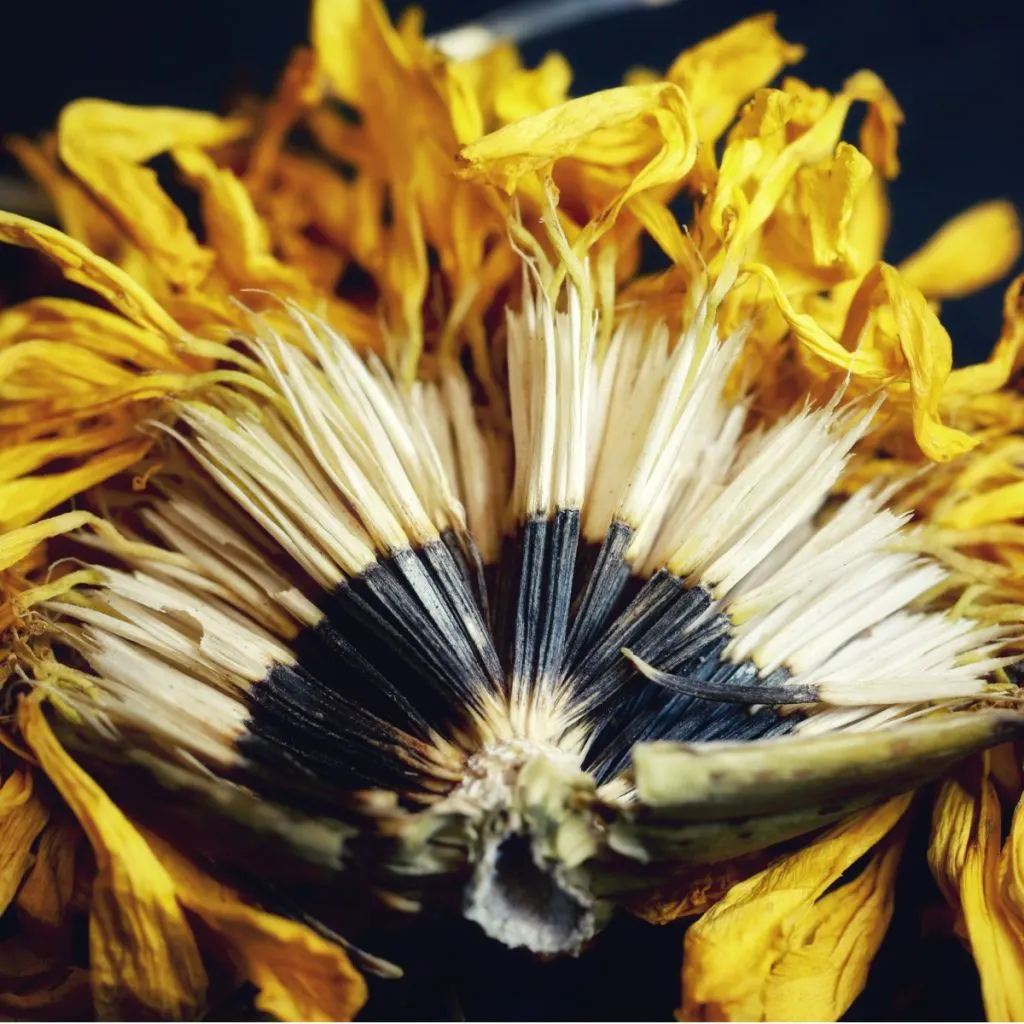
Once the seed heads have dried on the plant, you can pluck them off. When you pull out one of the petals, you will see a long piece attached. One of the ends should be white, while the other end should be black. The black part is the actual marigold seed.
If you pull out a seed and it is all one color, the seeds are not ready to be harvested yet. Allow the remaining blooms to dry out a little more on the plant and try again in a couple of days. If one end is black, simply pull off the seed head to harvest. They usually come off easily with a decent tug.
Drying The Seeds
The next step is to separate the individual seeds from the seed head. If the seed head is dry, you should be able to easily pull the seeds by holding onto the base and gently pulling the dried petals.
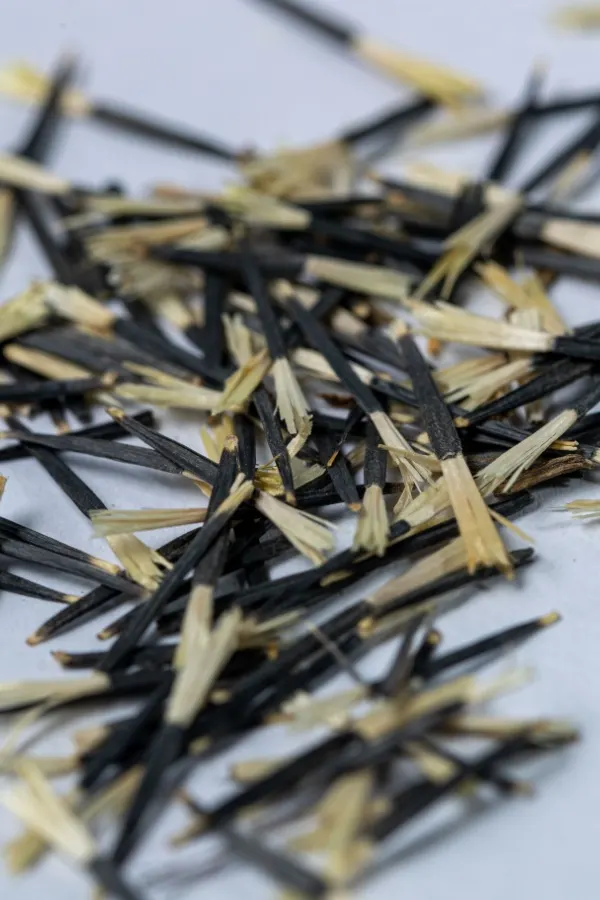
You do not need to separate the actual dark seed from the rest of the piece. Leave it as one long piece. Place all of the seeds flat on a paper towel or plate to allow them time to fully dry.
Keep the seeds in a dry location and out of direct sunlight. It may take up to a week to fully dry out. Once they are dry, they should snap in half easily. If you don’t allow them to dry completely, you risk them becoming moldy in storage.

Saving Different Types Of Marigolds
Marigolds come in two main types: open-pollinated and hybrid varieties. If you want to have an identical copy of the plant you harvest the seed from, then you need to use open-pollinated plants (heirlooms fall into this category). The seeds of these marigolds will be “true” with all of the same characteristics of the parent plant.
Hybrid marigolds, on the other hand, are created by crossing two different types of marigolds together. The seeds of these plants will not be the same as the parent plant. Instead, they will likely look like one of the plants that was crossed.
While you can still save the seeds of hybrid marigolds, just keep in mind that the plants you grow from the seeds might not look exactly like what you expected. But who knows, you might end up with a color or variety you like even better!
Most marigolds sold in stores are usually African or French Marigolds, which are open-pollinated. When first buying seeds, always try to look for open pollinated. These will allow you to continue to grow for free simply by saving seeds from your plants. Affiliate Link: HOME GROWN Marigold Seeds Bulk Mix
Long-Term Seed Storage
Once your marigold seeds are fully dry, it’s time to prepare them for storing over the winter. One of the best places for storage is in a paper envelope. You can either reuse old seed packets, purchase inexpensive small envelopes, or make your own. (Affiliate Link: Kraft Paper Envelopes)

Avoid using any type of plastic for storing the seeds directly in. Plastic has a tendency to retain any residual moisture and can cause seeds to mold. Don’t forget to label the envelope with the marigold’s variety and the date. This will save you a lot of frustration and confusion when spring rolls around.
As for storage, keep the seed packets in a cool, dry, dark location over winter. If you have the space, storing the packets in your refrigerator is a great option. However, avoid placing them in your freezer. Freezing will actually lessen the likelihood of the seeds sprouting.
For best results, use the seeds you saved the following spring. The fresher the seeds, the better the chance for germination. Not only will saving your own marigold seeds save you money in the long run, but it will ensure that you have an amazing companion crop at your disposal when spring rolls around!
This Is My Garden
Follow Our Facebook Page For Great Gardening Tips And Advice! This Is My Garden Facebook Page
This Is My Garden is a garden website created by gardeners, for gardeners. Jim and Mary Competti have been writing gardening, DIY and recipe articles and books and speaking for over 15 years from their 46 acre Ohio farm. They publish three articles every week, 52 weeks a year. Sign up today to follow via email, or follow along!
