
Want to know how to best protect your clematis before winter arrives? And how to make sure your clematis will bloom bigger and brighter than ever next year?
The care your clematis receives in late fall is extremely important when it comes to keeping it safe and healthy. And just as important, depending on what type of clematis you have, it can also play a pivotal rule in how well your plant flowers the following spring or summer.
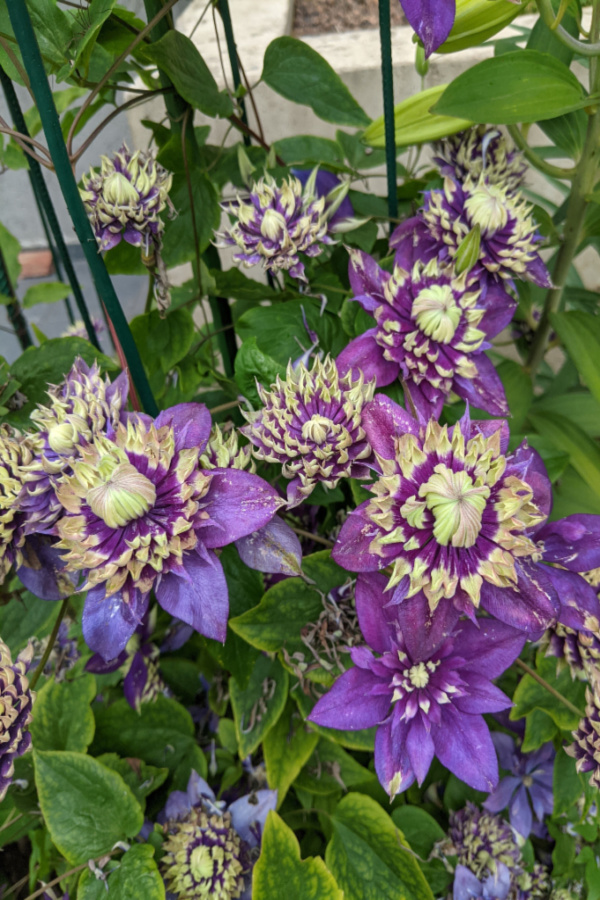
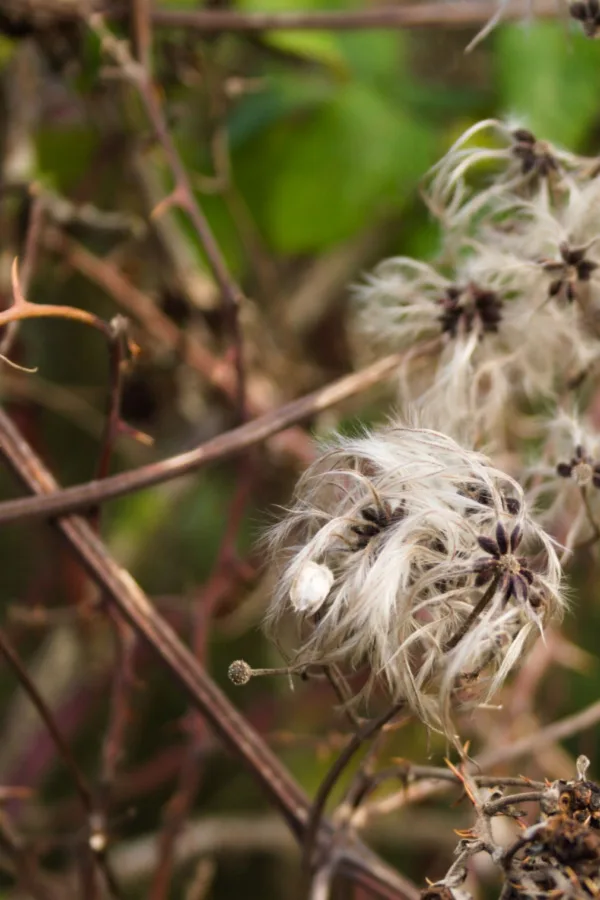
Clematis are one of the most prolific perennial flowering plants around. As they climb and weave their way around arbors, fences or even lamp posts, they light up the landscape with their massive, star-shaped blooms.

But as beautiful as they can be, clematis can also be quite finicky. Not just with getting them to bloom consistently, but also in simply trying to keep them alive over the winter months. That can be especially true in colder climates where they can freeze out if not properly prepared.
How To Protect Clematis Before Winter – And Next Year’s Blooms Too!
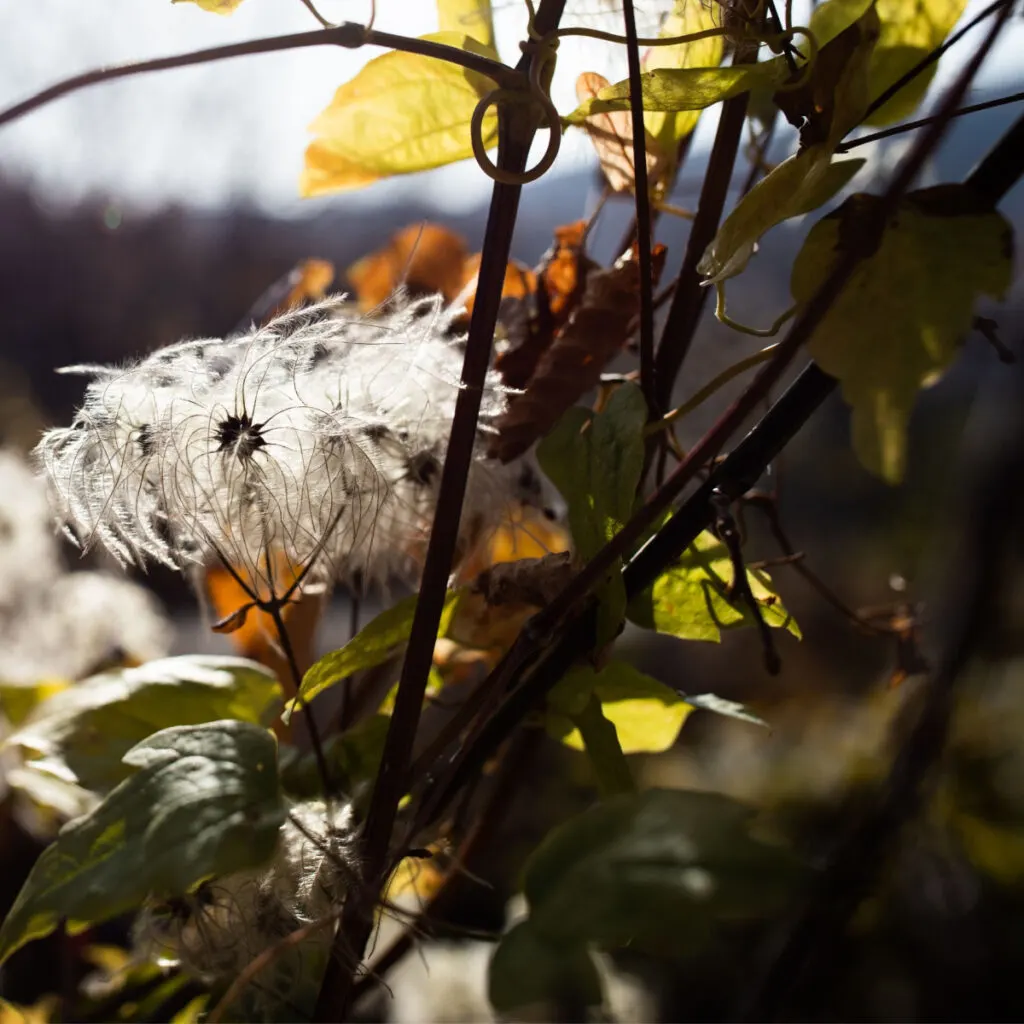
Clematis are notorious for suffering winter damage. Sometimes it can be only a portion of the plant that dies back. But when bad enough, it can also quite often lead to the entire plant freezing out. More often than not, it’s a direct result of the fall care given to the plant. And sadly, it’s usually a result of too much care more than not enough!
So what do you need to do to your clematis before the arrival of winter? Should it be pruned back or left alone? Does it need to be mulched? And what about fertilizing?
As it turns out, how and when you perform all three of those chores (mulching, pruning and fertilizing) are key in getting clematis to survive winter. And even more, they also can make a huge difference in whether your clematis will bloom next year – or if it will bloom at all!
Knowing How To Help Your Clematis In Late Fall – How To Protect Clematis Before Winter
To know exactly what to do to your clematis in late fall, you first need to know what kind of clematis you have. There are actually 3 distinct types of clematis – and they all bloom differently.
Clematis can either be spring flowering clematis, multi-flowering clematis, or summer/early fall flowering clematis. Because of that, they all require different care. Especially, as you will see shortly, when it comes to pruning.
Before we discuss pruning, let’s first talk about the issue of fall fertilizing. Unfortunately, one of the biggest mistakes gardeners make in the fall with their clematis is to fertilize them. Not only will fall fertilizing increase the risk of the plant freezing out, it can also prevent it from blooming the following year.


No matter what variety of clematis you grow, never fertilize it in the fall. In fact, it’s best not to fertilize in late summer either. Why? Because fertilizing late causes late growth. And it also makes the plant use valuable nutrients in its roots that it should be saving for winter – and for next year’s blooms.
Late season growth is extremely vulnerable to winter damage. As are root systems that spent the fall expending energy instead of preparing for dormancy. All it takes is one bad cold spell or a long tough winter – and trouble can loom.
In addition to putting the plant in jeopardy, when a clematis plant receives too many nutrients, it can actually prevent it from blooming. That is why it’s important to fertilize clematis once and only once – right in early spring as the plant comes out of dormancy. See: How To Get Clematis To Bloom Over & Over All Summer Long!
Pruning Clematis – How To Protect Clematis Before Winter
Now that we know fall fertilizing is bad, what about pruning? When it comes to whether or not you should prune your clematis, it all centers around what type you grow.
If you grow spring or multi-flowering clematis, you want to avoid fall pruning at all costs. This is because both of these flowering types bloom on old wood, which is wood that has grown after the plant blooms right up until the end of the year.


If you prune this wood off in late fall, you are removing next year’s blooms. The large majority of clematis that are growing in home landscapes fall under the spring or multi-flowering varieties. And most often, when a clematis fails to bloom, it’s because it was unfortunately pruned in the fall.
Pruning of spring and multi-flowering clematis should only occur immediately after they flower and not in late fall or early spring. By cutting them back right after they bloom, you allow plenty of time for new wood to grow until fall. And that new wood is exactly what they will bloom on next year.
If you do happen to grow late summer or early fall blooming clematis – you actually want to prune in late fall or late winter. These varieties flower on the wood that grows during the same season. By pruning late, you have them ready to grow and bud in the spring.
Mulching Clematis Before Winter – How To Protect Clematis Before Winter
One thing all clematis varieties can use before winter arrives is a protective layer of mulch. Mulch does not protect the ground from freezing, but does protect it from freezing and thawing rapidly. And that is exactly what you need to keep your clematis safe.
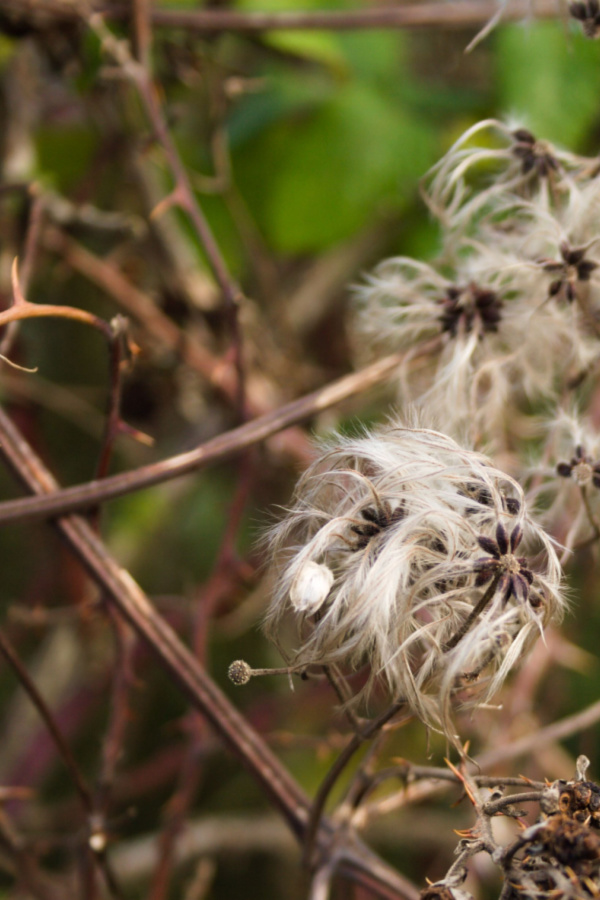
Constant thawing and freezing of the soil around the roots of clematis is what causes severe injury to clematis. And without mulch, the soil temperature fluctuates much more rapidly and more often. Mulch helps to slow both the freezing and thawing of the soil, keeping clematis safe in the process.
Mulching For Success…
For best results, start by clearing old leaves, blooms and debris from around the base of your plant. These can harbor disease and pests and it’s best to remove them before mulch goes down. Next, apply a three to four inch layer of compost. Finish by adding a few more inches of hardwood mulch or straw on top.
This combination of compost and top mulch will protect the roots, and slowly feed them for next spring. The good thing is that with compost, the energy will not soak in so fast to spur late fall growth.
Finally, when mulching, be careful not to have the mulch smother the stems. Instead, allow few inches of space away from the stems coming out of the ground. This will keep the plants from rotting off if too much moisture is present.
Last but not least, secure any branches and stems to whatever support is in place for your clematis. This will help support the overall structure of the plant, and keep stems and branches from snapping off from winter winds, ice or a heavy snow load.
Here is to getting your clematis ready and protecting it from winter, and to having it bloom bigger than ever next year!
Follow Our Facebook Page For Great Gardening Tips And Advice! This Is My Garden Facebook Page
This Is My Garden is a garden website created by gardeners, for gardeners. Jim and Mary Competti have been writing gardening, DIY and recipe articles and books and speaking for over 15 years from their 46 acre Ohio farm. They publish three articles every week, 52 weeks a year. Sign up today to follow via email, or follow along!