
Did you know that late fall is the best time to divide and transplant your hostas? Not only is it a great way to keep your hostas healthy and your flowerbeds neat and tidy – it’s also a great way to create brand new plants for free!
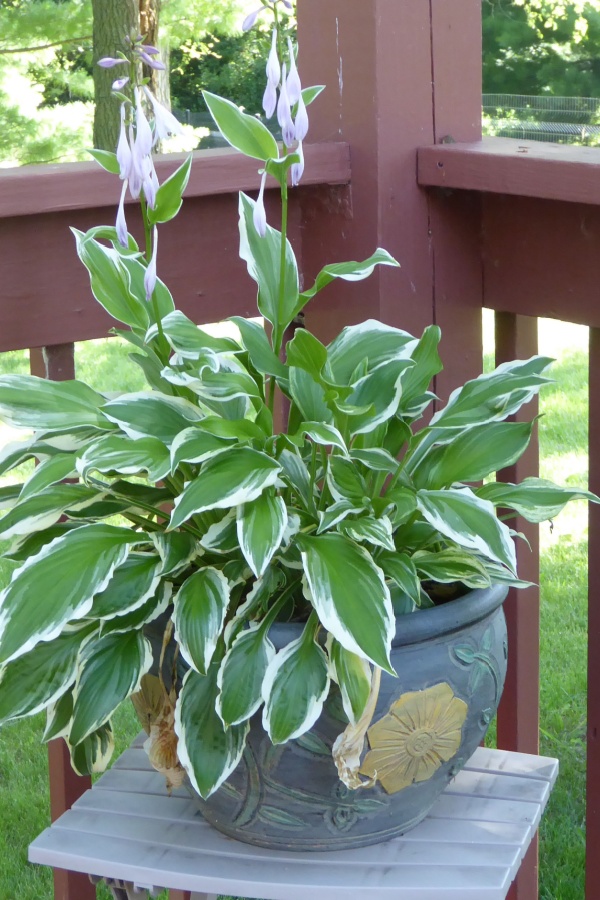
Hostas are one of the most stunning foliage plants. With their large leaves and their ability to grow in the shade where other perennials might struggle, there’s good reason to see why they are one of the most popular perennials around.
But one thing is for sure, hostas can grow fast! In fact, within just a few years, they can double or triple in size, often crowding out other plants in the process. In addition, when the roots of hostas begin to become too large, it can start to spell trouble for the plants ability to grow and flower.

When the roots of hostas become tangled and root bound, the plant struggles to absorb the moisture and nutrients it needs for strong foliage growth up top. But that is exactly where regular cutting back and dividing can save the day – and fall just happens to be the perfect time to do it. Even better – it couldn’t be easier to do!
Why & How To Divide Hostas In Late Fall
Why Fall Is Best To Divide & Transplant
Hostas can really be cut back and divided at any time during their growing season. However, there are some big advantages to performing the task in the fall.
For starters, in the fall, you have a much easier time knowing exactly how large the plant is. If you were to divide them in the early spring, you have no way of knowing what their full mature size will end up being. But by the end of summer, at full growth, you know exactly how much space the plants are taking up.
Being able to see the plant’s growth in the fall also makes dividing them easier since you can see where the stems are as opposed to waiting until they start to pop up through the soil in early spring.

But perhaps best of all, by dividing and transplanting in the fall, the new plants have the perfect amount of time to establish and start setting roots before winter arrives. And they can do so easily in the cooler and less stressful temperatures that fall bring.
One thing is for sure, it sets your hostas up to be ready to grow right from the start in the spring!
How To Divide Hostas In Late Fall
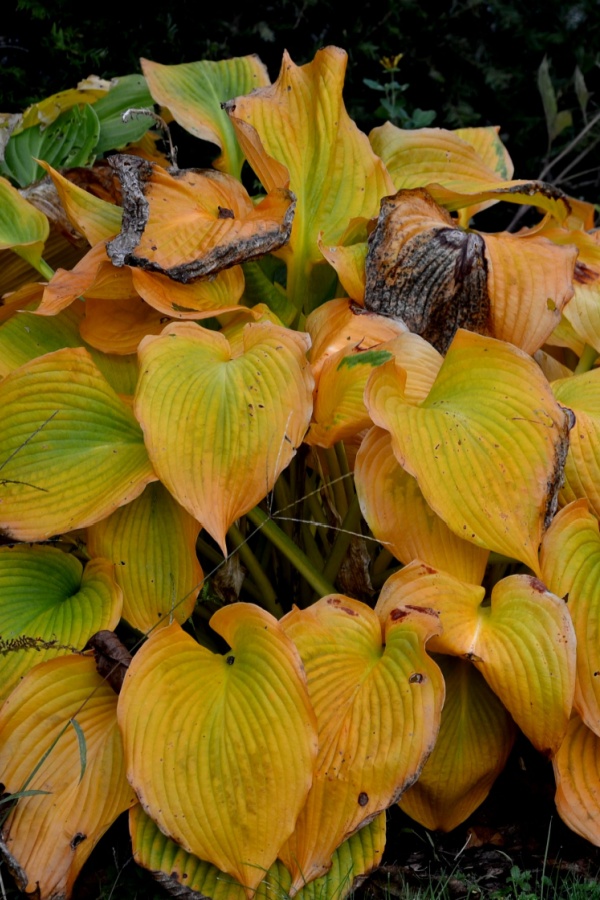
The first step in dividing your hostas is cutting back the foliage. This actually should be done to your hostas in the fall every year before winter arrives – whether you will be dividing them or not.
Dying and decaying leaves not only look unsightly but also give pests, mold and disease a hiding spot to overwinter. Unfortunately, if they do, they can all be right there in the spring to cause havoc to your plants. See: How To Keep Hostas Safe From Insects, Deer & More – All Summer Long!
But when getting ready to divide hostas in the fall, cutting them back also makes digging up and dividing them far easier as well, allowing you to see the exact size of the plant’s root structure.

To remove the foliage, use a pair of hedge trimmers or pruners and cut the leaves back two to three inches above the soil line. It’s important to leave a little bit of the stem behind. This will allow you to easily see where you plant your new divisions which makes mulching a bit easier.
As for the cut leaves and stems, they can then go into your compost pile as long as they are free of pests or disease. Once all of the foliage has been removed, it’s time for dividing.
Digging Up Hostas – How To Divide Hostas In Late Fall
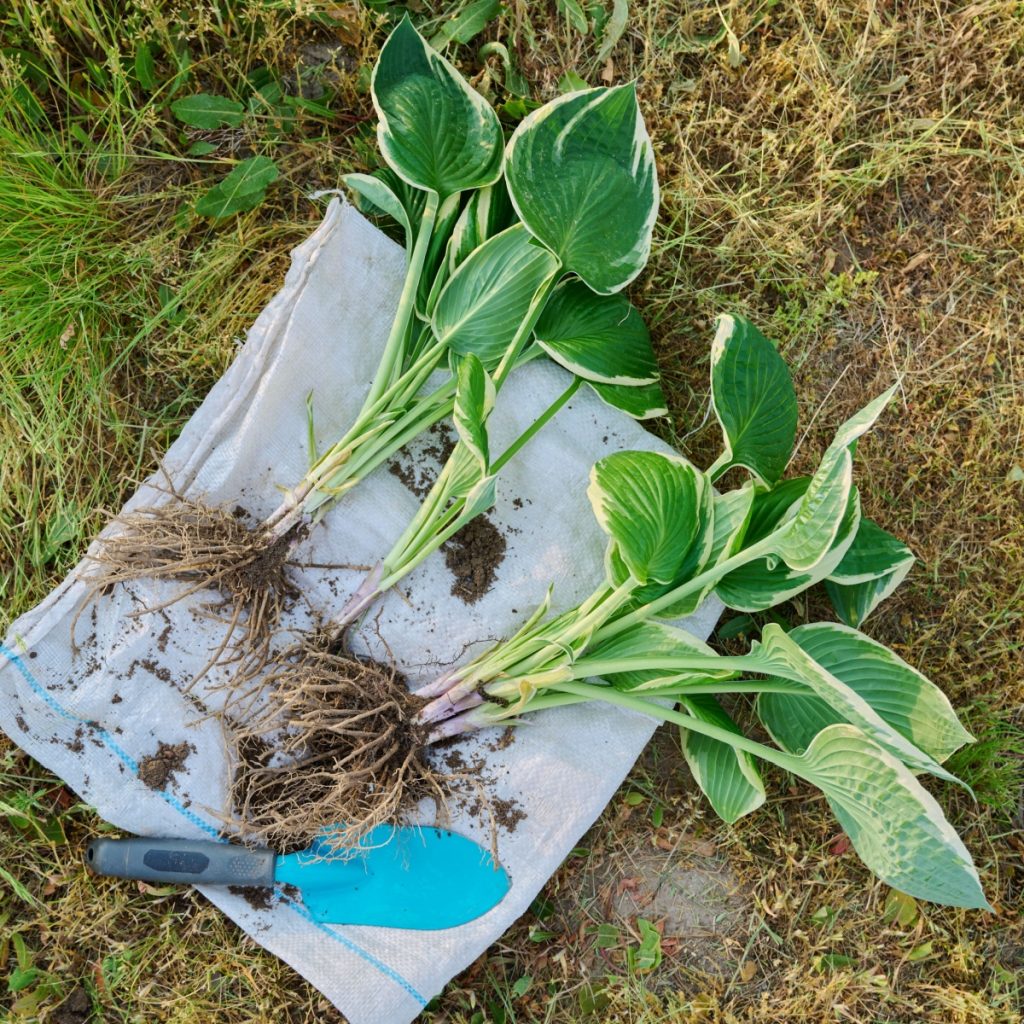
The next step in dividing is to dig out the root clump. Using the remaining stems as a guide, go out a few inches wider and dig around the perimeter of the plant. Hostas have fairly shallow roots. By digging down four to six inches all around the plant, it will usually pop out of the soil quite easily.
If your plant is extremely large, you can dig it out in sections. Don’t worry about damaging the plant. Hostas are incredibly tough and hardy plants. Once the root mass is up out of the ground, turn it upside down. This will give you a better sense of the size of the plant and make dividing far easier.


Dividing & Transplanting – How To Divide Hostas In Late Fall
Now it’s time to cut the root clump into smaller divisions. The larger the cutting you make, the larger the plant will be next year. Use a sharp shovel or a garden knife to cut the root mass into sections.
When cutting, try to keep each new division to a similar size. This will help the new plants all grow to the same size in your flowerbeds next year. As a good rule of thumb, three to five inch sections will create a hosta with a 12 to 18 inch canopy the following year.
Now that your hosta has been divided, it’s time to get the new plants into the ground. And you want to do this as soon as possible. Not only will planting quickly prevent the roots from drying out, but it also gives the plant time to establish before winter.
Create a planting hole that is about one and a half times the size of the division. Mix in a few inches of compost into the bottom of the hole. The compost will help to provide a dose of nutrients to the new plant. It will also help loosen the soil for easy root growth.
Place the new division into the hole so the crown of the roots are level with the ground. Backfill with more soil and water well to help set the new hosta in place.

Top the newly transplanted hosta off with a three to four inch layer of mulch. This will help protect the roots over the winter and also help hold moisture in the soil for the roots.
Late Fall Maintenance – How To Divide Hostas In Late Fall
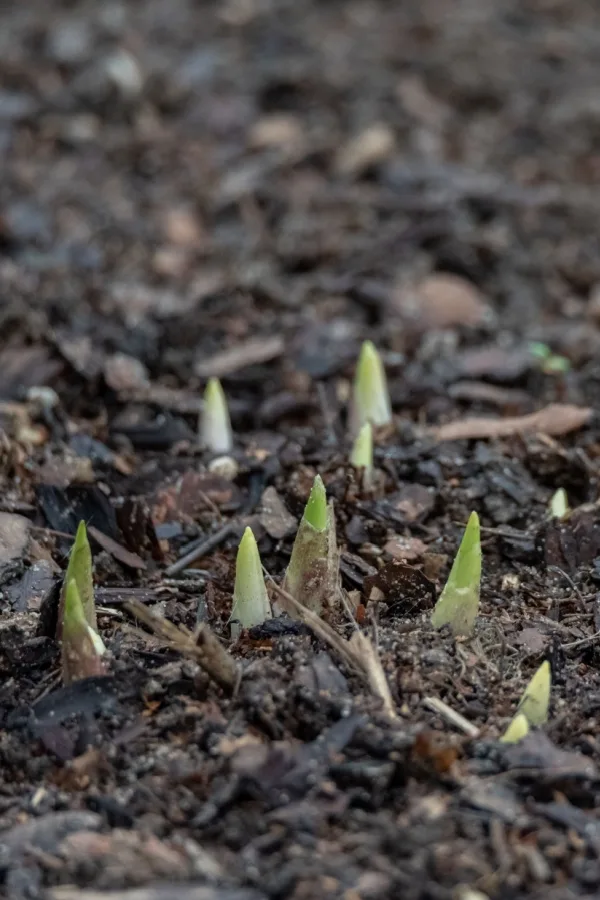
Depending on your late fall weather, you might start to see a bit of new growth appear. This is normal and simply indicates that your plant is already establishing in the soil. The tender growth will die back with the first hard freeze and won’t harm the plant in the least. Now it’s time to sit back and wait for spring and for all of your new plants to thrive!
This Is My Garden
Follow Our Facebook Page For Great Gardening Tips And Advice! This Is My Garden Facebook Page
This Is My Garden is a garden website created by gardeners, for gardeners. Jim and Mary Competti have been writing gardening, DIY and recipe articles and books and speaking for over 15 years from their 46 acre Ohio farm. They publish three articles every week, 52 weeks a year. Sign up today to follow via email, or follow along!