
Wondering what to do with those massive, overgrown ferns growing in the containers or hanging baskets around your home?
When summer rolls around, many fern plants can become quite massive. Especially those growing in containers, pots, or hanging baskets. What started in the spring as a lush, manageable plant quickly outgrows its space by mid to late summer.
But just because your fern has grown too large doesn’t mean it needs to be tossed out or discarded. In fact, it’s the perfect opportunity to create even more ferns without spending a dime. And keep them around until next year!

Rather than simply trying to trim back or manage an overgrown fern, summer is actually an ideal time to divide it. Not only can this keep the original plant healthy and more manageable for the rest of the summer and fall, it can also give you two, three, or even four new ferns that can grow and thrive for use next year.
And the best part of all? Dividing in the summer gives your new plants plenty of time to regrow their foliage before the cooler temperatures arrive. With a few weeks of recovery and regrowth, your ferns can be overwintered indoors, and then used again next year as full-sized ferns.
What To Do With Overgrown Ferns In The Summer
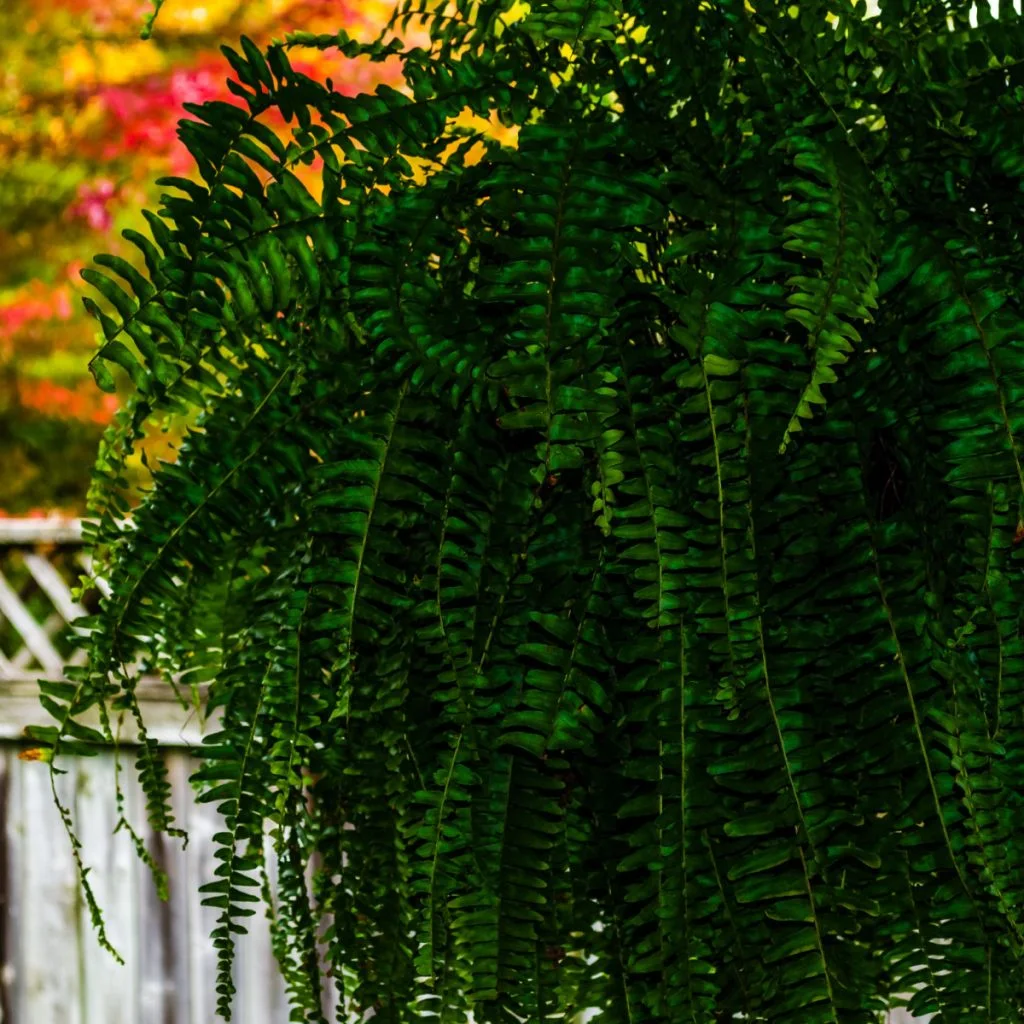
Ferns are vigorous growers, especially when temperatures are warm and humidity levels are high. When planted in hanging baskets, containers, or pots early in the spring, most ferns have ample room to expand their root system and fill out with fronds.
But by mid-summer, the situation often changes. The root system can completely fill the container, becoming root-bound. The plant starts to struggle to take up water efficiently. Even when you water frequently.
It often causes brown tips on the fronds, drooping leaves, or simply that the fern seems to dry out within hours of being watered. These are all signs that the plant has outgrown its container.

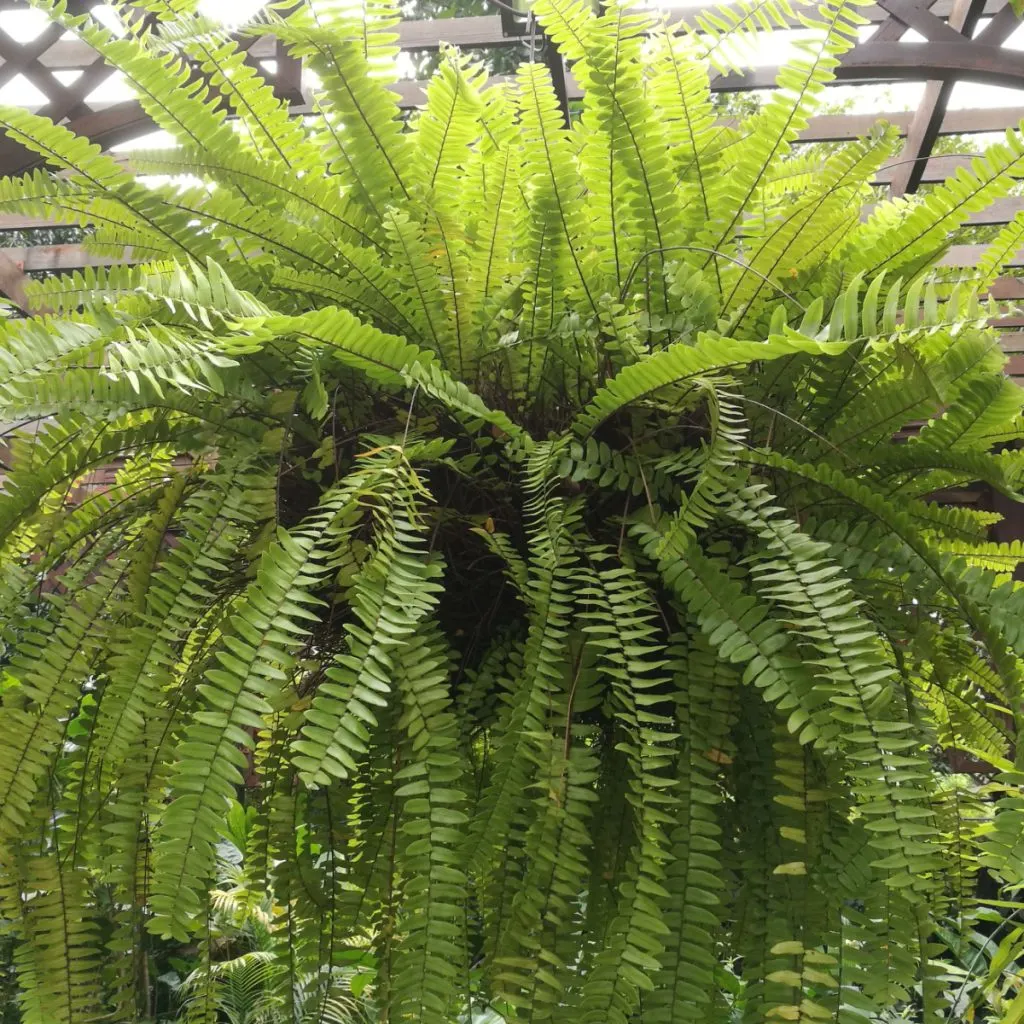
In some cases, ferns will push new growth so aggressively that they become floppy or misshapen, with fronds growing in all directions. This is especially true in hanging baskets that can no longer support the weight and size of the plant.
At this point, many gardeners simply try to maintain what’s left of the plant for the rest of the summer, or worse, toss the fern away. But there’s a much better option – replanting and dividing.
Dividing Overgrown Ferns – Why Summer Works So Well
Although spring is traditionally considered the best time to divide perennials, summer is a perfect time to divide ferns. By dividing now, you give your newly separated plants time to establish new roots. They also have time to begin forming fresh fronds well before the first frost or before moving them indoors.
Ferns are resilient and bounce back quickly with the right care. When divided in the middle of summer, each new division has plenty of time to grow out and become a healthy standalone plant. One that can overwinter with ease.
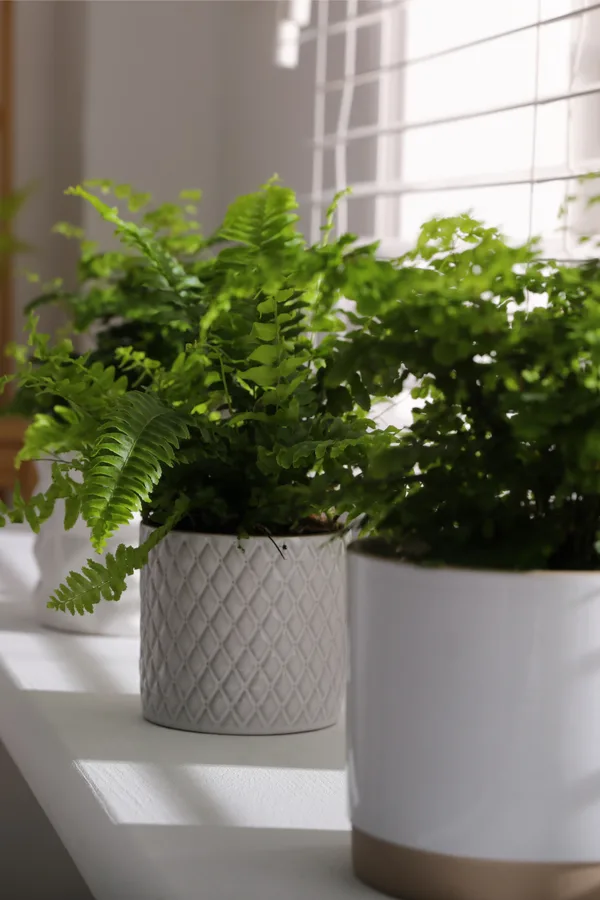
This is especially helpful if you like to save your ferns for the next year. Instead of trying to store or overwinter one massive, root-bound plant, you now have smaller, healthier, easier-to-manage plants ready to thrive next spring.


In fact, from a single overgrown fern, you can often create three to four new full-size ferns. Each can be potted into its own container, given proper care, and be just as big and beautiful as the original plant by next season.
How To Divide Overgrown Ferns
Dividing a fern may sound complicated, but it’s actually quite easy. Most fern varieties, especially Boston and Kimberly Queen ferns (which are popular in containers), divide cleanly and regrow quickly.
Here’s a step-by-step guide to dividing your fern in mid to late summer:
Remove the Fern From Its Container
Begin by carefully removing the overgrown fern from its current pot or basket. If the root system is tightly packed or root-bound, you may need to squeeze the pot gently or use a small trowel to help loosen the plant.
If the fern is in a hanging basket lined with coconut coir or moss, simply cut the liner to release the plant. Lay the entire plant out on a flat surface like a table, workbench, or even the grass.
Once the fern is out of its container, you’ll see a thick mass of roots and central crowns. These are the growing points where fronds emerge. Depending on the size of the plant, you may see two, three, or more main crown sections within the root ball. These are where you will separate the plant.
Look for natural separation points in the roots. These will usually be visible as a slight gap or division between the crowns.

Divide The Fern Into Sections
Using a sharp garden knife or a pair of garden shears, cut the root ball into halves or quarters. Be sure that each division has some root mass and a few healthy fronds or growth points. You don’t need to be overly delicate. The good news is that ferns are tough and rebound quickly.
Prepare new containers for each division. Use pots with good drainage and fill with a high-quality, light potting mix. Ferns prefer soil that holds moisture but still drains well. Place each division into its own container, planting it at the same depth it was growing originally. Press the soil lightly around the roots and water thoroughly.
Caring For New Fern Transplants
Once your overgrown ferns have been dividing in the summer and are potted up and in their new containers, it’s time to help them recover and regrow.
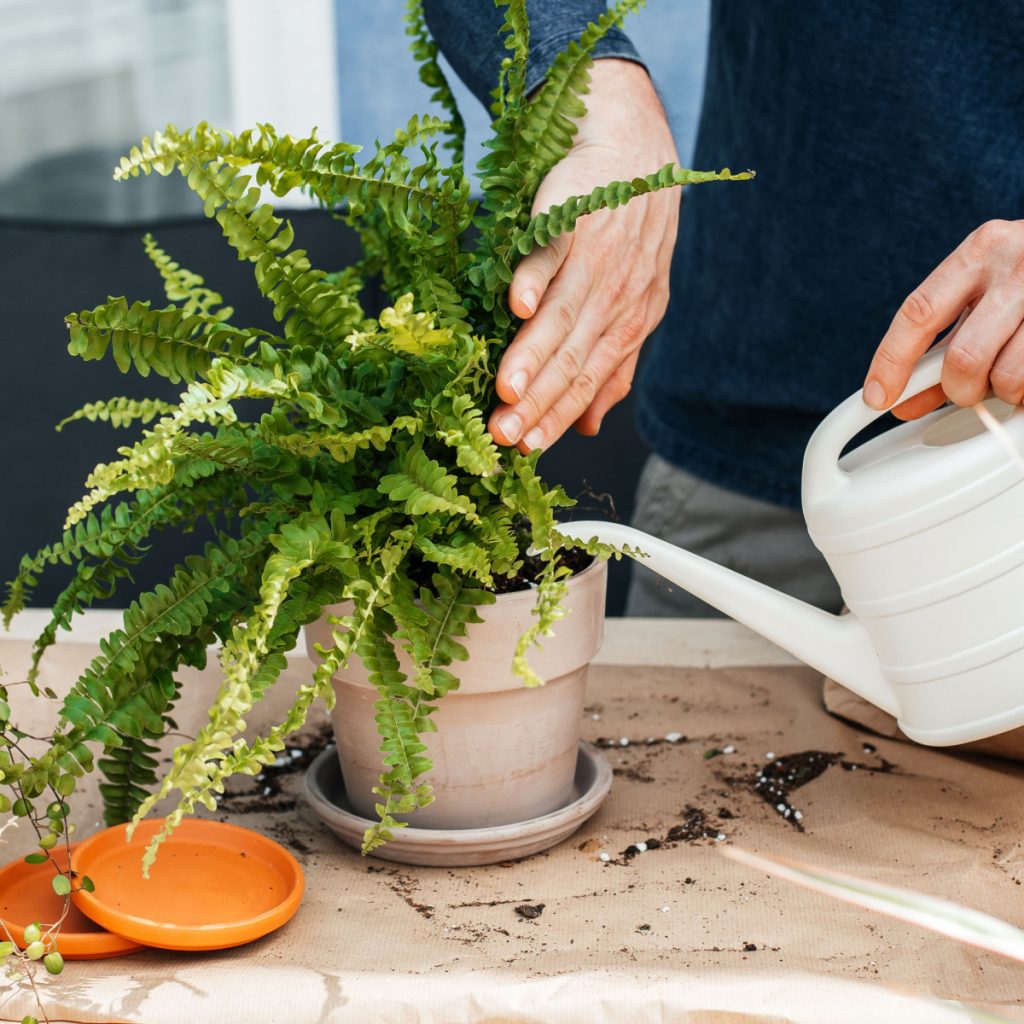
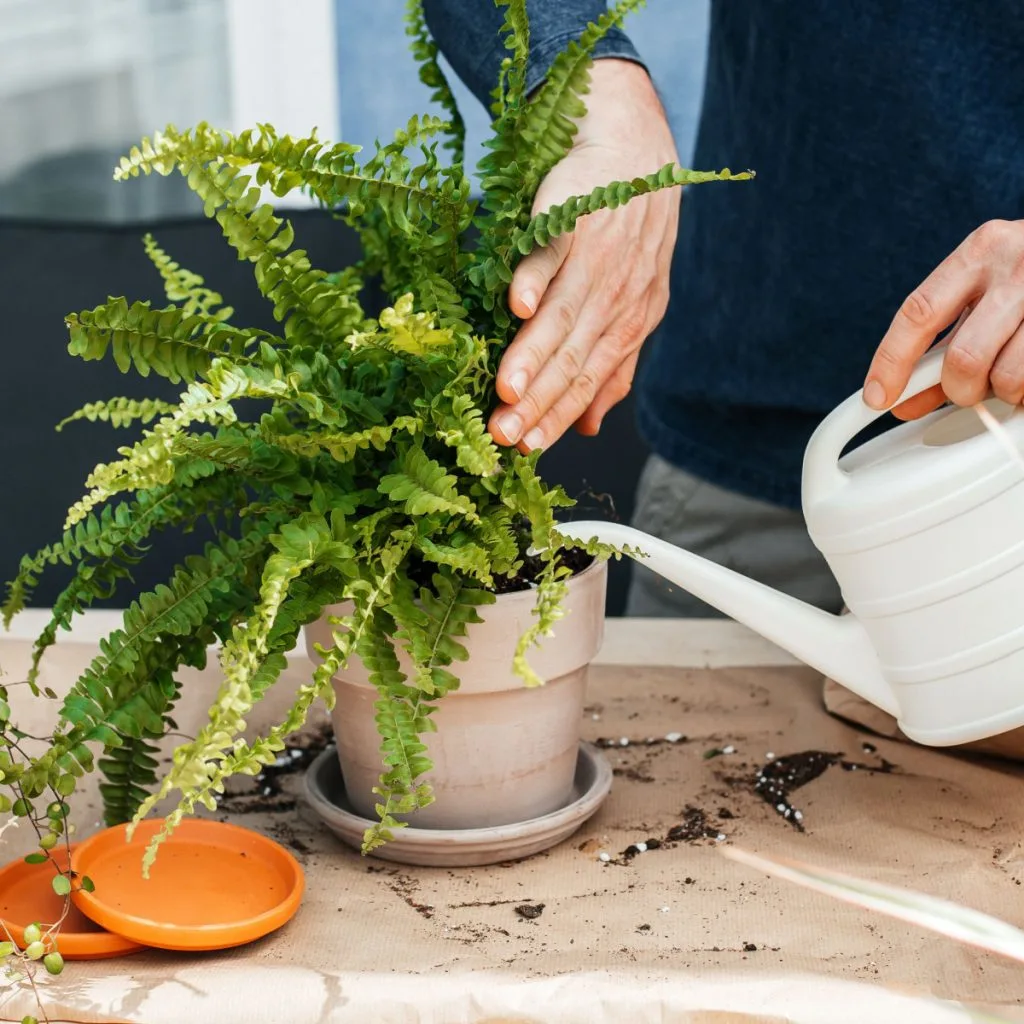
Newly divided ferns need consistent moisture to establish new roots and recover from the shock of division. Water them thoroughly right after planting, and then keep the soil evenly moist but not soggy. Avoid letting the soil dry out completely between waterings during the first few weeks.
In hot summer weather, this may mean watering once a day, especially if the containers are in warm or windy locations. If you’ve moved the plants indoors to recover, place them near a bright window but out of direct sunlight.
Fertilizing New Transplants
Ferns don’t need heavy feeding, but a light boost can help them regrow foliage quickly. After a couple of weeks, begin feeding with a diluted liquid fertilizer once every 2 to 3 weeks. Choose a balanced fertilizer (5-5-5) or one slightly higher in nitrogen to promote healthy green growth. Affiliate Link: Humboldts Secret Everything Outdoor Plant Food – 5-5-5 Liquid Fertilizer.
Some of the existing fronds may brown or droop after dividing. That’s completely normal. You can trim off any damaged or weak-looking fronds to allow the plant to focus its energy on growing new ones.
Within a few weeks, you should begin to see fresh growth emerging from the center of each crown. This new foliage will often be even more lush and vibrant than before.
Overwintering Ferns
Once fall approaches and nighttime temperatures begin to drop into the 40s or below, move your potted ferns indoors to a bright window or into a cool but protected garage or basement with a little light.
Cut back any straggly or dead fronds, water lightly as needed, and allow the plant to rest. By early spring, your divided ferns will already be forming new growth. See: How To Keep Your Ferns Alive As A Houseplant – All Winter Long!
You’ll have full, healthy ferns ready to go for another season. All from a single overgrown fern from the summer before!
This Is My Garden
Follow Our Facebook Page For Great Gardening Tips And Advice! This Is My Garden Facebook Page
This Is My Garden is a garden website created by gardeners, for gardeners. Jim and Mary Competti have been writing gardening, DIY and recipe articles and books and speaking for over 15 years from their 46 acre Ohio farm. They publish three articles every week, 52 weeks a year. Sign up today to follow via email, or follow along!