Compost is the key to growing nearly any plant imaginable, and making your own couldn’t be easier!
Check out all of our articles below how to make and use compost all over your landscape:


Compost is the key to growing nearly any plant imaginable, and making your own couldn’t be easier!
Check out all of our articles below how to make and use compost all over your landscape:
When it comes to creating compost fast, 3 simple secrets can go a long way to success!
Summertime is the perfect time to create the ultimate, hard-working compost pile. The warm temperatures and increased humidity make it easy for piles to heat up and decompose rapidly.
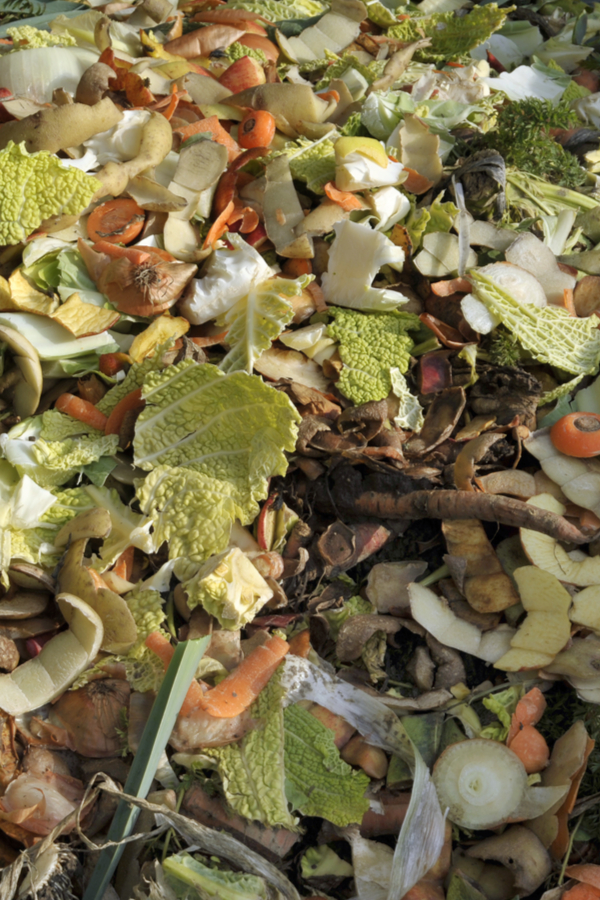
And summer just also happens to be a time when finding materials to compost is easy. Whether it’s scraps and peels from the garden’s harvest, or plenty of trimmings from the yard, flowerbeds and landscape, there is an almost endless supply of materials that are perfect for a compost pile.

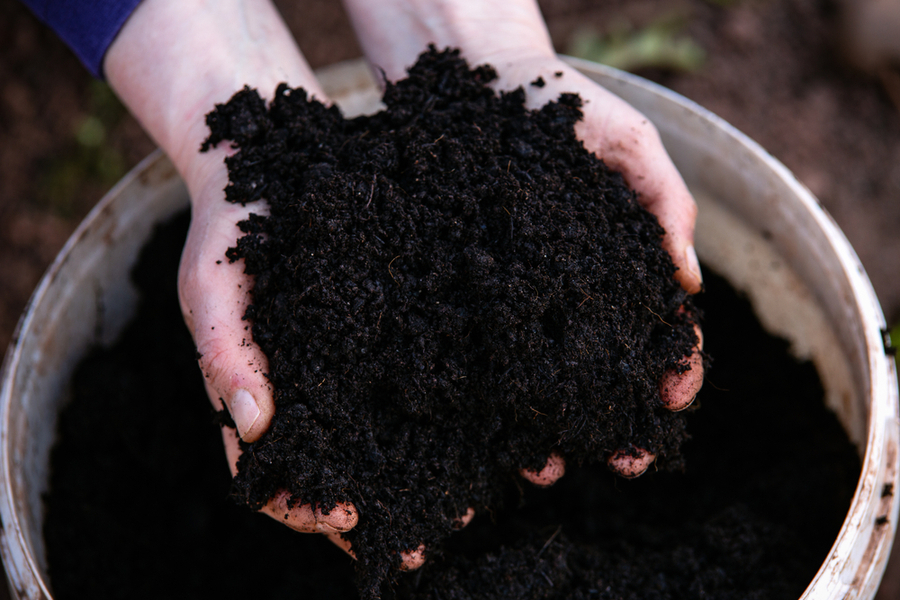
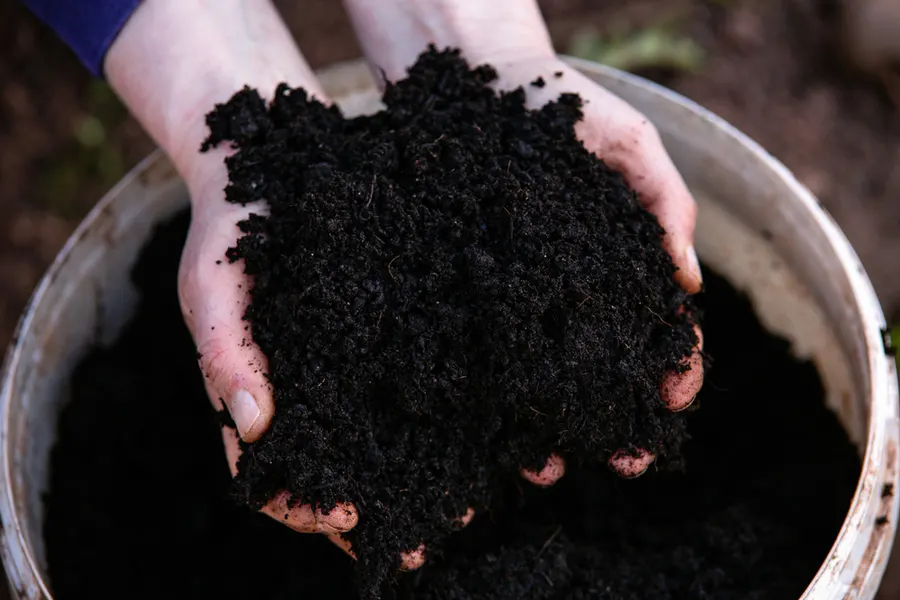
Let’s face it, every gardener can always use more compost. Not only does it contain nature’s perfect balance of nutrients, it can be used in a wide variety of ways all over the landscape.
First and foremost, it is perfect for turning lifeless dirt into super-charged soil. But it can also be used as a mulch to help hold moisture in and power plants in the process.
And if that wasn’t enough, compost can easily be turned into compost tea to create an instant fertilizer as well. With that in mind, here is a look at how to create a fast working pile this summer that can be ready to go to work for you by fall!
There are 3 important keys to create a summer compost pile that will heat up and decompose quickly:
When all 3 of these conditions are met, great things happen to a compost pile. Not only will it heat up quickly, it will heat to a higher temperature.
That means fast compost, and a better chance that weed seeds and pathogens are killed off in the process too. Here is an in-depth look at each of the three keys, and how to make sure you are building the perfect summer compost pile.
A hot, fast-working compost pile all starts with having the right mixture of carbon and nitrogen based materials.
Carbon materials are dry materials such as old leaves, straw, wood, ash, wood chips and dry grass. These are the more inert or “brown” materials that make up a compost pile.
Nitrogen materials on the other hand are the hot or “green” materials of a pile. They are responsible for activating a pile and heating it up. Great sources of nitrogen are fresh vegetable scraps, green lawn clippings, coffee grounds and animal manures.
To create a pile that heats up and decomposes rapidly, you need to have the right ratio of materials. A “perfect” mix for a hot pile should fall somewhere close to the range of 4 parts carbon for every 1 part nitrogen.
When starting a fast pile, it is best to add and mix all of your materials at once. If you continue to add materials over time, like done in a traditional pile, it will take longer to continually decompose the new addition of ingredients.
Finally, make sure you are starting your compost with a helping hand. Use a few shovels of compost from an old pile, or a compost starter. This will introduce ready to go bacteria and organisms into the pile that will help it break down quickly.

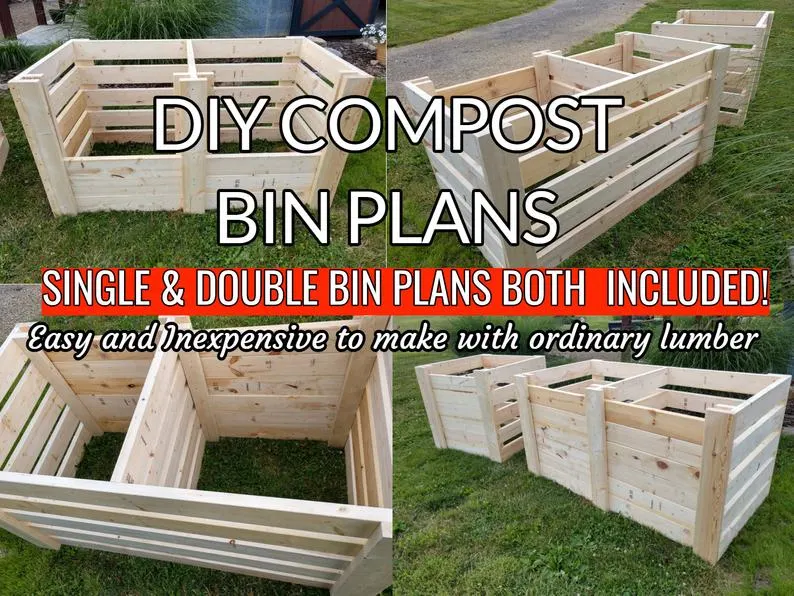
Once you have the right mix of materials, it is time to build the pile. A compost pile needs to be large enough in size to generate good heat, but manageable enough for you to work.
The perfect size for a backyard compost pile is right around 3′ x 3′. It allows enough materials to work up heat, but also makes it easy to turn and keep well-maintained.
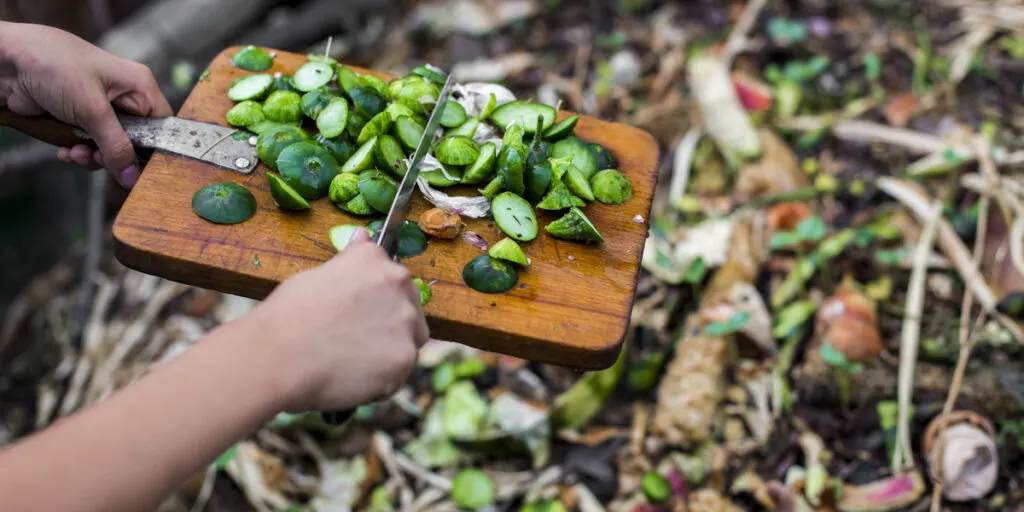
But even more importantly, for a faster working pile, you need materials to be as small as possible to speed decomposition. The smaller the better!
Always shred or chop all ingredients prior to adding to the pile. The more you shred the ingredients, the quicker they break down. In fact, if ingredients are broken down to 1/2″ pieces or less, finished compost can happen in as little as 30 to 60 days!
A great example are leaves. Whole leaves can take two years or more to completely break down in a traditional compost pile. When shredded and added to a hot pile however, they can break down in as little as 3 to 4 weeks.
Chop materials by hand, or use a lawn mower or push mower to take care of the task. An old push mower with a bagging attachment makes for an excellent shredder.
Once you have the right size and mix of materials, success all boils down to keeping the pile active with consistent moisture and oxygen.
In order to create heat, a compost pile needs both water and oxygen. Without both, a pie can sit stagnant. In fact, when most piles begin to smell foul, it is usually a result of a lack of these 2 critical components.

By turning a compost pile every day or two with a pitchfork or shovel, you provide oxygen to all parts of the pile. It allows the organisms that decompose your pile to remain alive and well.
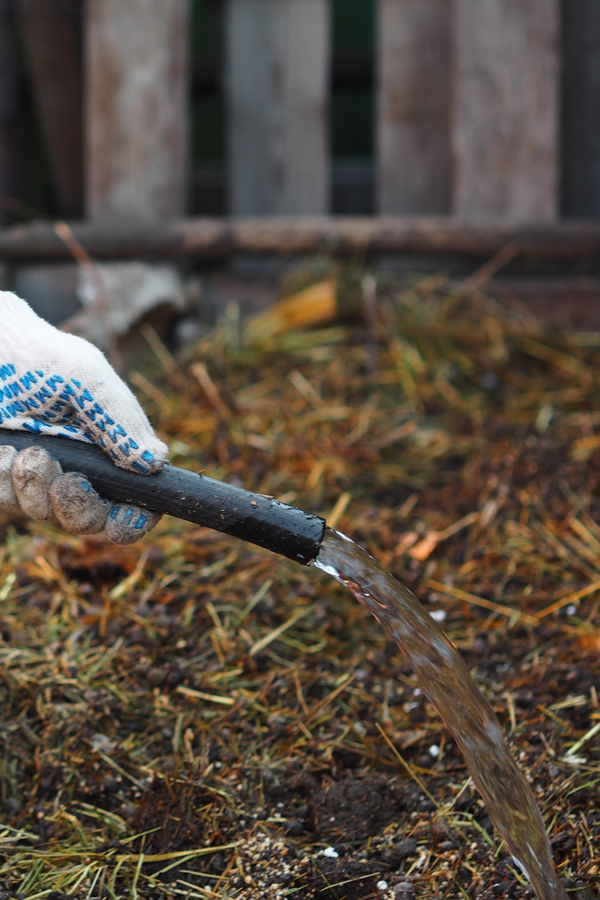
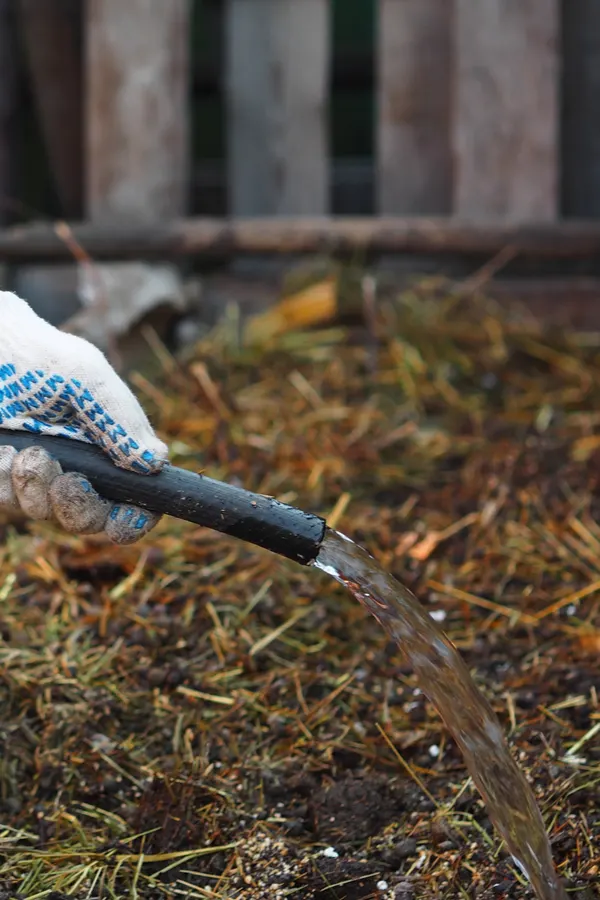
And a pile needs water in much the same way it needs oxygen. Compost should be damp and moist to the touch. If it dries out completely, it stops generating heat, and the decomposition process stops as well.
Keep your pile moist, adding water before it dries out completely. Be careful though of adding too much water. If a pile becomes too wet, it can have an adverse effect and stop working.
A proper compost pile should feel like a damp sponge when you touch it. Anything less is not enough to keep the pile going strong. And anything more can stop the decaying process as well.
Here is to creating compost fast this summer – and to powering your soil and plants to new heights!
Follow Our Facebook Page For Great Gardening Tips And Advice! This Is My Garden Facebook Page
This Is My Garden is a garden website created by gardeners, for gardeners. Jim and Mary Competti have been writing gardening, DIY and recipe articles and books and speaking for over 15 years from their 46 acre Ohio farm. They publish three articles every week, 52 weeks a year. Sign up today to follow via email, or follow along!


When it comes to powering plants naturally, organic fertilizers are the perfect choice for boosting vegetable plants and flowers.
But in the process, they also provide an incredible secondary benefit – they build better soil!
Natural fertilizers, unlike synthetic counterparts, add humus, structure and important elements and minerals to the soil. All of which work to create a better growing medium for plants with each passing year.

Here is a look at 5 of the best organic fertilizers to use to power your plants – and your soil:
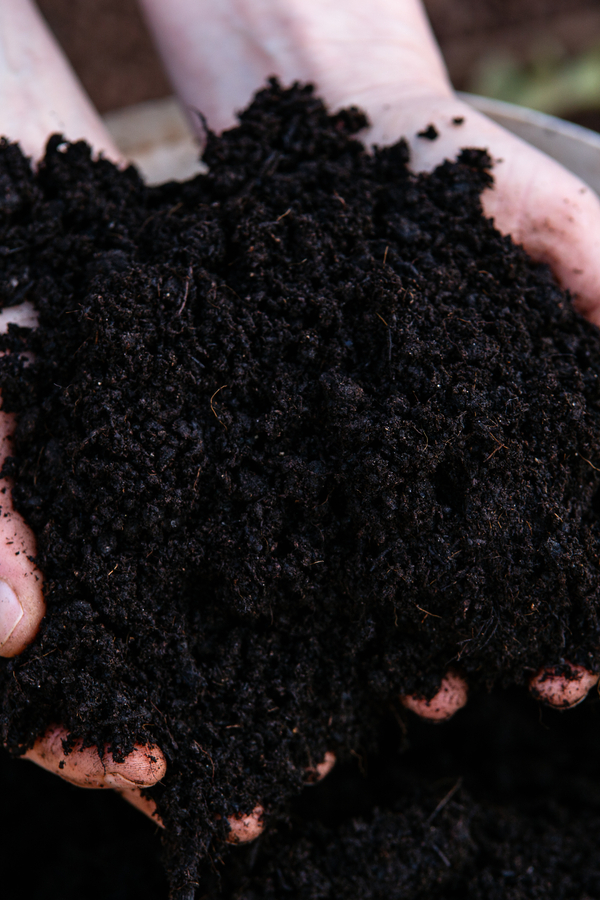
Compost is one of the best natural sources of fertilizer around. And it also happens to be an incredible soil builder too.
Compost is teeming with minerals and nutrients. It is perfect for working into planting holes for vegetable plants, annual flowers and perennials.
And it is equally helpful in the planting holes of trees, shrubs and bushes too.
Compost can also be used on top of the soil around plants as an energizing mulch. Not only will it keep out weeds and help retain moisture, but it will also leach nutrients directly into the soil.
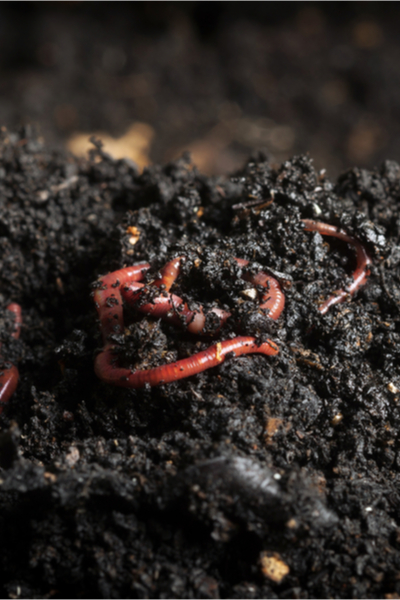
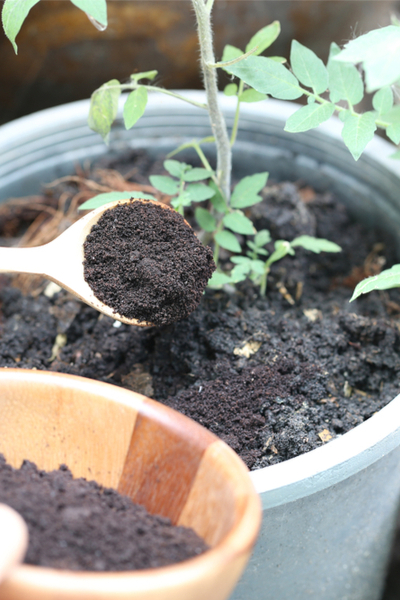
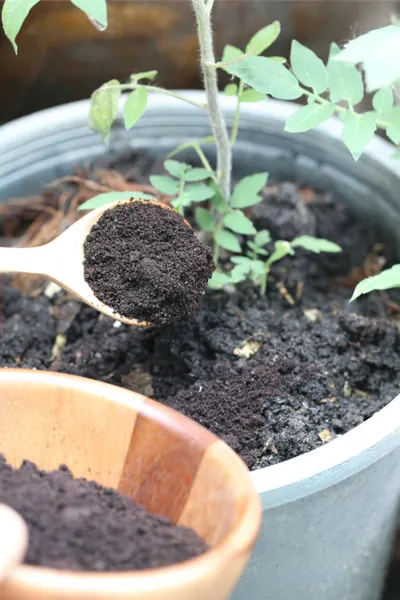
When it comes to organic fertilizers, worm castings are an amazing source of nutrients for plants.
Worms leave behind a perfectly balanced blend of organic nutrients as they chew through soil. These droppings, or castings as they are called, work like magic to power plants.
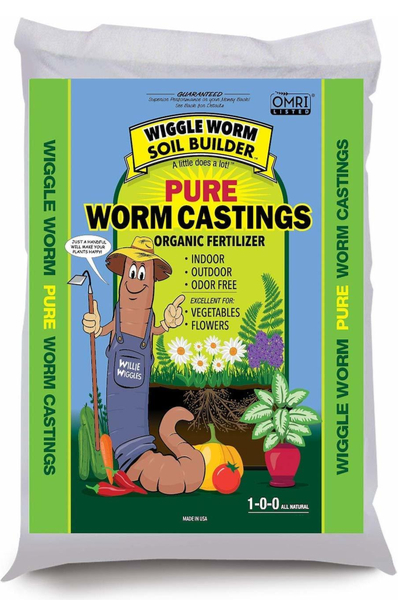
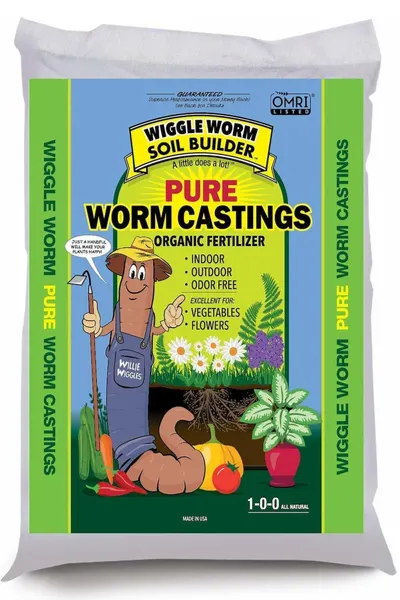
Adding a quarter cup of castings per planting hole provides a slow-release of nutrients to flowers and vegetables. They can also be worked into the top soil layer of baskets and containers for the same effect. Product Link : Unco Pure Worm Castings
Although compost and worm castings are amazing by themselves, they can also create powerful fertilizing teas. Ones that gives quick strength to plants with absorption of nutrients through the soil, and the foliage of plants.
And it couldn’t be easier to make!
All it takes is a little water, and a bit of compost or worm castings. Simply steep the ingredients in water, and then use the tea when watering. The liquid provides a quick boost of nutrients that plants soak up. See : How To Make Compost Tea
Believe it or not, those coffee grounds left behind from your morning cup of Joe have serious power.
In fact, they are one of the best organic fertilizers around!
Coffee grounds contain nitrogen and other trace minerals that help to build soil vitality. And vegetable plants, as well as perennial and annual flowers use that nitrogen to bloom and produce.
To use, either work into the ground when planting, or spread grounds around the base of plants as they grow.
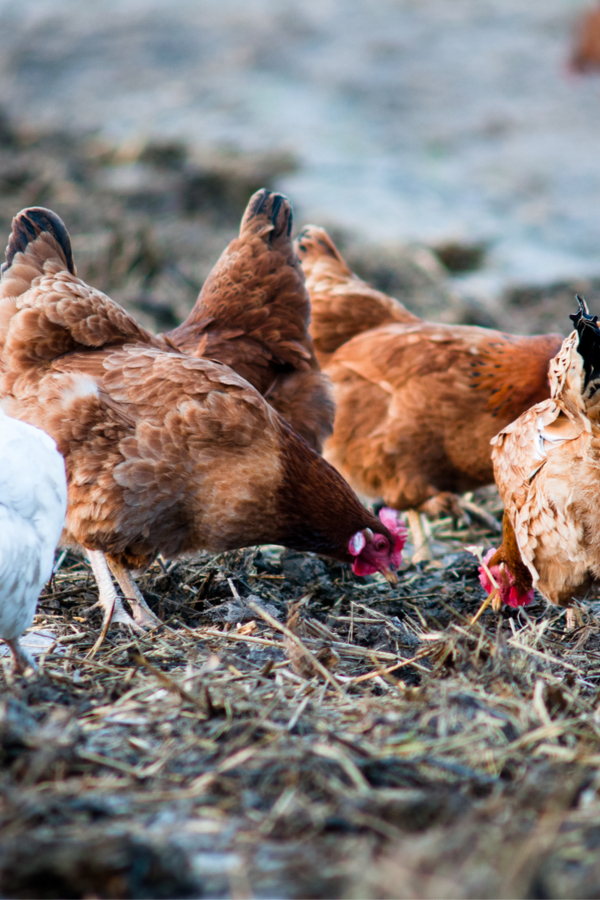
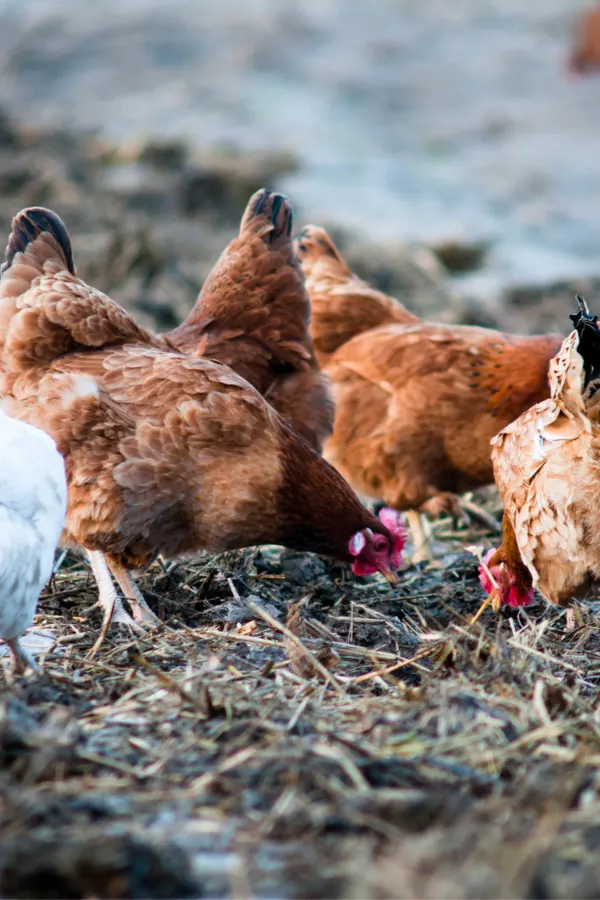
It doesn’t get more natural and organic with fertilizers than manure! But the manure from chickens, rabbits, cows and horses can be a tremendous source of natural fertilizer for all kinds of plants. That is, when used correctly.
Manure is great for working into soil to build in long-term nutrients. But be sure to never use fresh around plants.

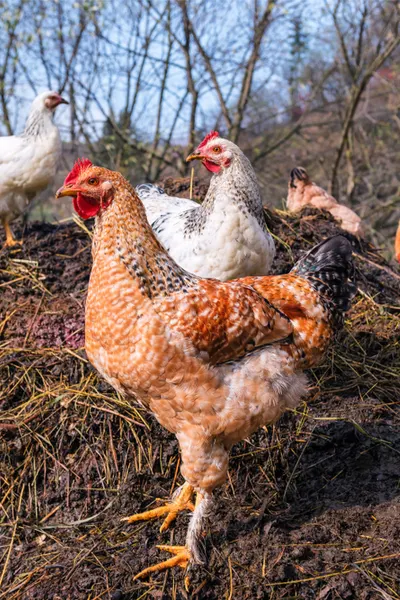
Fresh manure can be so full of nutrients they can actually overpower and burn plants. But by letting the manure age and dry, the nutrients become far more stable.
Fresh manure can be steeped in water to create a powerful liquid fertilizer. But it should be applied in limited amounts, and only around the root zones of plants, and not the foliage.
The best time to apply manure to the soil is in the fall or early spring, when it has time to break down before planting begins.
Here is to powering your plants to new heights with organic fertilizers this year! And more importantly, knowing what is, and what isn’t going into your soil.
This Is My Garden is a website dedicated to spreading the love and knowledge of gardening around the world. We publish two new garden articles each week. This article may contain affiliate links.
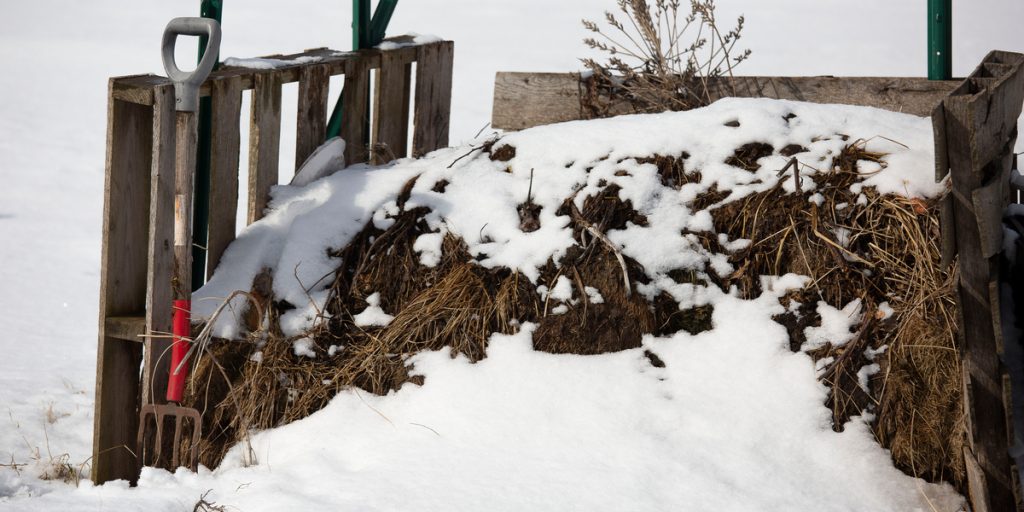
One of the hardest tasks for a gardener during the winter is finding a way to keep their compost pile going.
For those who live in colder climates, it is hard enough to reach their compost pile. And even if they can, it is usually frozen solid.
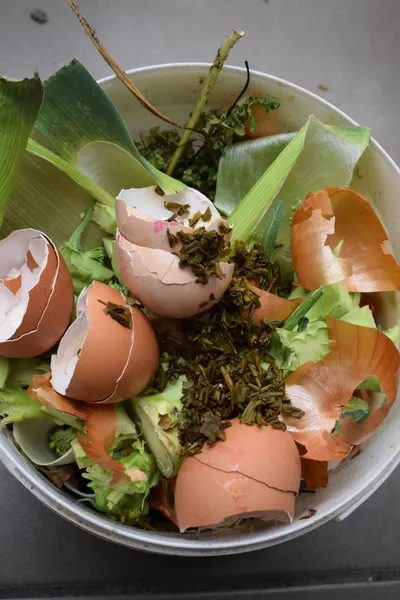
Although there may not be a lot of outdoor materials to add, there are still a lot of usable kitchen scraps. After all, all of those holiday meals produce a lot of vegetable peels, egg shells and more!
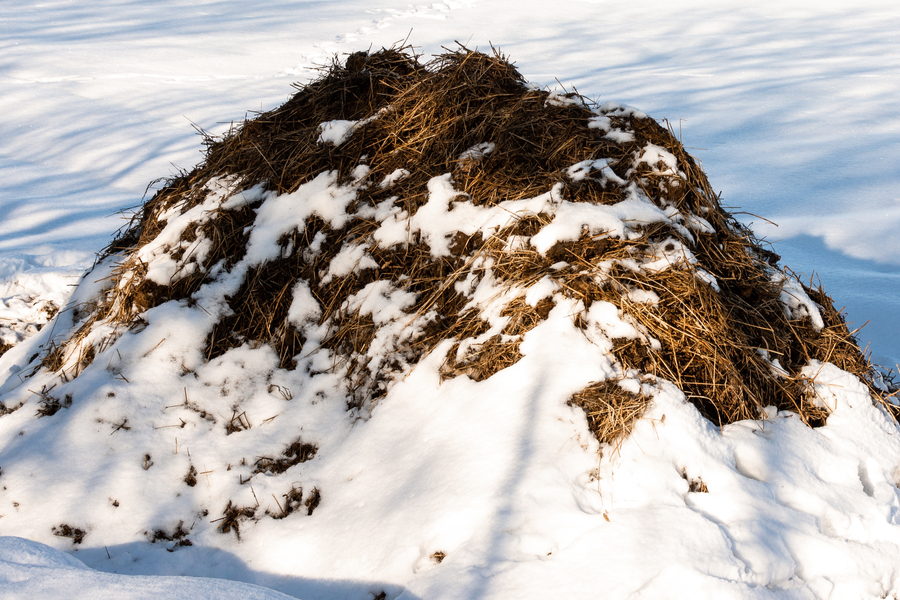
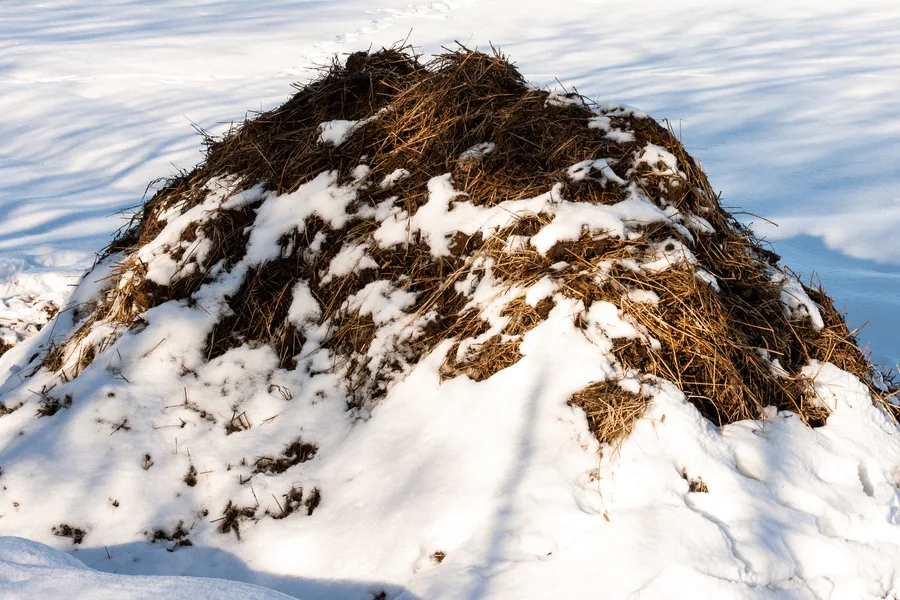
Composting in the winter is tough business. In the spring, summer and fall, piles are easy to maintain.
But as the temperatures drops, the organisms that help to decompose new materials go dormant. And the piles activity usually slows and eventually stops.

The good news is that the organisms bounce back to life as soon as the thermometer begins to rise. But in the meantime, as the pile stops producing heat, it freezes. And that can pose a few issues for sure.
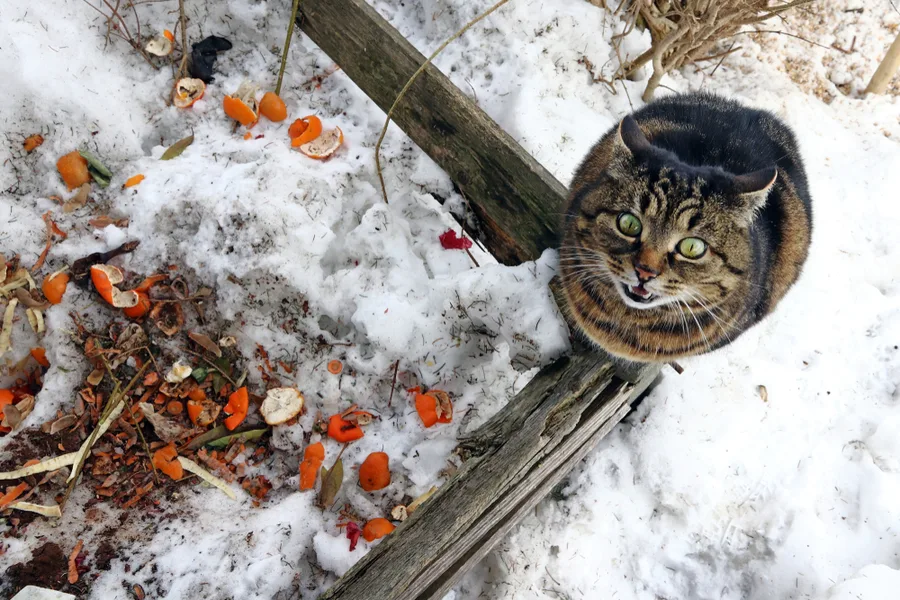
And any kitchen scraps added to a frozen and dormant pile, assuming you can make it there, soon become fair game for a mountain hungry wintertime pests.
It can lead to an invasion from local pets, or raccoon, mice, possum and even rats. And no one wants that!

Unfortunately, for many, it means simply tossing all of those potential black-gold scraps into the garbage to avoid the mess and hassle all together.
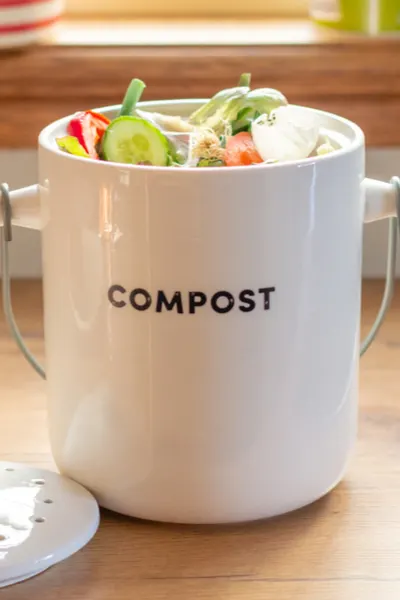
But there really is a simple solution to keep composting in the winter. And all it involves is a simple 5 gallon bucket, and a tight-fitting lid.
Once a main compost pile goes cold and dormant for the year, it is time to keep your composting efforts going with a 5 gallon bucket.
It is the perfect method to eliminate long, cold, and blustery trips to the compost pile. And, to keep from wasting all of those valuable scraps produced during the winter months.
Usually, a few buckets and lids is more than enough to get the average composter through the winter months.
Remember, the bucket is simply to capture all of those incredibly rich and nutrient filled kitchen scraps that usually get tossed in the winter. And not brush, leaves, or other large “dry” materials outside that can stand by til spring..
The most important part of all is to locate your new “compost bin” in an easy to reach location. A back porch, garage, or even nearby trash area. Whatever you do, the trick is to make it easy to access, and easy to use.

Begin each bucket by layering in a few handfuls of potting soil, saw dust or wood ashes into the bottom of the bucket. This will help to absorb any moisture as materials are added.
Before adding, chop up ingredients as finely as possible to conserve space. And don’t forget to add those coffee grounds and filters too! Then simply seal with the pop on lid to keep it all out of harms way. Product Link : 5 Gallon Lids – 10 pack
You will be amazed at how much you can actually keep in a single bucket. If needed, continue with several buckets until the weather allows you to make it to the pile.

Come early spring, you will have a mountain of coffee grounds, crushed egg shells and diced vegetable scraps that will be ready to quickly power up and heat up your pile. It is far better than simply tossing them all away just because it’s cold!
Here is to saving all of those valuable kitchen scraps for your compost pile all winter long.
For more on composting, check out our article : The 5 Most Common Composting Mistakes.
This Is My Garden is a website dedicated to spreading the love and knowledge of gardening around the world. We publish two new garden articles each week. This article may contain affiliate links.
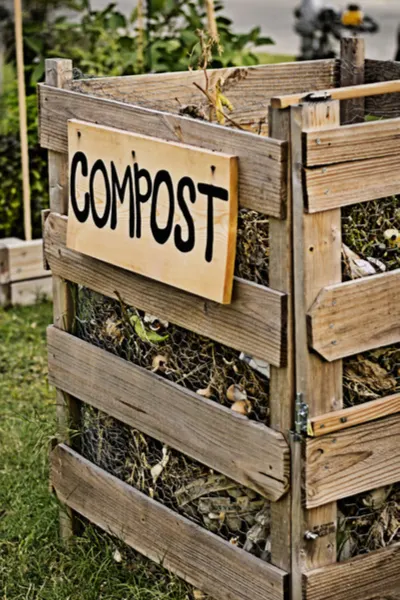
When it comes to making great compost and having a great compost pile, it all boils down to what materials you put into your compost pile. And more importantly, which ones you don’t!
Although everything eventually decomposes, some materials simply aren’t a good choice for backyard compost bins.
Many can slow the decomposition process down, while others attract rodents, raccoons and other unwanted pests.


And if that wasn’t enough, some can even infect the pile and aid in spreading disease throughout your garden and landscape.
But by simply avoiding placing some of these “trouble-causing” materials in your compost bins, you can keep your pile healthy and thriving.
Before placing your vegetable scraps into the compost heap, take a few seconds to remove their seed cores.

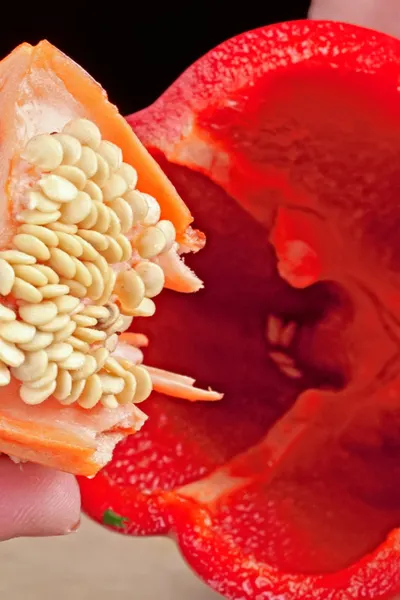
If not, those hundreds of seeds attached to the core are sure to become next year’s sprouting weeds.
Although it is nearly impossible to remove every single seed from a vegetable, by simply removing the seed core portion, you will greatly reduce future seedlings popping up wherever your compost is used.
Although most garden foliage and plants are great to add to your pile, tomatoes are one to avoid.
Tomato plants are the most widely grown of all backyard vegetable garden plants. And they are also one of the most easily diseased.
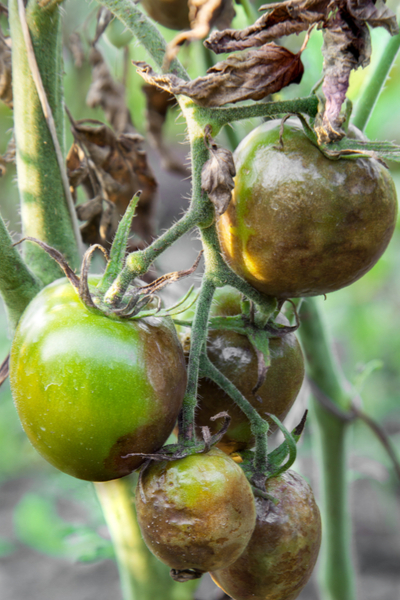

Whether it’s blight, mildew or a host of other issues, they can easily transmit disease throughout a compost pile.
Most backyard compost piles never reach a high enough temperature to kill pathogens and spores.
And with that in mind, it is always a good idea to keep your tomato plants out of the compost bin!
Adding fat, or greasy foods with heavy cooking oil to a pile is like putting a welcome mat out for pests.
Raccoon, mice, and yes, even rats are easily attracted to piles that are greasy and fatty.

In addition, all of that fat and grease can cause extremely foul odors. All while slowing your pile’s decomposition to a crawl as well.
Along the same lines as fat, grease and oil, meats are a big no-no for composting.
Just like the grease and oil, they are a major attraction for pests. And if you have ever smelled rotting meat, you know what type of odor issues it can cause!
If you put weed, feed and fertilizer on your lawn, be sure to keep those lawn clippings out of the pile.
The chemicals and herbicides found in lawn fertilizers can easily be passed on throughout an entire compost pile.

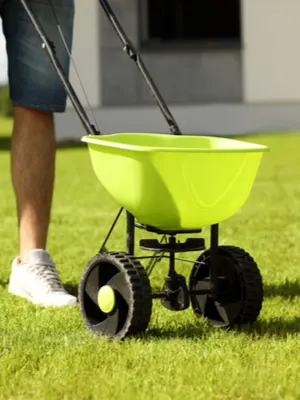
And when that finished compost is then placed around tender vegetable and flower plants, it can have unfortunate results.
For more composting tips, be sure to read : How To Create The Perfect Summer Compost Pile.
Here is to keeping your compost pile healthy and thriving!
This Is My Garden is a website dedicated to spreading the love and knowledge of gardening around the world. We publish two new garden articles each week. This article may contain affiliate links.