Summer is here, and that means it is time to harvest, cure and store the garlic that was planted last fall.
And, that means its also time to select the best bulbs from the harvest to plant again this fall!
Hardneck garlic is a wonderfully simple and delicious crop to grow in the home garden. (See : How To Plant And Grow Garlic With Ease)
Not only does it add incredible flavor to all kinds of dishes, it also is one of the most heart-healthy and nutritious crops around.

And, even better, because it can easily be cured and stored for year-round use, you can always have a home-grown supply on hand.
How To Harvest, Cure And Store Garlic
Garlic needs to be harvested when the plant begins to brown and die back. Once the garlic stalks have browned to between half and two-thirds of their size, they are ready to dig up.
But, it’s extremely important to make sure the soil is as dry as possible before harvesting.
If the soil is too moist, the protective skin around the garlic can easily be damaged, leading to a crop that will not store well.
How To Harvest And Cure Garlic
As long as the soil is dry, harvesting garlic is a simple process.

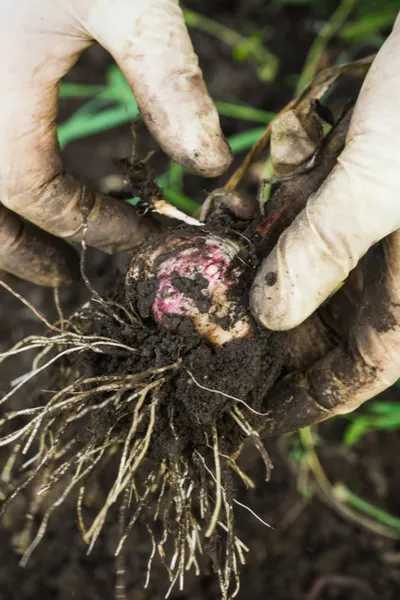
Use a shovel or pitchfork and dig down gently 3 to 4 inches behind each stalk. Then, gently lift up the soil with the bulbs intact.
It is important here not to pull or yank on the stalks to bring them out of the soil. The stalks need to be kept in place until the bulb completely cures.
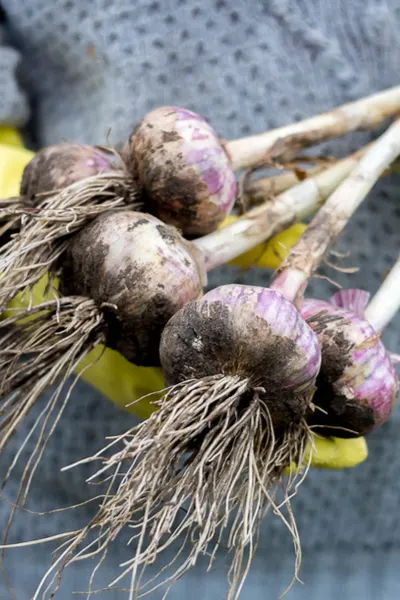
Gently brush any clumps of soil from each garlic bulb, leaving the papery outside edges unharmed. These will be soft at this point, but will later dry to become the protective coat for the garlic during storage.
Curing – The Process
Now it’s time to cure your harvested garlic. Curing is the simple process of hardening off the garlic, and preparing it for long term storage.
You can use any of your freshly harvested garlic as soon as you want. But to keep for long-term use, you will need to cure the crop.
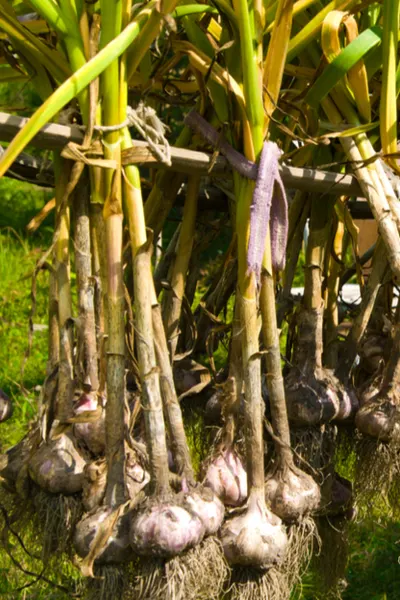
To cure, hang up the garlic, stalks and all in an area out of direct sunlight. They can be hung up individually, or in groups of 5 to 10 bulbs tied together.

Choose a location with good air flow, and that won’t get too hot during the day. A shed, garage or barn with rafters are all great locations as long as there is a bit of air flow.
It takes about two weeks to fully cure garlic. The bulbs are ready to store as soon as they have dried to the touch and have a hardened exterior.
Storing Garlic Long Term
Once this occurs, remove the stalks to about an inch above each garlic head.
Store the garlic heads in a cool, dark and dry location. Basements and root cellars are perfect as they are not damp.
With good storage conditions, garlic can store and be used for up to a year or more.
Selecting Bulbs For Fall Planting
Now is also the the time to choose which bulbs from your harvest to plant this fall.
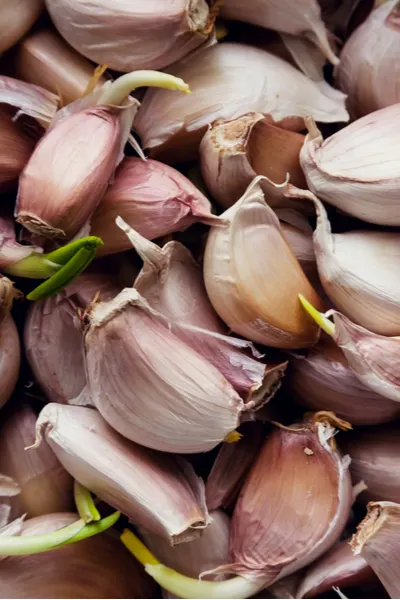
Every clove within a garlic head is seed. An average garlic head will be able to produce 8 to 12 seeds. Select the largest, healthiest and most robust garlic heads for planting this fall.

The more garlic becomes accustomed to the soil it is grown in, the better the bulbs become.
By choosing the best of the best, you constantly improve your seed stock each growing season.
If you don’t currently grow garlic but want to start, now is a great time to get seed stock for planting. See : Chesnock Organic Garlic Bulbs
Keep the selected bulbs in tact, and keep them stored in the same manner with the rest of your harvest until it’s time for planting in the fall.
Here is to harvesting, curing and storing your own delicious crop of garlic!

This Is My Garden is a website dedicated to spreading the love and knowledge of gardening around the world. We publish two new garden articles each week. This article may contain affiliate links.
