
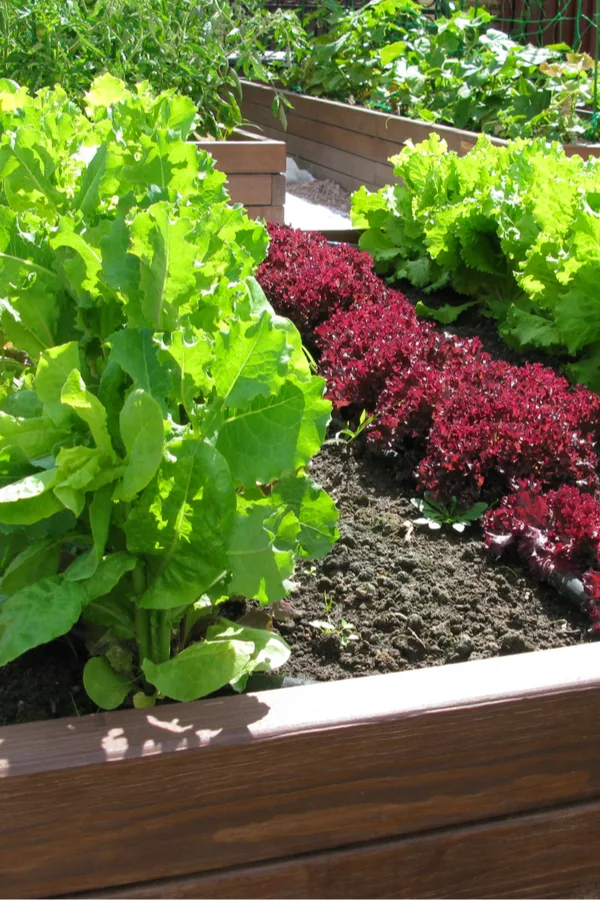
Growing in raised beds is a great way to enjoy flower and vegetable gardening without encountering many of the difficulties traditional backyard gardens can pose.
For starters, raised beds do not require a large growing area or existing soil to create. In fact, you don’t have to have a yard at all. Raised bed gardens can be successfully planted on top of patios, rooftops, gravel, or even concrete surfaces.
Even better, the elevated working level that a raised bed provides is certainly easier on the back. Especially for tough chores like planting, weeding, watering and harvesting.

But best of all, by employing a few simple practices, you can grow healthy, productive plants – all while keeping your soil fertile and strong, year after year.
5 Simple Secrets To Growing Success With Raised Beds
#1 – Start With The Right Mix Of Soil
Much like with a traditional garden, growing success in a raised bed all begins with the health and make-up of the soil. Simply filling beds with top soil, or plain “dirt” is not enough.
Basic top soil is simply too heavy and dense for using in raised beds. Without additional amending, it lacks the nutrients and drainage plants need. It’s overly heavy nature can also be hard to work and plant in.

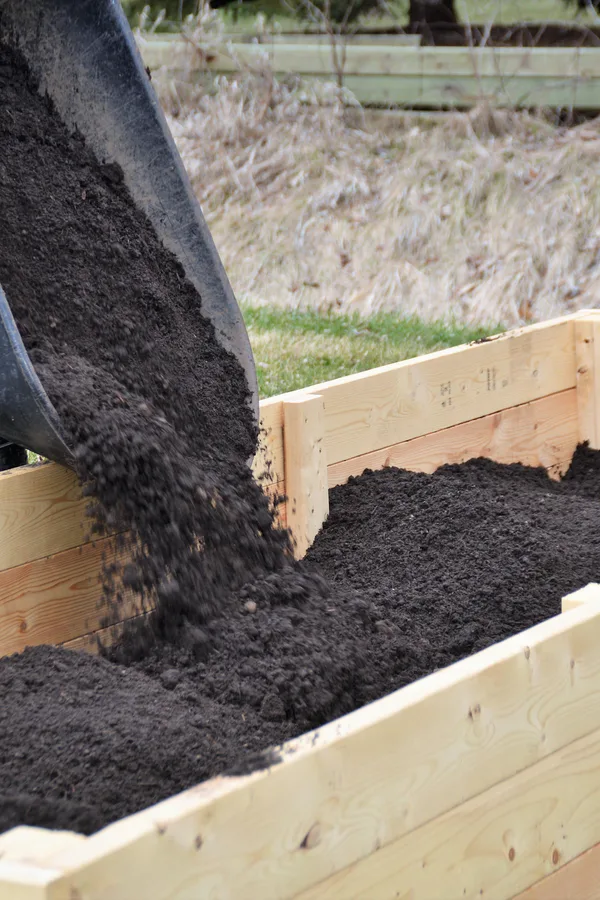
For healthy plants, the soil in raised bed needs to be fertile, loose, and drain well. And whether starting with existing beds or filling new beds from scratch, there are a few additives that can make all the difference.
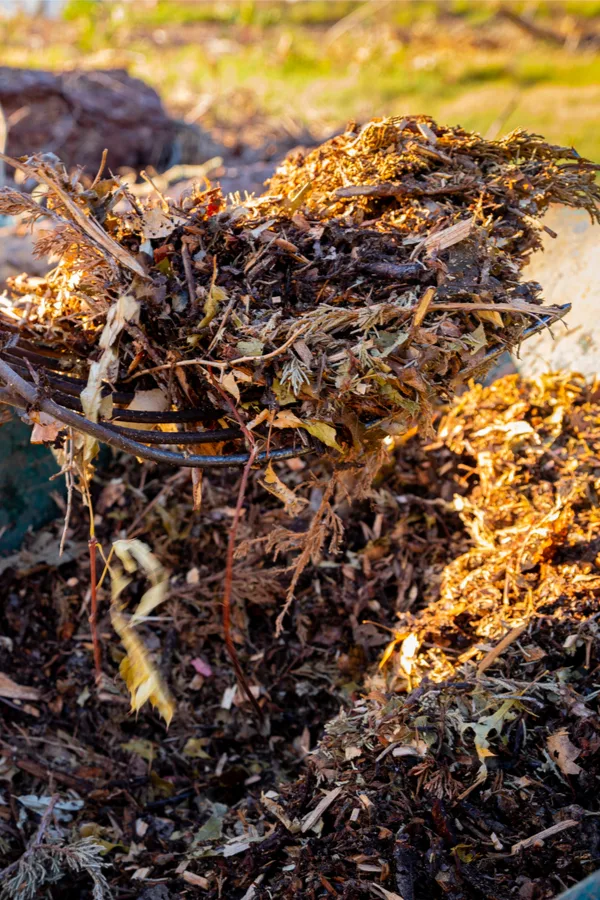
At the head of the list is compost. Compost teems with nutrients and goodness for plants. Not only will it improve nutrient levels in the soil, it also will help with moisture retention as well.
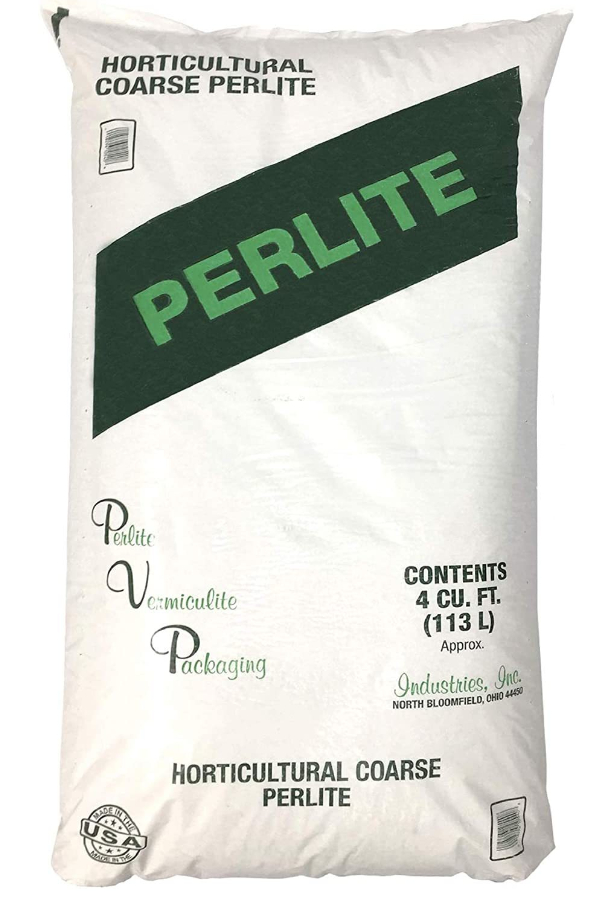
Another great addition to raised bed soil is perlite, vermiculite, or a mixture of the two. Perlite is an all-natural, 100% organic substance created from volcanic glass. It is PH neutral, lightweight, and will lighten the soil to allow for incredible drainage.
How To Add Compost, Perlite And More…
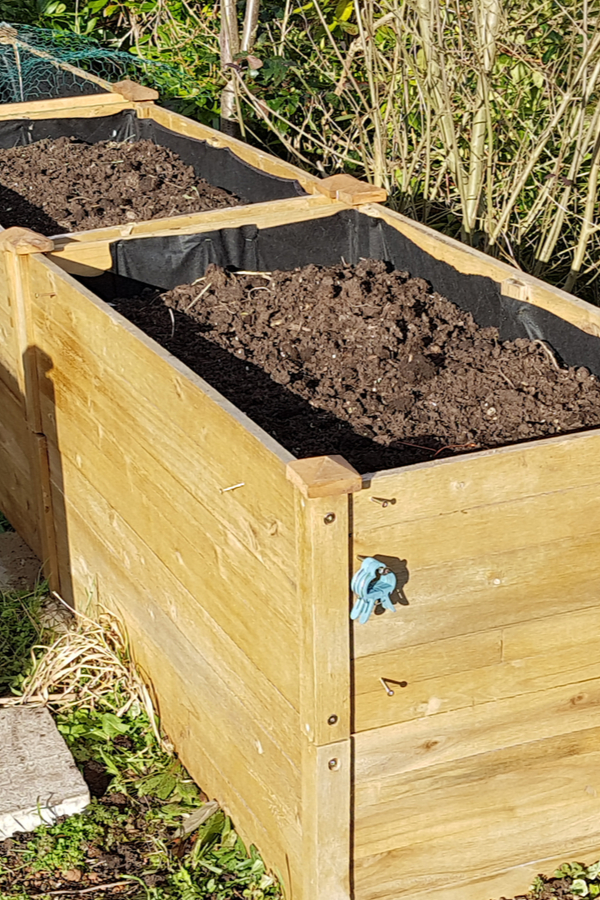
If starting from scratch, fill your raised beds with an equal mix of pulverized top soil and compost. As for the perlite, a good rule of thumb is to add 4 to 8 quarts of perlite for every cubic yard of soil added.
If you already have existing soil in raised beds, working in both compost and perlite can pay huge dividends. As can adding in additional nutrients in the form of worm castings, aged manure, or even green grass clippings.
The key is to continue adding power. Without it, the soil in raised beds will slowly become depleted of its nutrients. It is one of the biggest reasons many raised bed gardens begin to struggle after a few growing seasons.
#2) Plant With Power – How To Grow In Raised Beds
The nutrients in your soil really are the key to growing success. So in addition to adding in nutrients prior to planting, add them while planting too!
With every planting hole, add in generous amounts of compost. In addition, for flowers or vegetables, adding in a quarter cup of worm castings around the roots will give the plants a gentle, slow release of nutrients.
Listen in to our podcast below on creating great raised bed soil!
Many successful raised bed gardeners also add in coffee grounds and crushed egg shells to their planting holes too. All work together to power plants and build strength in the soil.
#3) Mulching – How To Grow In Raised Beds
Mulching is a critical key to success in any garden setting. But in raised garden beds, it takes on an even higher level of importance.
The elevated soil in raised beds can dry out quickly in the hot summer sun. Especially if it is left bare. As the sun bakes through the soil, it soaks up valuable moisture from the roots below the surface. In the process, it can leave plants limp, weak, and starving for moisture.
But keeping beds covered in a thick 4 to 6″ layer of mulch slows that process immensely. In addition, it helps keep competing weeds from stealing nutrients away from your plants.
But that mulch can also provide more power to your plants. Using compost, green grass clippings, or even shredded leaves as a mulch will help slowly release nutrients to your plants as they break down. Every time you water or it rains, those nutrients leach to the roots below.

Last but not least, when it comes to mulch, don’t count out the power of living mulch. By filling you bed full of plants, the soil becomes naturally protected from the sun.
A canopy of plant foliage helps shade the soil from drying out, and is the best mulch of all. Speaking of drying out, make sure your raised beds are built deep enough to allow for at least 12 to 15″ of soil depth. See : Raised Bed Plans
#4 Fertilizing
Even with adding compost, the soil in raised beds can still become depleted over the course of a growing season. And that is why it is vital to provide extra nutrients to young plants.
The best way to do this is by applying an all natural liquid fertilizer every 3 to 4 weeks in the late spring and early summer. Liquid fertilizers work wonders in supplying a boost of nutrients to plants. (See : 5 Organic Fertilizers To Power Vegetables and Flowers)
Whether you use an off-the-shelf organic slow release liquid fertilizer, or compost or worm tea, the nutrients help provide the additional power vegetable plants or flowers need to develop strong roots.
#5 Protecting & Recharging Your Soil In The Fall
And finally, the last step, and one of the most important for long-term raised bed success is to take care of your beds in the fall. Not only to protect them from winter, but to re-charge them too!

One of the biggest mistakes raised bed gardeners make each fall is to leave raised beds bare. Not only will it allow weeds to take hold, it also lets nutrients leach away.
There are several methods to recharge and protect beds through winter. One of the best ways is to add a thick layer of compost or aged manure, and then mulch heavily with straw or leaves.
As winter progresses, the compost or manure breaks down in the soil to add nutrients. And the thick mulch on top stops any erosion from wind, rain or snow. See : How To Recharge Raised Bed Soil
You can also opt to plant a cover crop in your raised bed for the same effect. A cover crop of annual rye or red clover will quickly cover and protect the soil in the fall.
And in the spring, you simply dig it in to give back its nutrients to recharge the soil. Either method will work to protect and energize the soil, and your raised beds will be ready next spring for another great year!


This Is My Garden is a website dedicated to spreading the love and knowledge of gardening around the world. We publish two new garden articles each week. This article may contain affiliate links.