
If you want to try your hand at growing vegetables, flowers or herbs in straw bales but are confused by the endless amount of conflicting information on how hard it is to get your bales ready for planting – then the simple Soil + Plant Straw Bale growing method is for you!
Straw bale gardening is certainly a hot topic these days. In fact, so much so that there are videos, articles and even full length books dedicated to the method. And of course, a lot of varying opinions on just how to do it correctly.
Unfortunately, all of those opinions have confused a lot of gardeners trying it out. Some of the incredibly involved methods have even scared many others from even attempting it at all.
One thing is for sure, all of the opinions and different stances on the best way to garden in straw bales has only led to even more questions! Question like, can I plant in hay bales instead of straw? Do I need to condition my bales before I garden? And – what does “conditioning” even mean?

Here’s the good news, straw bale gardening doesn’t have to be hard. Especially when you use the Soil + Plant method featured in today’s article. In fact, as you will see, it can be a low-maintenance method to grow nearly any vegetable anywhere in straw bales – with ease!
How To Grow In Straw Bales – The Easy Way
Before we get into what we like to call the Soil + Plant Straw Bale growing method, let’s first answer some of the questions covered about straw bale gardening in general.
Straw Bales Versus Hay Bales
When it comes to using straw bales versus hay bales, you definitely want to stick with straw. Hay bales are full of seeds and life, that is exactly why they are fed to livestock. The seeds and stalks provide tremendous food and energy to their diet.
However, the seeds within those bales will make gardening in them a nightmare. Not only will your bales be covered in weeds and grass, all of that greenery will also steal valuable nutrients away from the plants you are trying to grow in the bales.

In addition, as the “green” in the hay breaks down, it generates heat and energy. Both of which can simply be too “hot” to grow in, injuring or even killing your plants in the process.
Why Using Straw Makes Sense
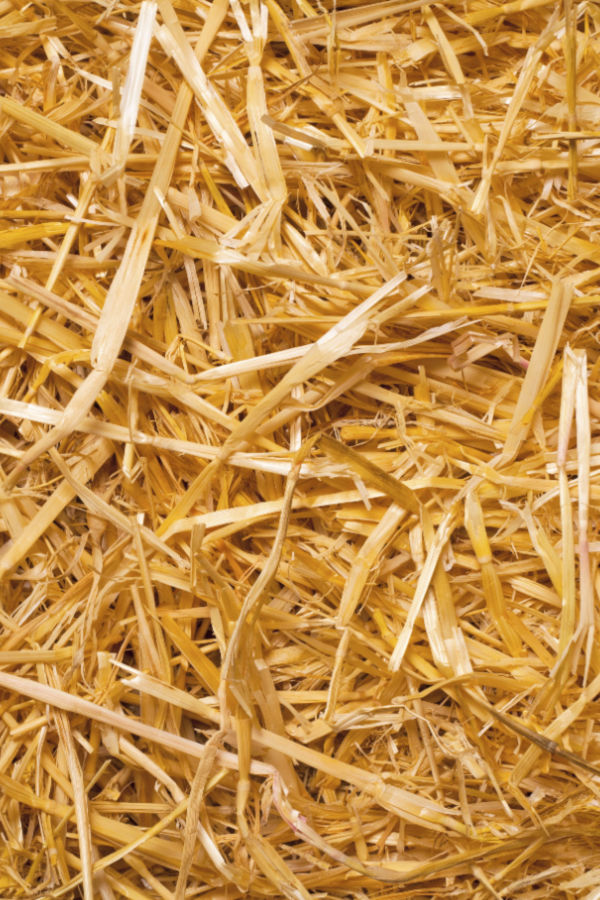
Instead, the best way to plant your vegetables, flowers or herbs is in a straw bale. Straw bales are created from the remaining stalks of a field crop after it has been harvested. Most often, they are made from the remnants of a wheat crop. It can also be made from the leftover stalks of rice, oats or even rye.
Because they contain little to no seeds these types of straw bales are ideal for planting in. They won’t overtake your plants with weeds, nor will the be too hot as they break down over time.
What about pine straw bales? They are not a good choice for growing plants in. Not only can the PH of the pine affect plants as they grow, the pine does not hold in moisture or nutrients well either. For success, stick with typical straw bales.
What Is Conditioning – And Do I Need To Do It Before Planting? How To Grow In Straw Bales
If there is one subject that really causes unnecessary confusion about straw bale gardening, it the process of conditioning bales before planting. First, let’s get to the good news – using the Soil + Plant Straw Bale method below, you won’t have to worry about it at all!
So what does it mean to condition a bale? Conditioning is the process of adding fertilizer and water to the bale a week or two before planting. Some straw bale gardeners add other minerals such as lime as well to condition their bales.
Listen In To Our Podcast Below On How To Grow In Straw Bales!
By doing this, it heats up the bales and helps them decompose. It also allows nutrients to be available for the plants when you plant. But if you simply cut out small planting holes in the bale and add a good potting soil mix into each plant’s hole when planting – it works like a charm to do the same thing!
With the dig and plant process, not only can you plant anytime you want without conditioning, the extra soil also helps to retain more moisture and nutrients when you water or fertilize. It is a win-win that makes growing in straw bales a snap!
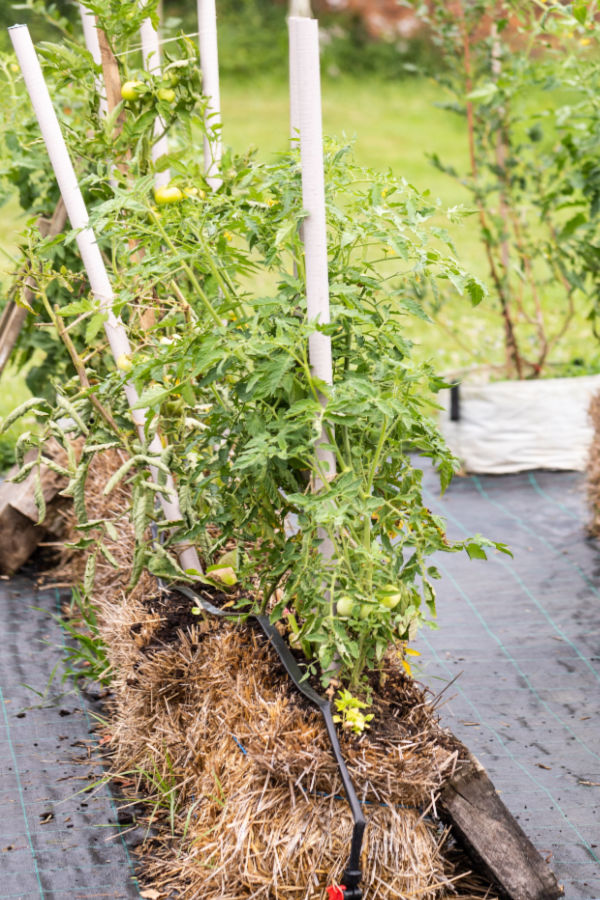
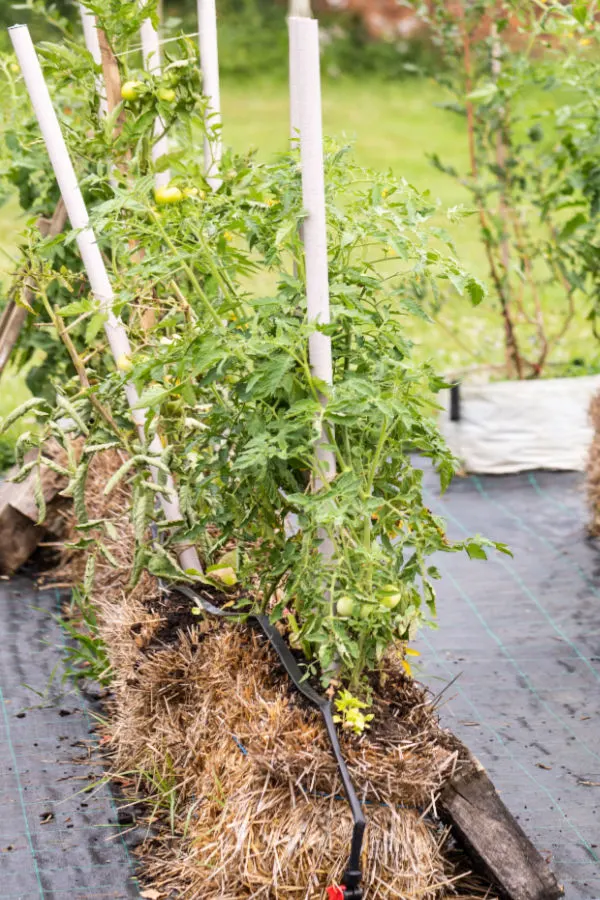
How To Plant Using The Soil + Plant Straw Bale Method
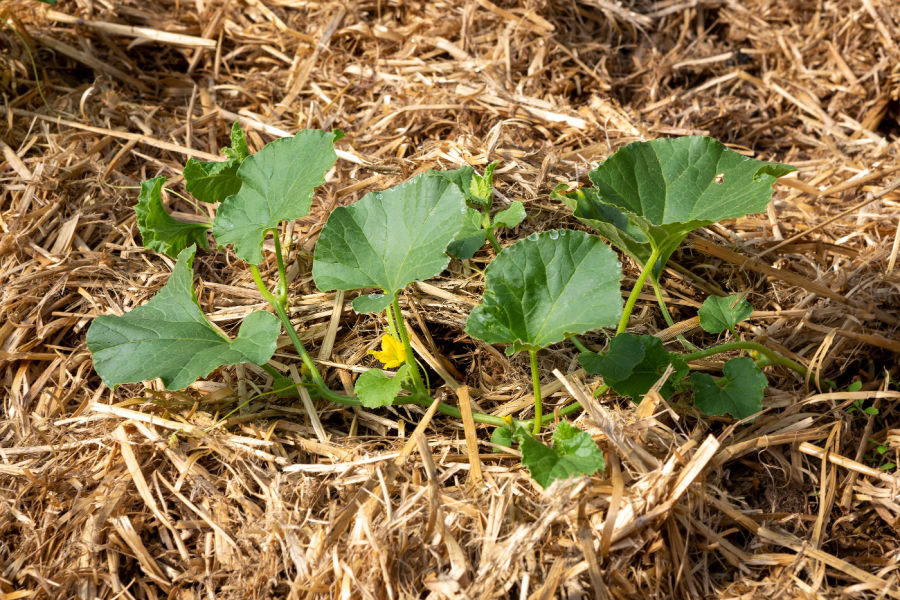
To plant your straw bales for success, you need to fill a small area around each transplant with fertile soil. Straw bales are tightly wound together. But by using a sharp knife, garden blade (Hori-Hori knife), or even a reciprocating saw with a 12″ construction blade, you can quickly cut out planting holes in the bale.
This should be done whether planting seeds or transplants. To create the holes, cut down six to eight inches deep and about four to five inches in diameter. Space your planting holes according to the variety of plants you will be planting.
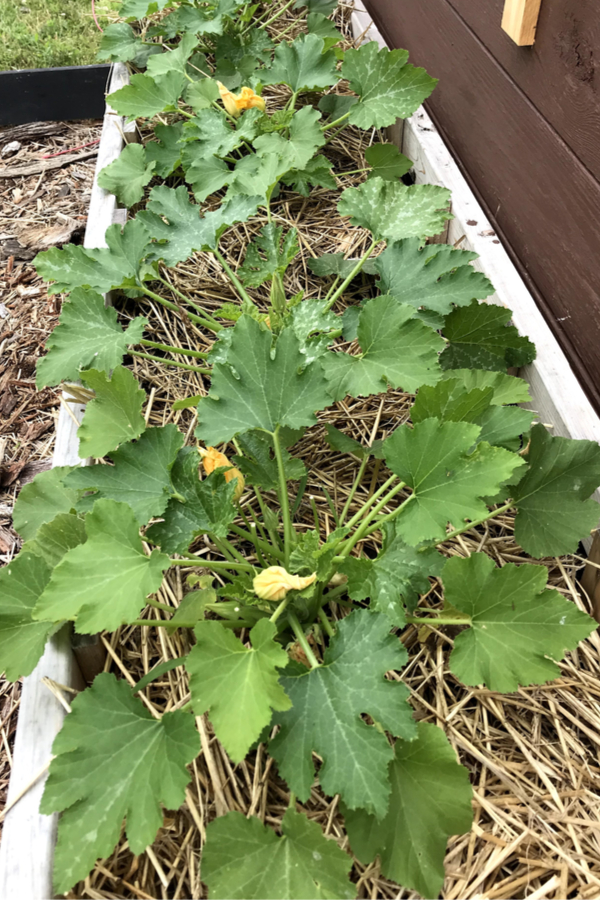
For cucumbers, you can stagger three to five planting holes per bale. The same would go for zucchini, smaller peppers and tomatoes. For larger varieties of plants, plant no more than two plants per bale. If planting flowers or herbs, you can space according to each plant variety as you would in a flowerbed or container.
Filling Your Straw Bale Planting Hole With Power – How To Grow In Straw Bales – The Easy Way
Once your planting holes are carved out of the straw bale, it is time to fill them with powerful soil. For this, you can use a high quality store bought potting soil, or mix your own amazing potting soil up with a few simple, natural, high-energy ingredients. See: How To Create The Best Potting Soil Around!
Now it’s time to plant. For transplants, pack a few inches of potting soil in the bottom of the hole. Next, put in the transplant and fill the hole to the top of the straw with the potting soil. For seed crops, pack the planting hole full and then plant seeds down into the top layer of soil.
Depth will depend on what you are planting. Simply follow the recommended seed depths on the seed packet. Water the seeds in to complete the process and watch your bales grow!
Watering – How To Grow In Straw Bales
Straw bale plants will need watering frequently. Especially when they are first establishing in the soil. Straw bale plants are essentially container plants or hanging baskets. Because of that, more frequent watering will be necessary.
Check the soil moisture daily around your plants. One of the best ways to do this quickly and easily is with a soil moisture thermometer.
As the plants mature and develop stronger root systems, and as the straw begins to break down and compress into the soil more, the root systems will begin to hold more moisture in. Once this occurs, you can usually water less frequently.
Fertilizing – How To Grow In Straw Bales
Whether it be flowers, vegetables or herbs, straw bale plants will need additional nutrients just like traditional plants would growing in a garden or in flowerbeds. It is better to fertilize with a lower dose on a consistent basis than just a few higher doses of fertilizer.
Applying compost tea or worm casting tea every ten to fourteen days is ideal. If using a commercial fertilizer, use at half strength every ten to fourteen days. Commercial fertilizers are stronger. Diluting these types of fertilizers will give more of a low and slow approach that helps plants grow at a more productive clip.
Give Your Bales A Home To Grow In – How To Grow In Straw Bales
Although it is completely optional, the more support you can give your bales the better. Bales left out in the open fall apart as the season progresses, which can sometimes affect root growth. By resting bales up against fences or walls, or pushing them together into a block, you can keep the bales going strong all season long.
At the seasons end – simply pull your plants and put the decomposing straw and left over soil in your compost bin. It is the perfect fall addition to get a pile teeming with organic matter!
Follow Our Facebook Page For Great Gardening Tips And Advice! This Is My Garden Facebook Page
This Is My Garden is a garden website created by gardeners, for gardeners. Jim and Mary Competti have been writing gardening, DIY and recipe articles and books and speaking for over 15 years from their 46 acre Ohio farm. They publish three articles every week, 52 weeks a year. Sign up today to follow via email, or follow along!

