Looking to know when it’s the perfect time to harvest your sunflower seeds from your plants? Whether you want to save seeds for future planting, keeping them to use for bird feed or planning to roast the seeds to enjoy them for yourself – there’s nothing quite like growing and harvesting your own sunflower seed crop!
There’s no doubt that sunflowers are one of the easiest and most helpful plants to add to your garden and landscape. Not only are they great for for attracting pollinators, they also bring tons of color and interest with their massive bright blooms.
But it’s what these sunny flowers produce after their blooms start to fade that is the real winner! Sunflowers produce tons of seeds that can be used to feed animals, birds, and of course, humans. What’s more, you can even harvest the seeds to use for planting again the following year, making growing them entirely free!
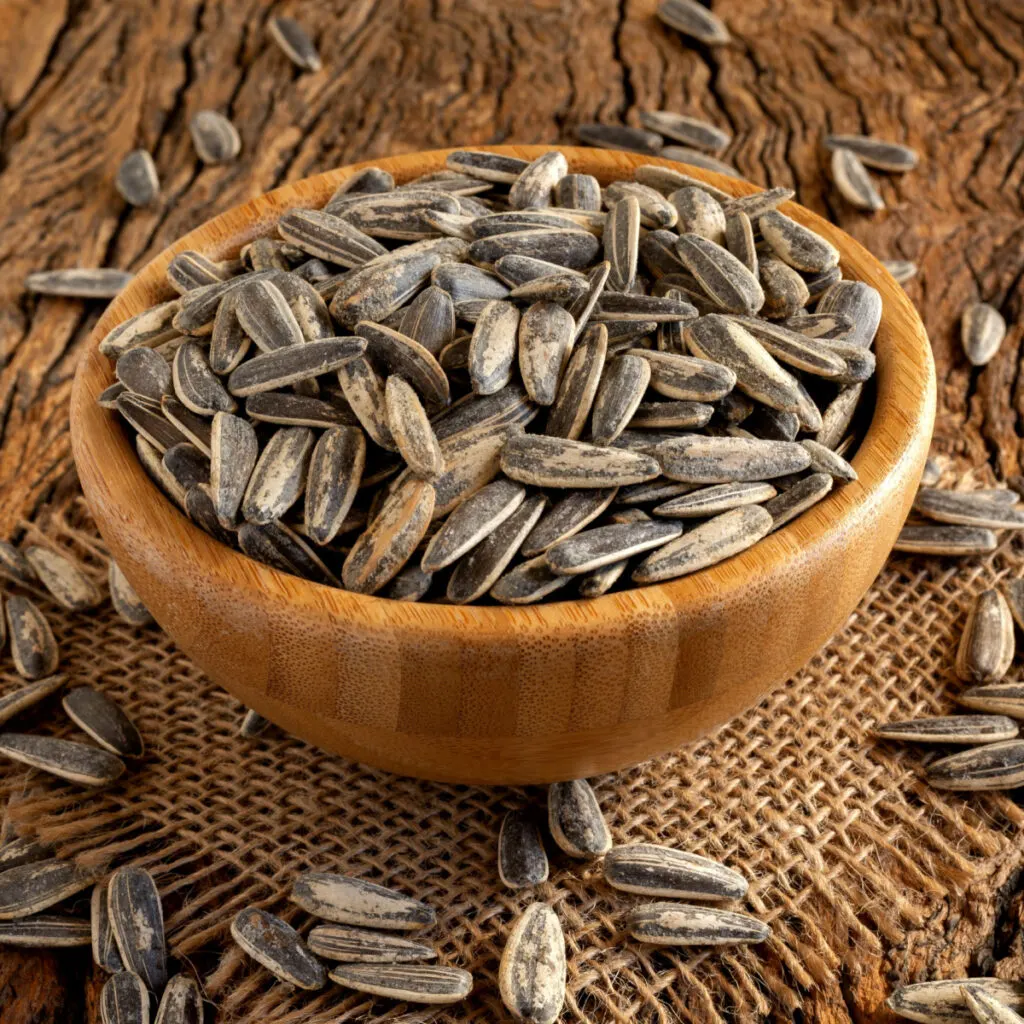
So if you happen to have a few sunflowers growing in your backyard, here is a look at how to know the right time to harvest them, and what to do with those big flowering seed heads once you do!
How To Harvest Sunflower Seeds
How To Know When The Sunflowers Are Ready To Harvest
Sunflower blooms are made up of a row of fake petals that surround the actual seed head. While these petals have nothing to do with pollination or the creation of the seeds, they do help in indicating when it’s time for harvesting.
Once you start to see these false petals fade and die off, it’s the first signal that the time for harvesting is getting close. Not long after this, the entire seed head will begin to look dull. In addition, the seed head will also begin to hang downward as opposed to pointing toward the sky.
When all of these occur, it’s time to take a look at the back of the sunflower. It is here on the back that you will find the best indicator of all for knowing when it’s time to harvest. The back portion of the sunflower is called the calyx. During the spring and summer, the calyx is typically a bright green color as the sunflower grows and matures.
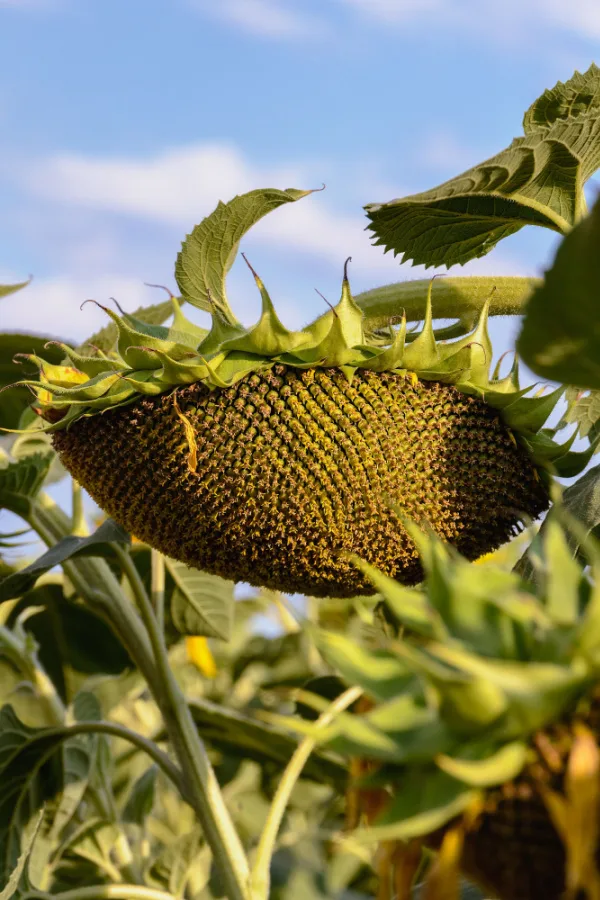
But when the back starts to turn a brownish, dark yellow color, it’s a signal that the plant is no longer sending energy and resources to the bloom. And it’s exactly at this point that you can start harvesting the seed head!
Harvesting Sunflower Seed Heads
It’s important to note that you do not have to harvest the heads from sunflower seeds to dry them. You can actually leave the seed head on the stalk to dry naturally, but it can make it easy for birds, squirrels, and other animals to get to the seeds first and devour most of the crop.
Because of this, cutting the seed head from the stalk as soon as the flower head begins to show the above signs of maturing is best. Not only will it keep the seed safe, but it can also help them dry out far faster.
Removing A Sunflower Head – How To Harvest Sunflower Seeds
Start by cutting the flower head from the main stalk, leaving about 6 to 8 inches of stem attached to the head. Next, remove any leaves and petals. This includes the tiny true flowers that are attached to the seeds. By removing the leaves, petals and little flowers, the seeds can will dry out much quicker.
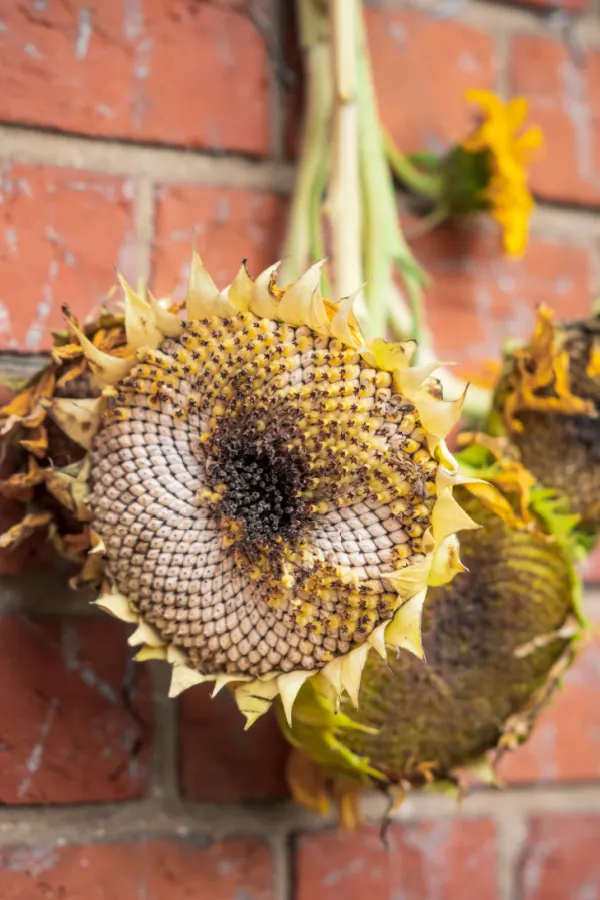
Once all are removed, hang the seed heads upside down in a protected, dry area. Once again, if not protected, they can be an easy meal for hungry wildlife. In addition, if the get wet from rain, it can delay the drying process or even cause them to mold.
As an alternative to hanging, you can also place the seed heads on a wire rack that provides adequate airflow. No matter where you dry it, the key is to allow air to get to as much of the seed head as possible.
Allow the seed head to turn dark brown and dry out completely. This typically takes around 2 to 3 weeks. It will vary depending on the size and condition of the seed head – and how much air flow and humidity are present as well.
Removing The Seeds – How To Harvest Sunflower Seeds
Whether you let the seed heads dry naturally on the stocks or cut them off, the process for removing the seeds is identical once they are dry.
Begin by scraping off any remaining chaff and petals that are on top of the seeds. Next, hold the seed head over a large bowl or 5-gallon bucket. Carefully remove the seeds with your fingers. Be sure to wear gloves since this process can be a bit rough on your fingertips, especially if you have a lot to harvest.
An even quicker way can be to take two seed heads and rub them against one another. The friction will quickly and easily remove most of the seeds from both sides, saving your fingers in the process!

Roasting Sunflower Seeds
Once your seeds are dry, what you do with them at this point will all depend on how you want to use your seeds in the future.
If you decide to save your sunflower seeds for planting, allow the seeds to dry out in a single layer on a baking sheet or drying rack. The seeds need to be completely dry before storing so they don’t become spoiled or germinate prematurely.
Once dry, store them in a sealed plastic or glass container until it’s time for planting. It is best to keep them in a cool but drier area of your home. If they get too much humidity or heat, it can severely impact the seed quality and keep them from germinating the following year.
If you plan on consuming the seeds, it’s best to roast your sunflower seeds first. While you can enjoy your seeds raw right away, most people prefer the flavor of roasted seeds better. It’s a simple process, but one that makes a big difference in the overall taste of the seeds.
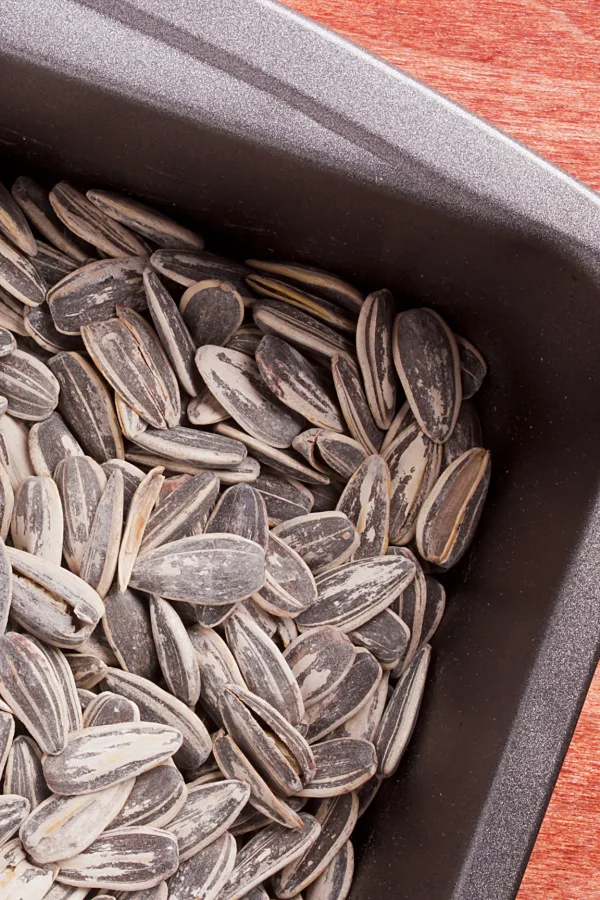
There are two main methods for roasting: unsalted seeds or salted seeds. It is purely a matter of personal preference for roasting. Here is a look at both:
Unsalted Seeds – How To Harvest Sunflower Seeds
Begin by preheating your oven to 300º Fahrenheit. Rinse the sunflowers off and pat them dry. Next, spread the seeds out on a large cookie sheet in a thin layer.
Place the cookie sheet in the preheated oven on the center rack and roast them for 35 to 40 minutes or until the shells turn slightly brown. When they have been roasted long enough, the seeds should crack open easily down the middle.
Salted Seeds – Harvesting & Roasting Sunflower Seeds
While the salted version takes a little bit longer, the results are well worth the extra step when it comes to flavor. Begin by soaking the seeds overnight in a solution of ¼ cup of salt and 2 cups of water. You can double the solution as needed so that all the seeds are completely submerged in the liquid.
In the morning, preheat the oven to 300º Fahrenheit. Drain off the water but do not rinse the seeds. Place them in a thin layer on a cookie sheet and allow them to dry out slightly.
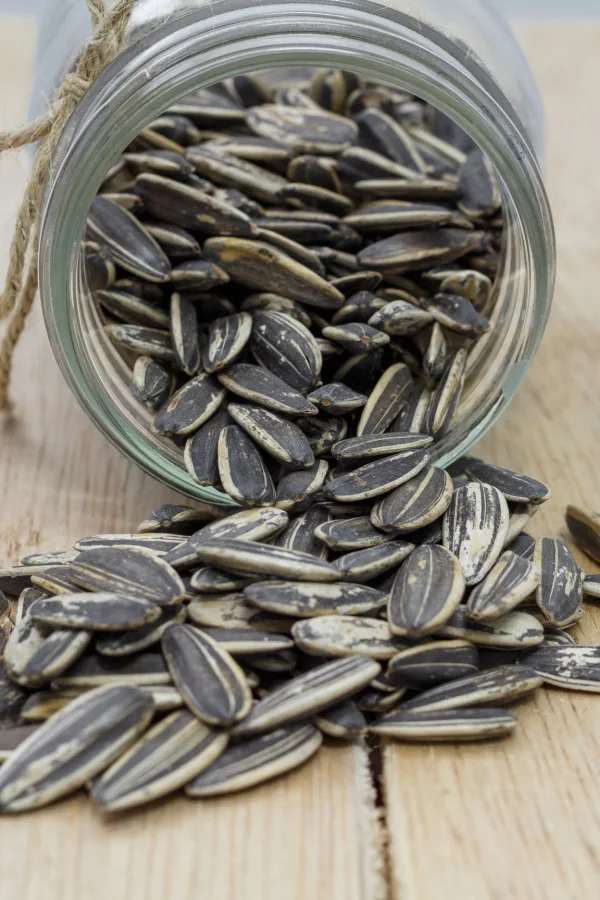
When mostly dry, place the cookie sheet on the center rack in the oven. Roast the seeds for 35 to 40 minutes or until the shells are slightly brown. Whether you are making salted or unsalted sunflower seeds, you can store them in an air-tight container and they will keep for several months.
When Planting & Growing Sunflowers
When choosing your sunflower varieties at the time of planting, you do want to consider what your end goal is. Not all sunflower varieties are best for eating.
Some varieties that are oily seeds are best for feeding wildlife or turning into sunflower oil. These types are not the best for consuming for humans as seeds. See: Homemade Bird Seed – How To Make Nutritious, Low-Cost Feed At Home.
If you want sunflower seeds for eating, look for varieties that have stripes or feature “best for raw eating or roasting” on the seed packet. Mammoth Grey Strip is one of the best choices for growing to create delicious roasted seeds. (Affiliate Product Link: Mammoth Grey Strip Seeds)
Here is to growing, harvesting and enjoying sunflower seeds. The best part is that once you invest in your first seeds – you can grow for free year after year!
Follow Our Facebook Page For Great Gardening Tips And Advice! This Is My Garden Facebook Page
This Is My Garden is a garden website created by gardeners, for gardeners. Jim and Mary Competti have been writing gardening, DIY and recipe articles and books and speaking for over 15 years from their 46 acre Ohio farm. They publish three articles every week, 52 weeks a year. Sign up today to follow via email, or follow along!

