Did you know that late fall is the perfect time to clean up the daylilies you have growing in your flowerbeds – not only to get them ready for winter, but to help get them prepared for bigger and better blooming than ever next spring and summer?
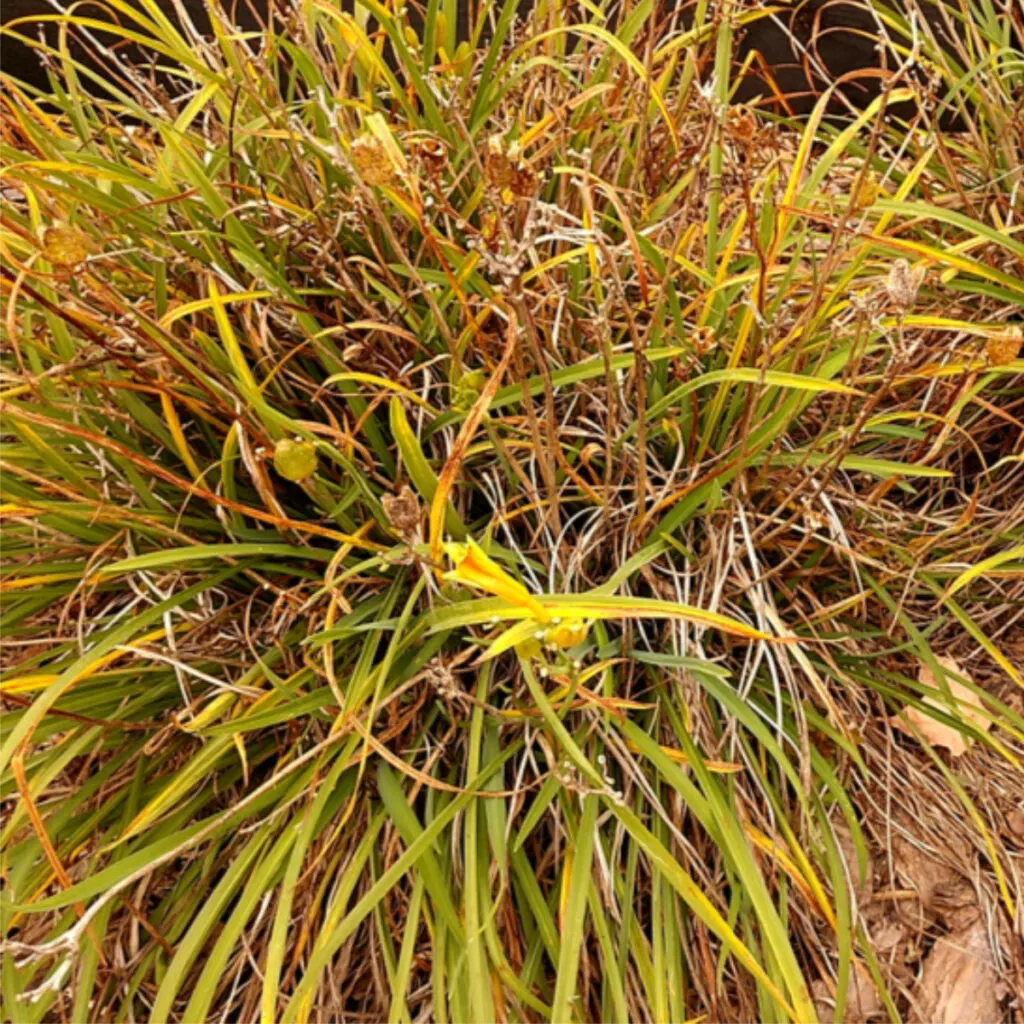
As the growing season comes to end, daylilies begin to fade quickly. Their once healthy, vibrant blades fade from bright green to a papery yellowish brown. Especially once a frost or early freeze strikes to send the plant headlong into its dormant phase.
When that occurs, the long bloom stems that once proudly shot from the perennial’s base die off as well. But instead of dangling spent blooms, the stems now have aging seed heads hanging from their tops.

For many gardeners, the question becomes what to do with all of the mess. One thing is for sure, the decaying foliage of daylilies in late fall are anything but attractive. Even worse, as they continue to die off, the wispy blades end up littering entire flowerbeds as they scatter with wind.
But is it safe to cut the dying foliage off? Or is it better to leave it all in place until spring? And what about daylilies that have simply grown too large for their space? Is it too late to divide them, or will it put them at risk of freezing out over the winter?
What To Do With Daylilies Before Winter
Cutting Back Daylilies
As it turns out, late fall is one of the best times for providing all kinds of care to your daylilies. And that care all begins with removing all the spent foliage from the plant. Not only can you cut the dying foliage of daylilies off in late fall, it’s actually in the best interest of their health and future blooming power to do so before winter arrives.
When decaying stems, blades and seed heads remain through the winter, they are not only unsightly, they also are a great place for pests to hide out and lay their eggs. Eggs that will then overwinter and hatch in the spring to attack the plants in your flowerbeds. The dying foliage can also harbor mold and disease.

By removing the spent foliage in the the fall, you eliminate that risk. You also help to keep your beds neat and tidy all winter. But even more, you help to prepare your daylilies for a faster jump start in the spring.
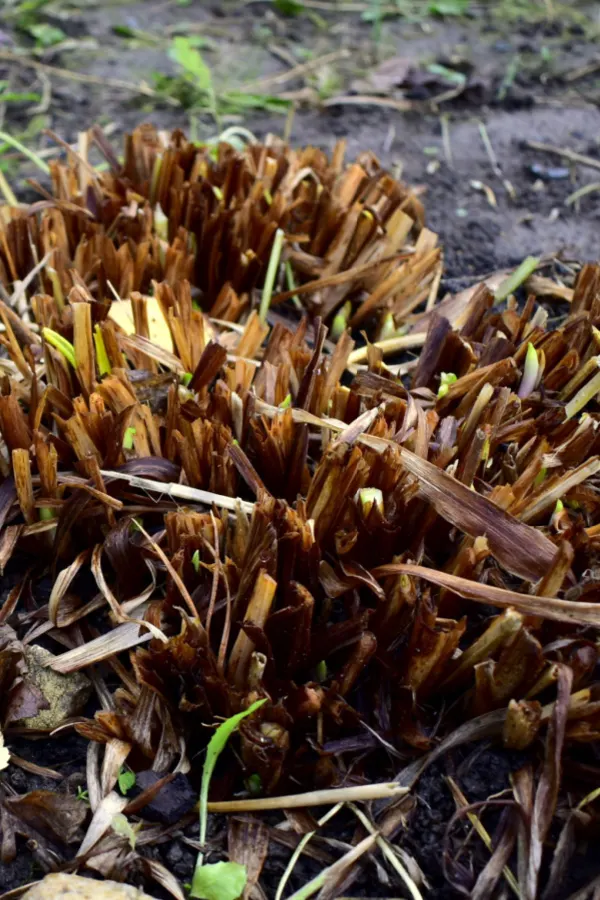
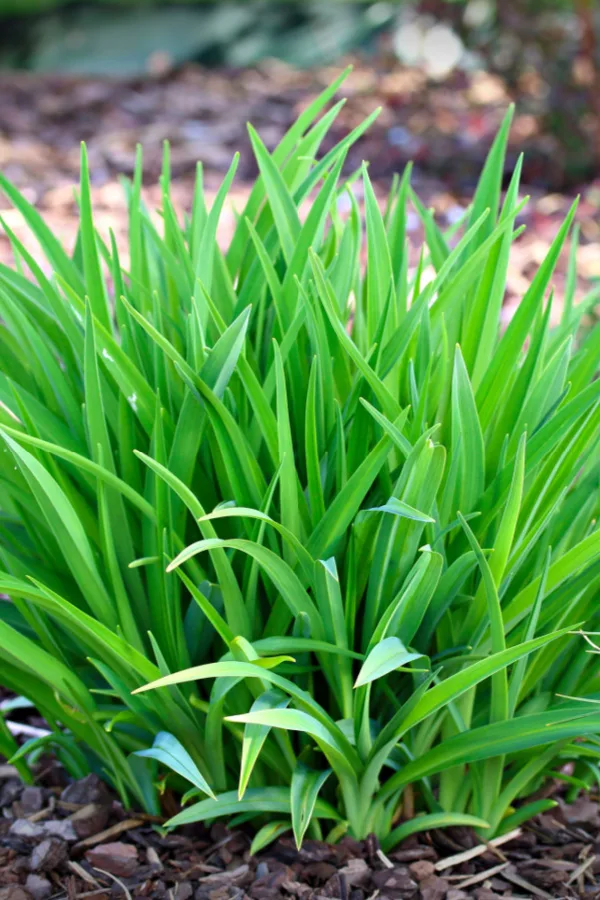
The tangled mess of old plant matter can actually delay the shoots sprouting from the roots in early spring. It can also make the plant look less than desirable. But when removed in the fall, the sun can warm the roots far faster.
As it does, pure bright green blades burst forth, leaving beds looking fresh – and getting your plants on a fast path to setting blooms.
Removing Old Foliage – What To Do With Daylilies Before Winter
The best news of all? Removing the old plant matter in the fall is a snap! Often, the blades and old stems will simply pull away from the base with a tug. And for those that don’t, a quick snip with garden or hedge shears will do the trick.
When cutting back, clip the all of the foliage and stems back to an inch above the soil line. The cuttings are perfect for your compost pile, but be sure to remove seed pods first. Leaving these on can result in volunteers coming up wherever you use your compost in the future!

Dividing Overgrown Daylilies Late In The Year – What To Do With Daylilies Before Winter
Once the plants are cut back – now it’s time to assess if your daylilies need to be divided. But can you do it right before winter arrives?
As it turns out, when it comes to daylilies, as long as the soil is not frozen, they are safe for dividing. Daylilies are actually one of the hardiest and most durable perennials around. Because of that, you can divide them at any point of the growing season – even if it’s very late in the fall.
By dividing in late fall, you allow the plants to be ready to hit the ground growing at the first sign of spring. And that means same season blooms!
Unfortunately, if you wait until spring to divide, it will slow their ability to grow and bloom as they set new roots and adjust. This usually causes spring divided daylilies to delay blooming until the following year.
So how do you know if your daylilies need to be divided? For best blooming, these prolific growers should be divided every four to five years. This keeps plants manageable, and their root systems from becoming tangled and overgrown.

Dividing is simple and straightforward. Simply dig up the root ball, flip over, and then slice equal portions of roots. The larger the portion, the larger your plant will be next year. Once all of your plants have been cut back and you have divided any overgrown clumps, it’s now time for mulch!
Mulching Daylily Crowns – What To Do With Daylilies Before Winter
The final task to put your daylilies to bed for the year is to mulch the crowns. Although daylilies are incredibly hardy and rarely freeze out, mulching is still important. Especially for any new daylily starts and divisions you may have just transplanted.
A three to four inch covering over the tops of your daylily crowns will helps in several ways. For starters, it keeps out weeds and weed seeds from finding a home for next year. But more importantly, it helps to insulate the soil against rapid freezing and thawing, which helps protect the roots of your daylilies and keeps them far healthier in the process.
All flowerbeds should get a fresh coating of mulch for this very reason in the fall. In fact, for your plant’s health and well being, fall mulch is even more important than spring mulching. Not only for weeds and soil insulation, but also to help keep precious topsoil from eroding over the winter. See: How To Mulch Flowerbeds In The Fall – And Why It’s So Important!

Hold Off On Fertilizing – What To Do With Daylilies Before Winter
When it comes to fertilizing herbaceous perennials, spring is always better than the fall. Fertilizing late in the year can cause the plants to try to continue growing. And that in turn can leave them vulnerable to winter damage.
All that is left is to wait until the temperatures warm up, give them a little boost of all-purpose fertilizer next spring – and watch them flourish. Here is to cleaning up your daylilies before winter, and to having your plants bloom bigger and brighter than ever next year!
Follow Our Facebook Page For Great Gardening Tips And Advice! This Is My Garden Facebook Page
This Is My Garden is a garden website created by gardeners, for gardeners. Jim and Mary Competti have been writing gardening, DIY and recipe articles and books and speaking for over 15 years from their 46 acre Ohio farm. They publish three articles every week, 52 weeks a year. Sign up today to follow via email, or follow along!
