
You won’t believe how simple and inexpensive it can be to make your very own DIY scented pine cones to fill your home with the joyous scents of the holiday season!
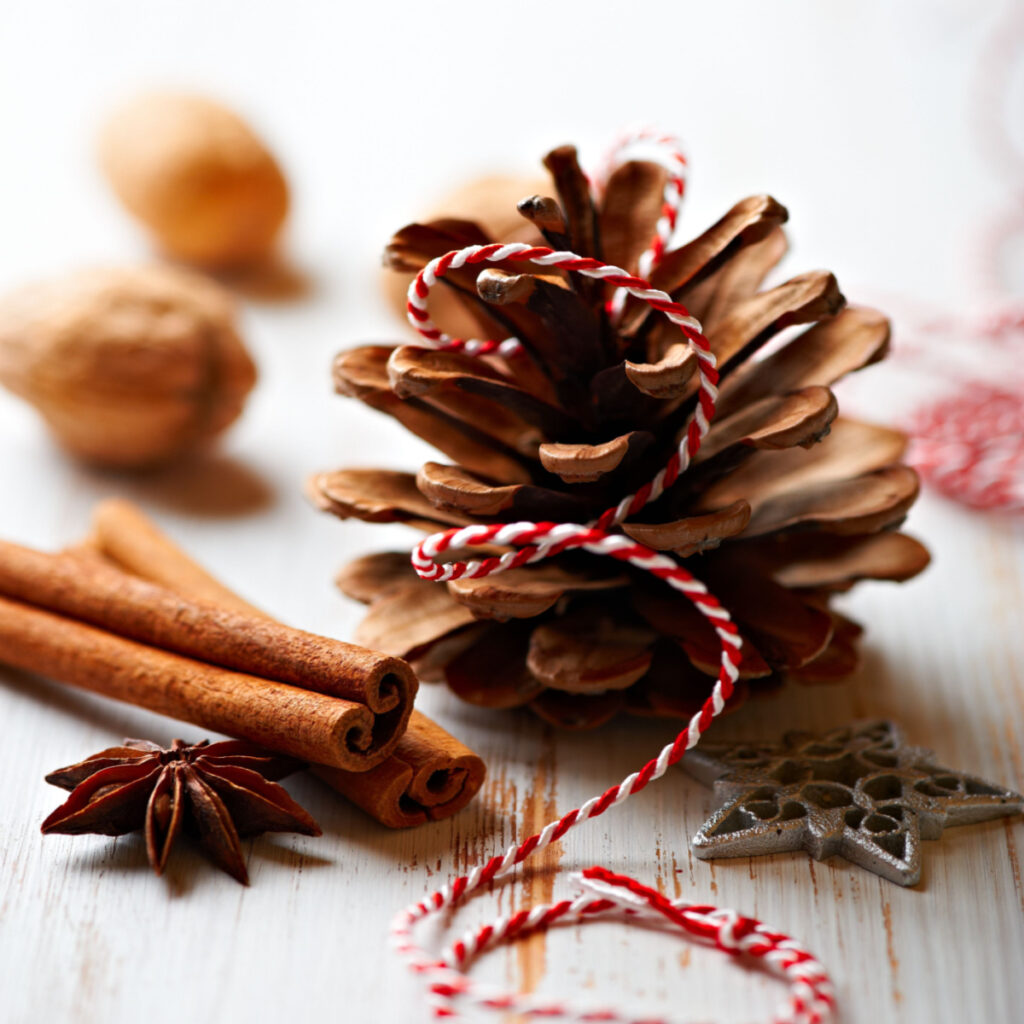
Pine cones and holiday decorating go hand in hand. Whether dressing up greenery on fireplaces and mantles, or piled high in glass containers with ornaments, ribbons and more, pine cones can bring a touch of elegance wherever they are displayed. Especially when they carry with them the scents of the season!
But one thing is for sure, buying them in a store can be quite expensive. In addition, many commercially scented cones don’t seem to hold their scent for more than a single season. And if that wasn’t enough, you also don’t always know what, where, or how the cones were treated or scented either.
The good news is that all of those issues can be easily solved by simply making your own aromatic cones right at home. Not only is making your own beautifully scented pine cones easy, cost-effective and safe, it also gives you the ability to be as creative as you want with how you scent them.
In fact, as long as you live in a location with access to pine trees nearby, with just a little prep work and a few essential oils, you can create cones of cinnamon, candy canes, pumpkin spice – or even the incredible smell of fresh baked gingerbread cookies. And all for a mere fraction of the cost of store-bought versions!
How To Make DIY Scented Pine Cones
Below is a look at the three simple steps it takes to create your own great smelling pine cones with essential oils. As for what scent and oil is best, it really comes down to personal preference. But with that said, we have included 10 great essential oil combinations at the end of the article that create some great all-time favorite holiday scents!
Selecting Your Pine Cones
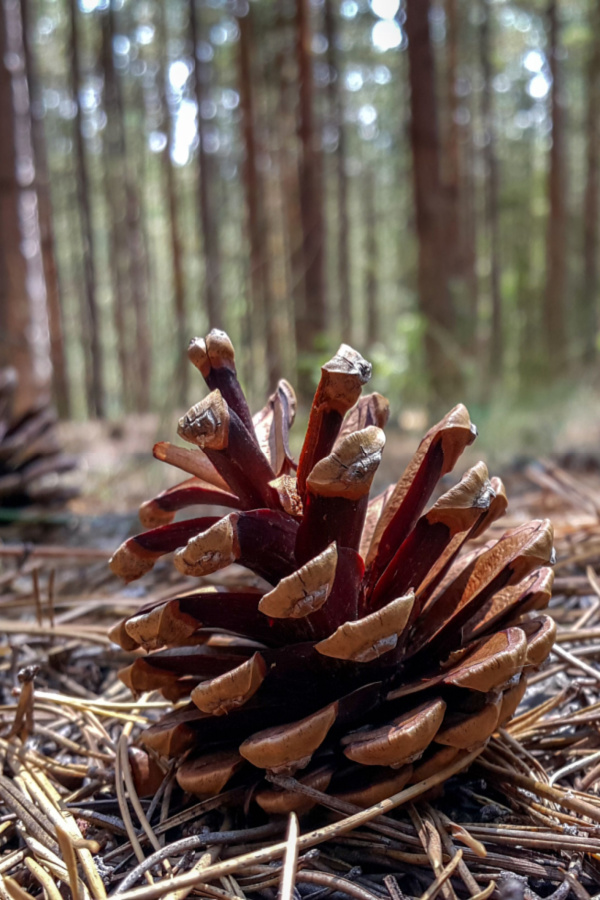
Making your own DIY scented pine cones all starts by finding your cones out in nature. You will usually start to see “fresh” pine cones falling on the ground from September through December. This time frame really is the best time for collecting as you will have a better chance of having unblemished, freshly fallen cones.

Once you find a source of cones, the next step to success is to select those that will be best for scenting. Avoid any pine cones that are soft to the touch or are highly faded in color. These are both indicators that the pine cones are old and frail.
In addition, discard any cones with broken tips, torn edges, or that show any other signs of obvious damage. Unfortunately, these cones simply won’t hold up well over time, nor will they absorb scents well either. Instead, look for firm pine cones that still have a fair amount of natural color.
It goes without saying, but always ask permission before collecting pine from any location that you do not directly own or have express permission to “hunt” for pine cones. Although they do fall freely from trees, many parks and reserves do have rules in place about taking anything from the land without permission.
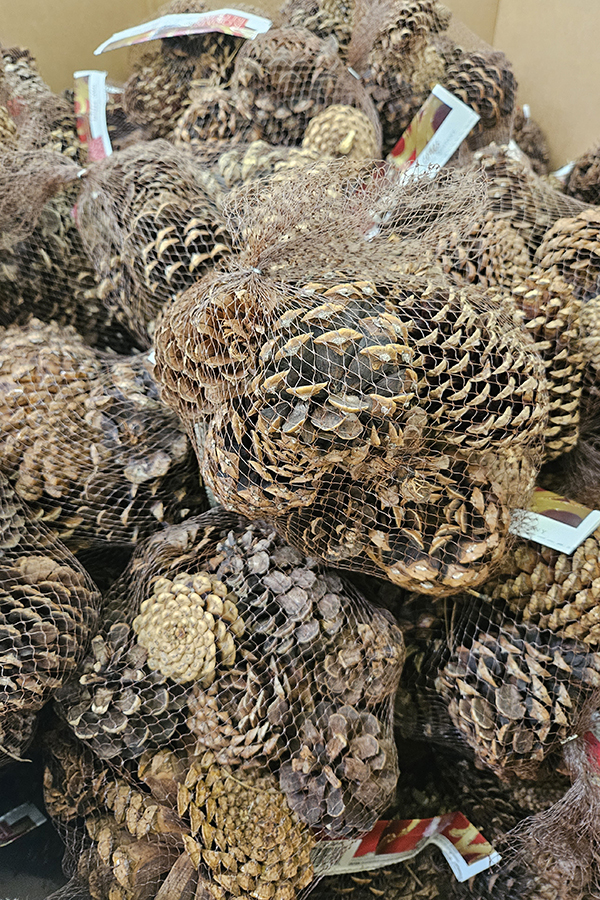
If you happen to not live in an area where there are not pine trees and cones, you can instead purchase unscented cones online or in many craft stores. The good news is that unscented cones tend to be far less expensive than the aromatic versions. (Affiliate Product Link: Bulk Pine Cones)


Prepping Your Pine Cones For Scenting
The next step is to make sure your pine cones are safe for bringing indoors. Pine cones have been outdoors in the elements. Because of that, they will have dirt and sap. Even more, they will also likely have a fair amount of small bugs in and on them. Bugs that definitely need to be removed before bringing inside!
Start by washing off the pine cones in running water. You can also dunk them in a bucket of water – but the key is to give them a quick rinse to dislodge any dirt and grime. Do not use soap or detergents because the scent of the soap can linger on the pine cones.
The pine cones might close up slightly as they get wet, but they will pop back open once they are fully dry. Now it’s time to take care of any of those bugs and sticky sap!
Getting Rid Of Insects
The best way to take care of any insects that may be hiding in your cones is with your oven. It also happens to be great for baking off the sap. There is nothing worse than having that sticky sap get all over your hands or wherever you place your cones. Luckily, the oven will take care of this in quick fashion!
Start by placing the pine cones on a foil-lined baking sheet and preheat your oven to 200° Fahrenheit. Bake the pine cones for one hour, keeping the oven at 200º Fahrenheit.

The heat from the oven will melt the sap and bake it off. But even more importantly, it will also kill any hiding insects and bugs. After “baking” for an hour, remove the pine cones from the oven and allow them to cool fully before handling.
Adding The Scent
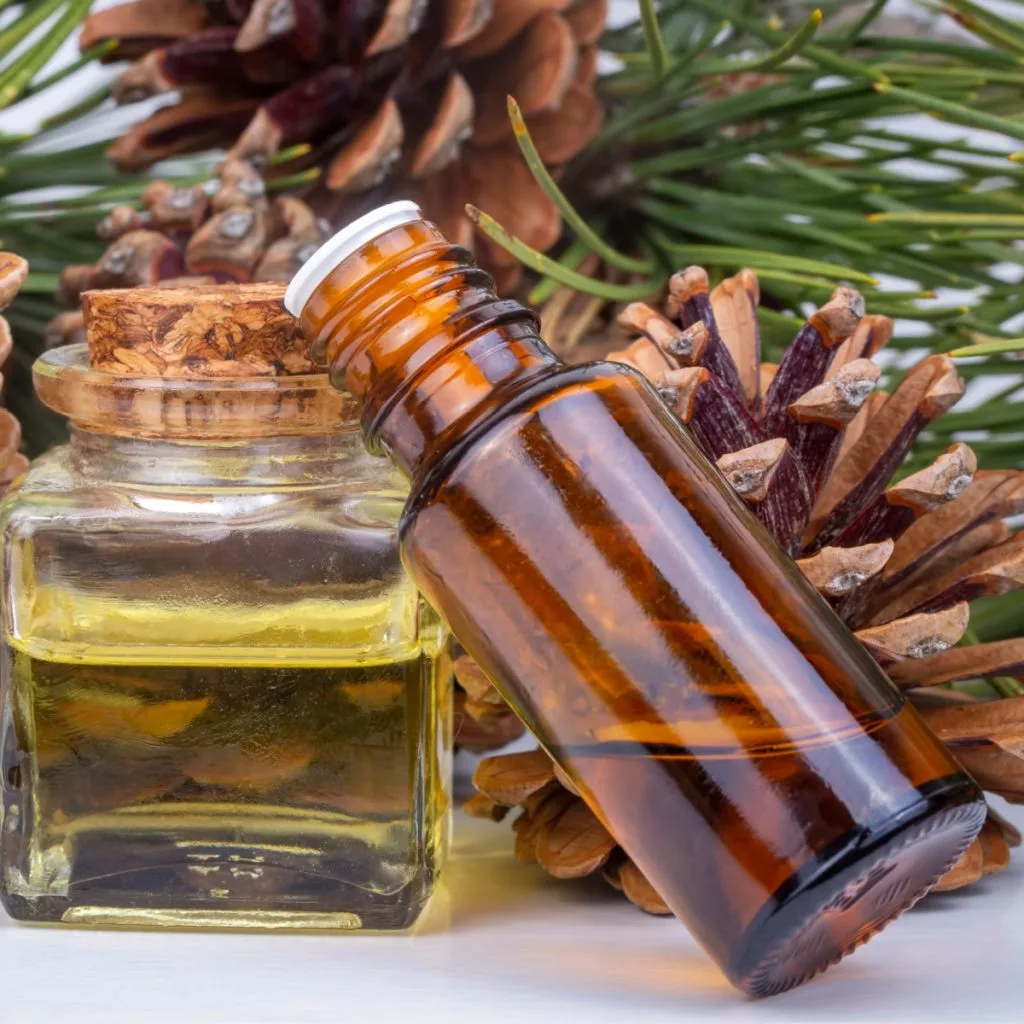
Now it’s time to get your DIY scented pine cones smelling wondrous! Even though they don’t look like it, pine cones are extremely porous. Because of that, they easily absorb essential oils and their scents. The amount of oil you use will change how strong the scent is, so with trial and error, you can adjust the strength to your wishes.
To scent the cones, start by placing the pine cones in a gallon sized resealable plastic (ziplock-style) bag. Again, make sure the cones are completely cool from the oven before doing so. Depending on how many cones you have, you may have to use several bags for this process.
Next, create a simple scented essential oil spray by mixing 10 to 20 drops of your favorite essential oil(s) with ¼ cup of warm water in a small spray bottle. Open the plastic bag and spray the mixture directly into the bag and onto the cones.
Finishing Your Scented Cones
You do not need to soak the pine cones during this process. Four to Five full sprays should be more than enough to create a good strong scent. Once you have sprayed the mix, finish by sealing up the bag tightly.

Allow the mist to completely dry inside the bag before opening back up. This can take anywhere from a few hours up to a full day. It really depends on how strong and how much spray you used in the process.
You can re-use this method to spray the cones as often as needed when the scent fades. And, if you happen to have purchased scented cones that have lost their scent – this method is great for freshening them up as well!
Our Favorite DIY Scented Pine Cone Recipes
Looking for some great scents for your pine cones? Here are a few fun holiday recipes to try out! You can add or subtract drop amounts based on personal preference. Mix each set of drops below with a quarter cup of warm water to create your spray.
- Fall Blend: 6 drops orange, 4 drops patchouli
- Crisp Fall Morning: 6 drops orange, 4 drops lemon, 2 drop cinnamon, 2 drop clove
- Pumpkin Spice: 6 drops cinnamon, 3 drop clove, 3 drop ginger, 3 drop orange
- Cinnamon Rolls: 6 drops orange, 4 drops cardamom, 4 drop cinnamon
- Gingerbread Cookies: 6 drops ginger, 4 drops clove, 4 drops cinnamon
- Christmas Tree: 6 drops pine, 4 drops cedarwood, 4 drops rosemary
- Candycane: 6 drops peppermint, 4 drops vanilla
- Home For The Holidays: 4 drops cinnamon, 4 drops orange, 4 drops pine
- Freshly Fallen Snow: 6 drops peppermint, 6 drops orange
- Fireside: 8 drops sandalwood, 4 drops cinnamon, 2 drop patchouli
No matter what scent your use – you can’t go wrong with creating your own DIY scented pine cones for the holiday season! For more on the subject of pine trees – be sure to check out our article : The Best Way To Use Pine Needles To Mulch Acid Loving Bushes & Plants.
This Is My Garden
Follow Our Facebook Page For Great Gardening Tips And Advice! This Is My Garden Facebook Page
This Is My Garden is a garden website created by gardeners, for gardeners. Jim and Mary Competti have been writing gardening, DIY and recipe articles and books and speaking for over 15 years from their 46 acre Ohio farm. They publish three articles every week, 52 weeks a year. Sign up today to follow via email, or follow along!