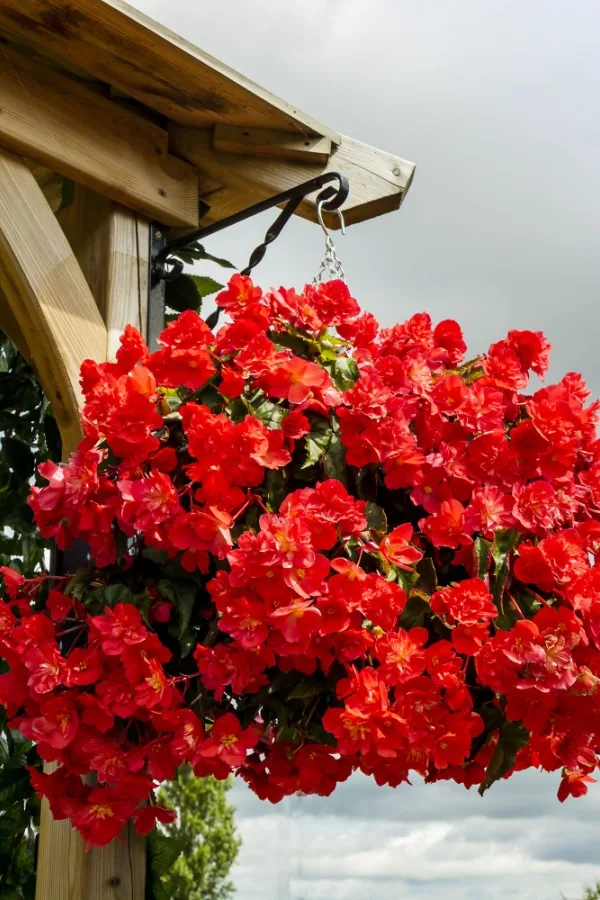
Have the best hanging baskets on the block! Want to know what the best plants for hanging baskets are? Or the best soil to grow them in? We have you covered below with all of our best articles on hanging basket care!


Have the best hanging baskets on the block! Want to know what the best plants for hanging baskets are? Or the best soil to grow them in? We have you covered below with all of our best articles on hanging basket care!
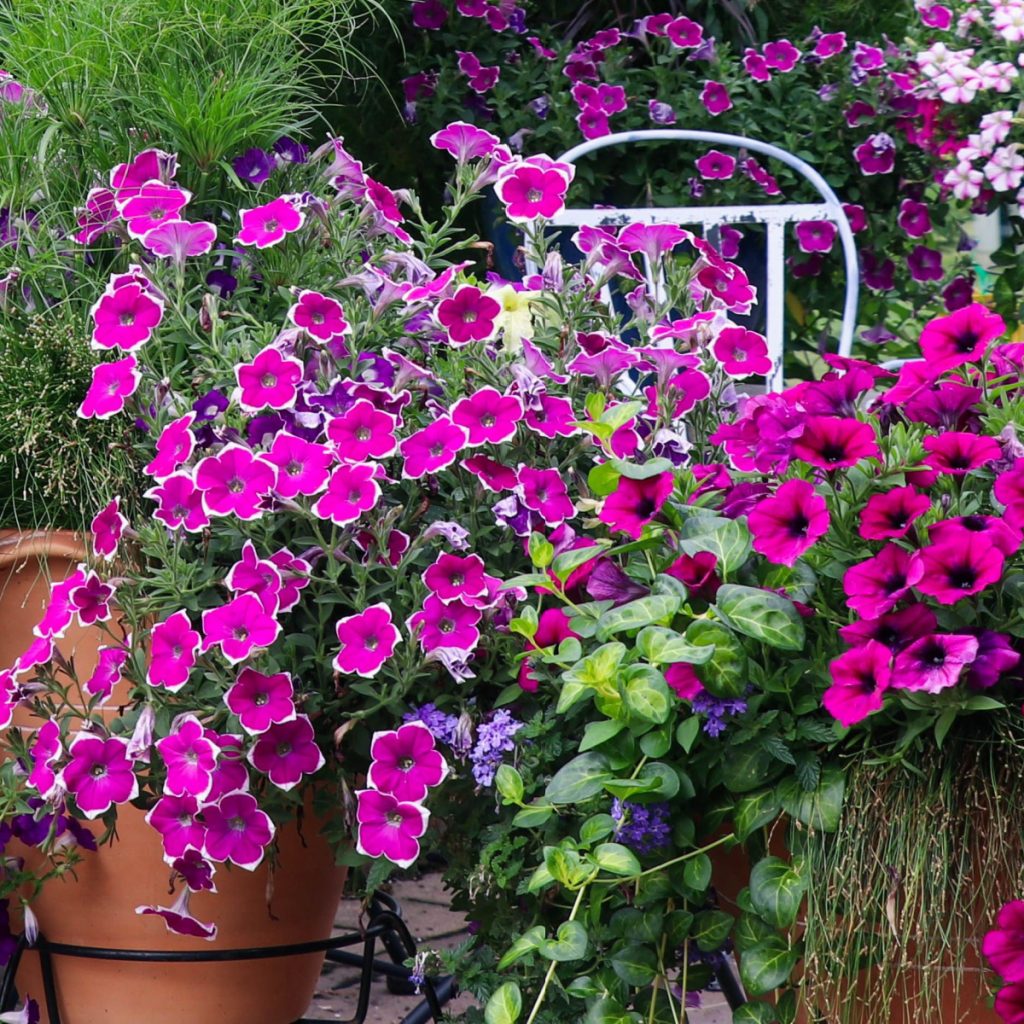
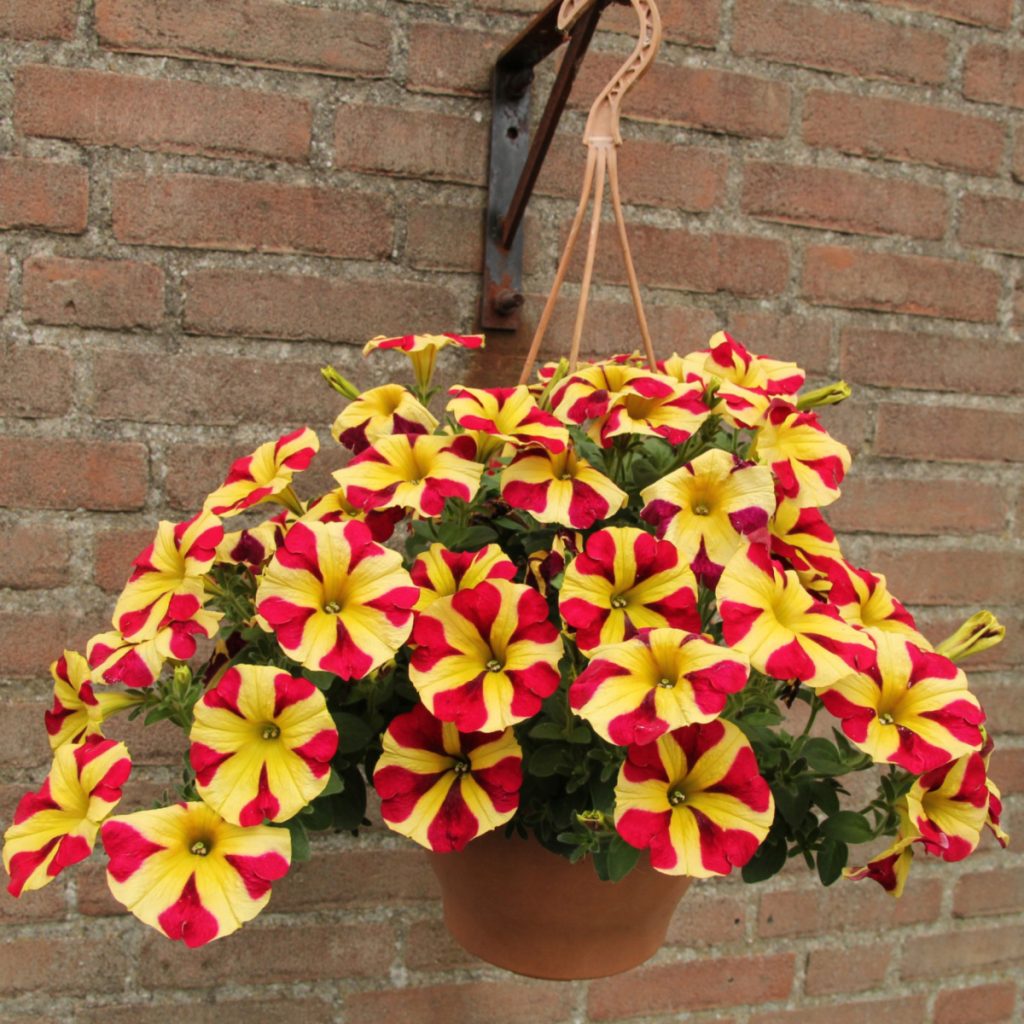
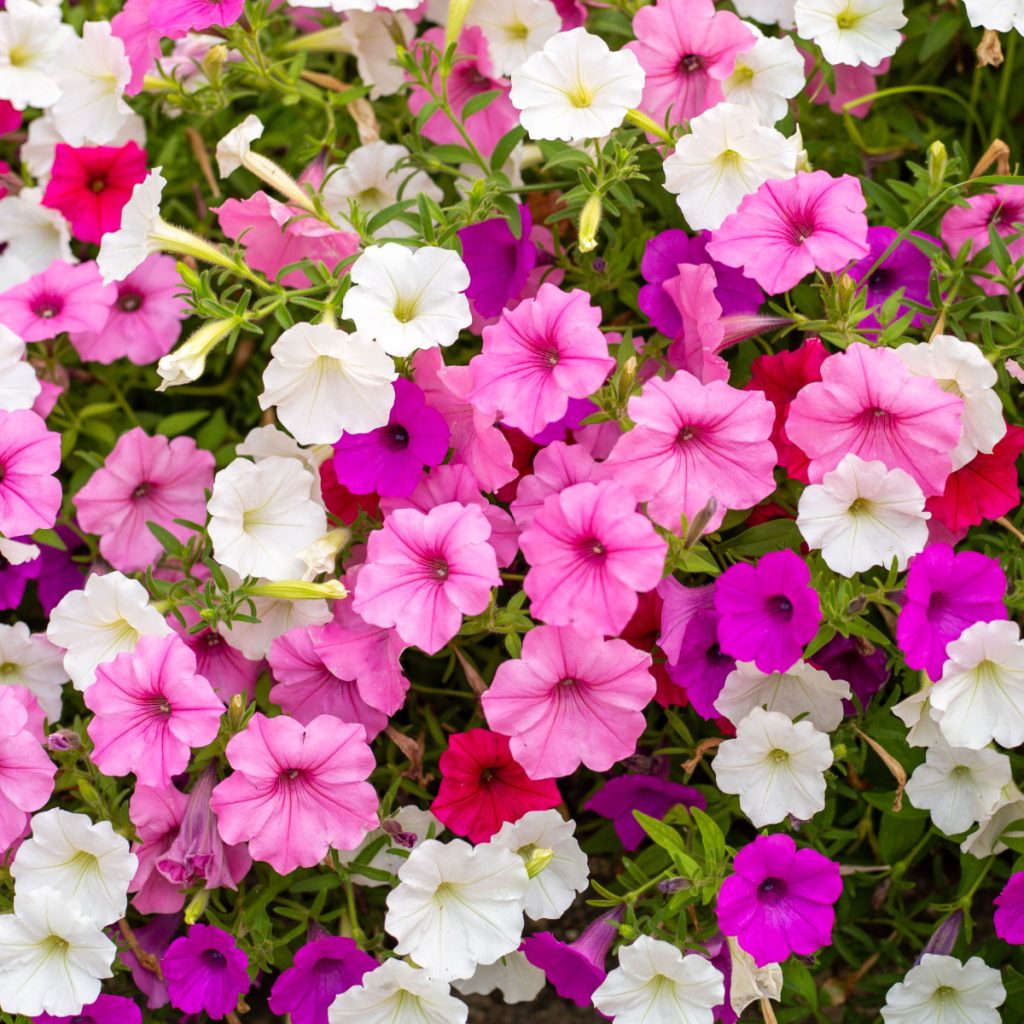
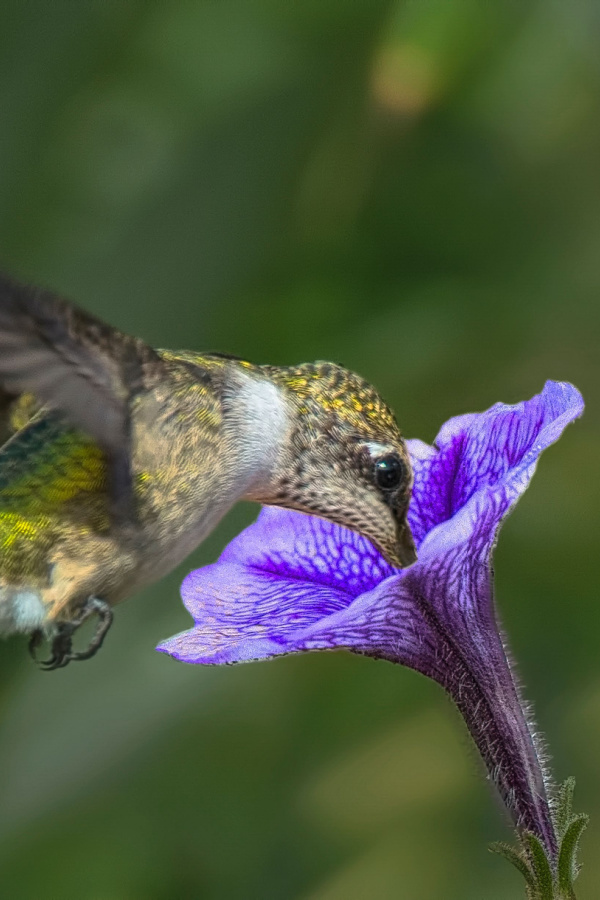
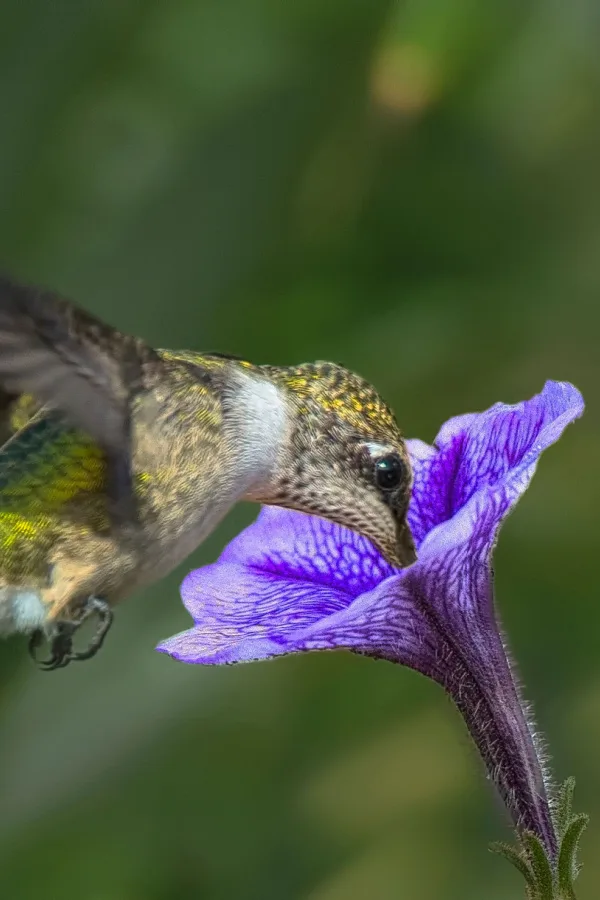
Need a few tips and tricks to perk up the sad petunias growing in your containers or hanging baskets?
As beautiful as petunias are in the spring and early summer, by the time August rolls around, they often don’t look quite the same. Especially for those growing in hanging baskets, containers, or tight raised bed spaces.
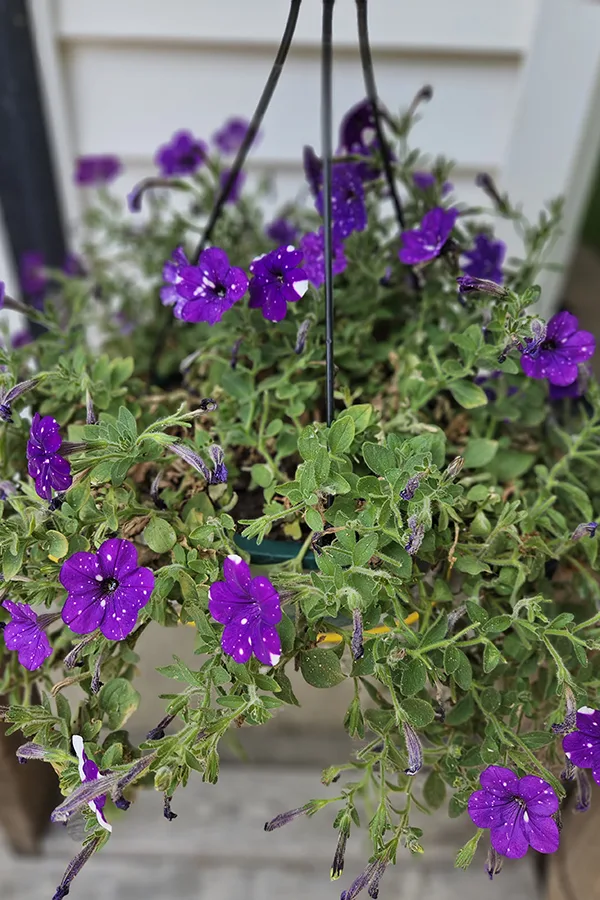
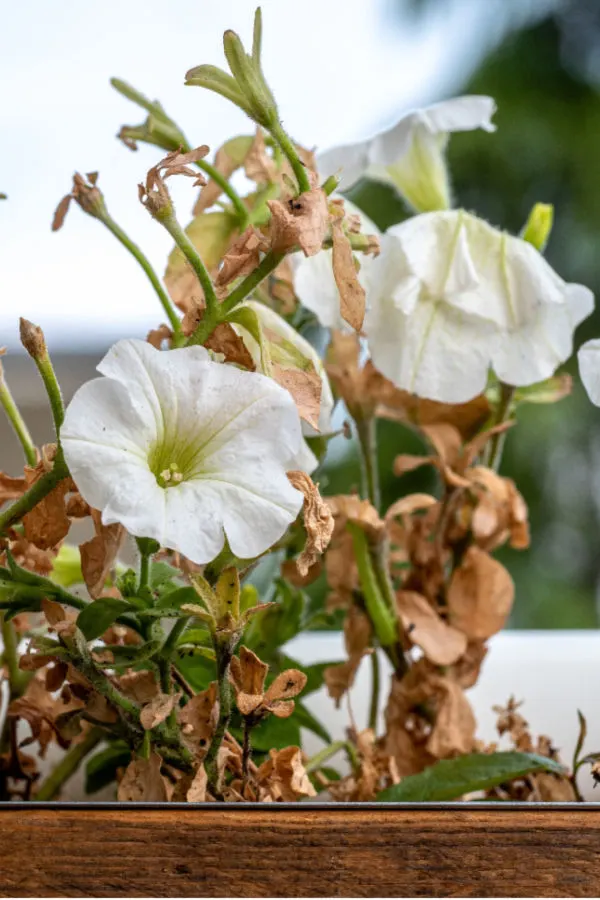
By mid to late summer, petunias can start to look thin, tired, leggy, and downright worn out. What was once a full, bushy, blooming plant now looks a little sad – with long, empty stems, faded flowers, and sparse foliage. Unfortunately, for many gardeners, this is the point when they simply give up and toss their plants out!

But here’s the good news – there’s no need to give up on your petunias in late summer. With just a little bit of attention and the right kind of care, your worn-out plants can bounce back quickly. In fact, they can be back to blooming big, bright, and full in just a few weeks – and even keep flowering well into fall.
The secret? It all lies in two key late summer tasks – pruning and feeding. And when done the right way, these two simple steps will completely revitalize your plants.
There are a few common reasons why petunias begin to look bad as the summer progresses. First and foremost, they are heavy bloomers. All of that flowering early in the season takes a lot out of the plant and soil, especially when grown in a limited space like a pot or basket.
As the plant puts more and more energy into producing new blooms, it can become exhausted if that energy isn’t replenished. Another issue is watering. In the hotter months, containers and baskets dry out quickly. This puts stress on the roots and limits the plant’s ability to take in the nutrients it needs to stay strong and full.
Finally, the buildup of spent blooms and leggy stems starts to take over. And it leaves the plant looking thin and tangled instead of lush and blooming. But again, none of these issues mean your petunias are beyond saving.

The first and most important step in reviving petunias is cutting them back. This may seem extreme – especially if your plants still have a few blooms here and there. But cutting back is what triggers the plant to begin growing again. It’s a way of hitting the reset button. And it works wonders!
Petunias tend to grow long, leggy stems as they age. These stems get farther and farther away from the base of the plant and produce fewer leaves and blooms.
By the time late summer hits, much of the plant’s foliage and flowers are all concentrated at the very tips of these long stems, giving the entire plant a spindly appearance. When you cut those long stems back, you encourage the plant to branch out.
Instead of focusing all of its energy on trying to push a few more flowers out at the end of a tired stem, the plant sends out new growth from lower down. This growth will be denser, more compact, and much more productive in terms of foliage and bloom production. And will it ever help to perk up your petunias!
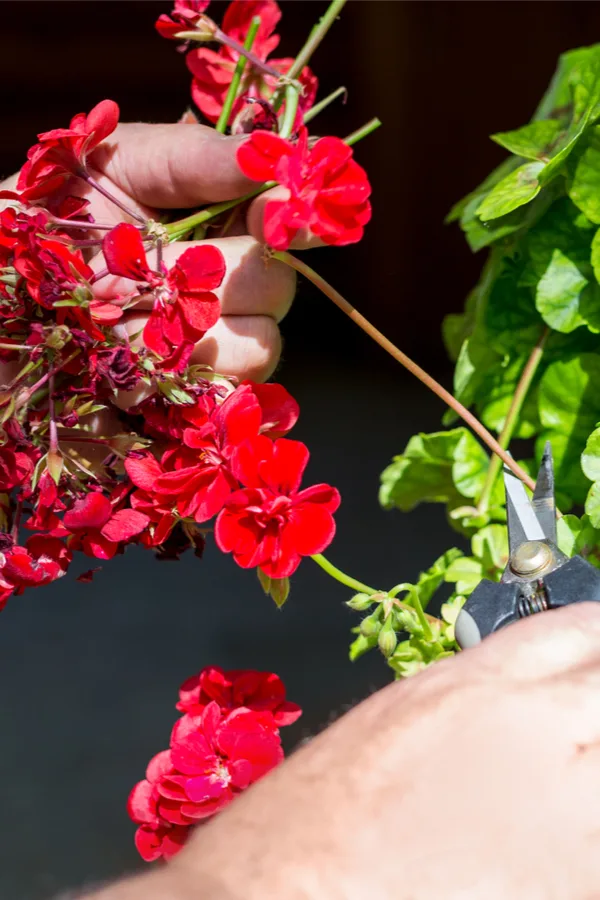
To cut your petunias back, take a pair of clean garden scissors or snips and trim each stem back by about half to two-thirds of its current length. Be sure to cut just above a set of leaves. This is where new growth will emerge.

If your petunias are extremely leggy, you can even cut them back by as much as three-fourths. It may seem drastic, but the results are definitely worth it.
After pruning, you may be left with a plant that looks pretty bare. That’s perfectly normal. Within a week or two, you’ll see new shoots forming, and soon the plant will begin to fill out again. Within three weeks, your petunias will be back to looking lush and colorful – as long as you feed them too!
Once you’ve trimmed your petunias back, the next step is giving them the fuel they need to grow again. Petunias need energy to push out all of that new growth. And for plants in containers, that energy has to come from an outside source. And that is exactly where liquid fertilizing comes in.
Feeding petunias with a well-balanced liquid fertilizer is one of the fastest ways to bring them back to life. But not just any fertilizer will do. Petunias respond best to fertilizers that are specifically formulated for them. Especially ones that have higher levels of nitrogen and potassium, and lower levels of phosphorous.
Look for a liquid fertilizer with a nutrient ratio near 20-6-20. These numbers represent the percentage of nitrogen (N), phosphorous (P), and potassium (K) in the mix. The higher nitrogen content will help the plant rebuild its foliage quickly. Nitrogen is what gives leaves their deep green color and encourages strong stem and leaf growth.

Meanwhile, the potassium helps the plant build energy and power up its flower production. Potassium is essential for creating bigger, more vibrant blooms that last longer and appear more often.
The lower amount of phosphorous is important too. Many bloom booster fertilizers are high in phosphorous, but for petunias, too much can actually reduce flowering over time. It can lead to an overload of nutrients that interfere with the plant’s ability to uptake other key minerals.
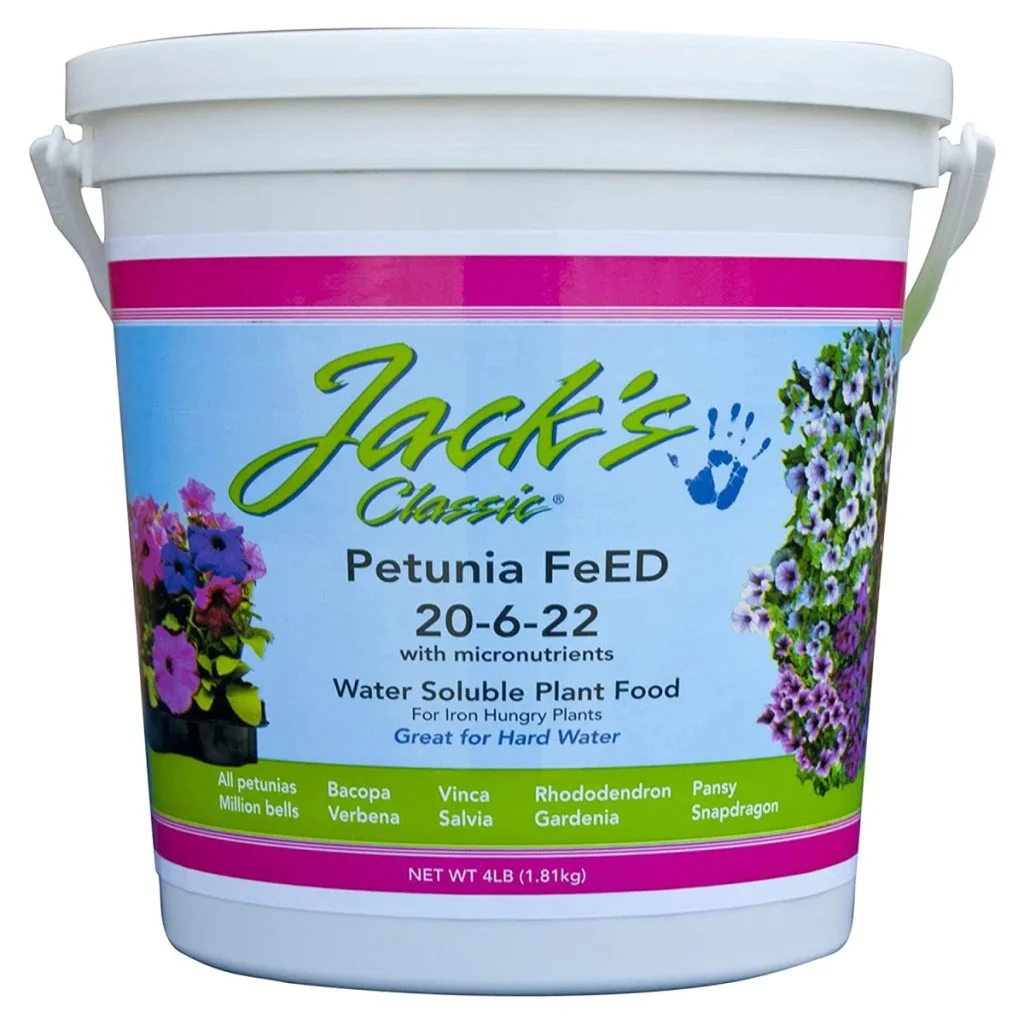
That’s why the 20-6-22 mix above works especially well for petunias. It has the right balance to encourage blooms without causing other problems! Affiliate Link: Jacks Classic No.1.5 20-6-22 Petunia Feed
Apply the liquid fertilizer at half of the recommended strength every 5 to 7 days. This lower strength helps prevent over-fertilizing while still supplying a steady stream of nutrients.
Be sure to apply the solution directly to the soil and not on the leaves or flowers, as it can sometimes burn the foliage in hot sunlight. Water your petunias first, then apply the fertilizer. This helps prevent root shock and allows the plant to absorb the nutrients more effectively.


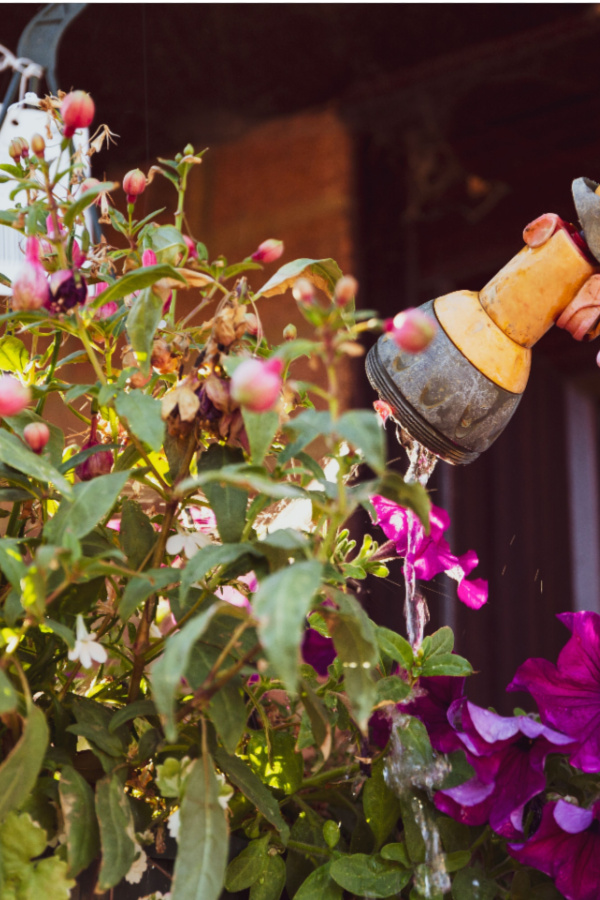
After trimming and fertilizing, it’s also important to pay close attention to watering. In late summer, heat and sun can dry out pots and hanging baskets in just a few hours. At the same time, overwatering can create soggy soil and lead to root rot. That’s why consistent, deep watering is key.
Check the moisture level of your containers every day by sticking your finger about an inch into the soil. If it feels dry, it’s time to water. When you do water, soak the entire pot until you see water running out of the drainage holes. This deep soak encourages the roots to grow downward and keeps the plant hydrated longer.
Avoid watering just a little bit at a time, as this only wets the top layer of soil and does nothing to help deep roots. Also, try to water in the morning rather than the heat of the day. When it comes right down to trying to perk up your petunias – watering really is just as vital as fertilizing!
Once your petunias start bouncing back and blooming again, be sure to keep deadheading them regularly. Deadheading is the process of removing spent blooms before they go to seed.
This not only keeps your plants looking neat, but also encourages them to continue producing more flowers. See our article: Deadheading Petunias – The Secret To Keep Your Petunias Flowering Big!
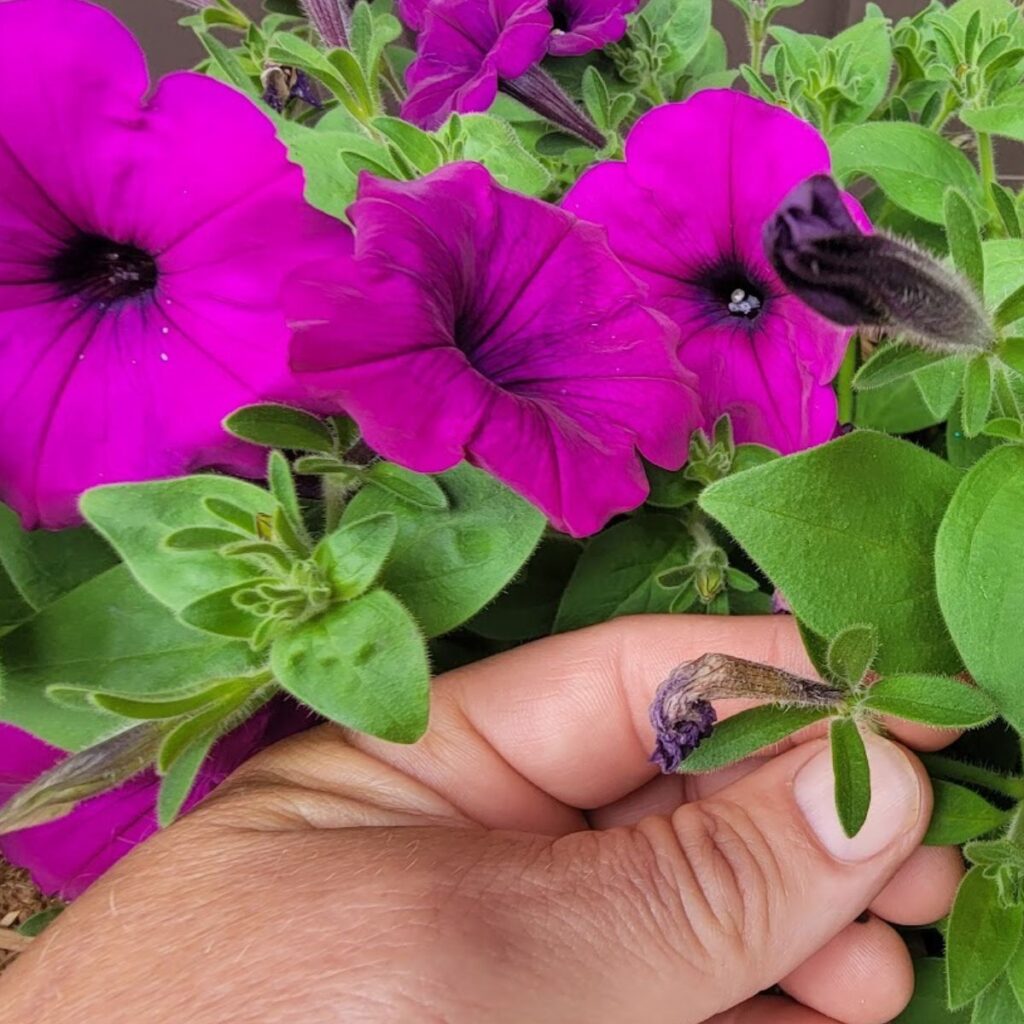
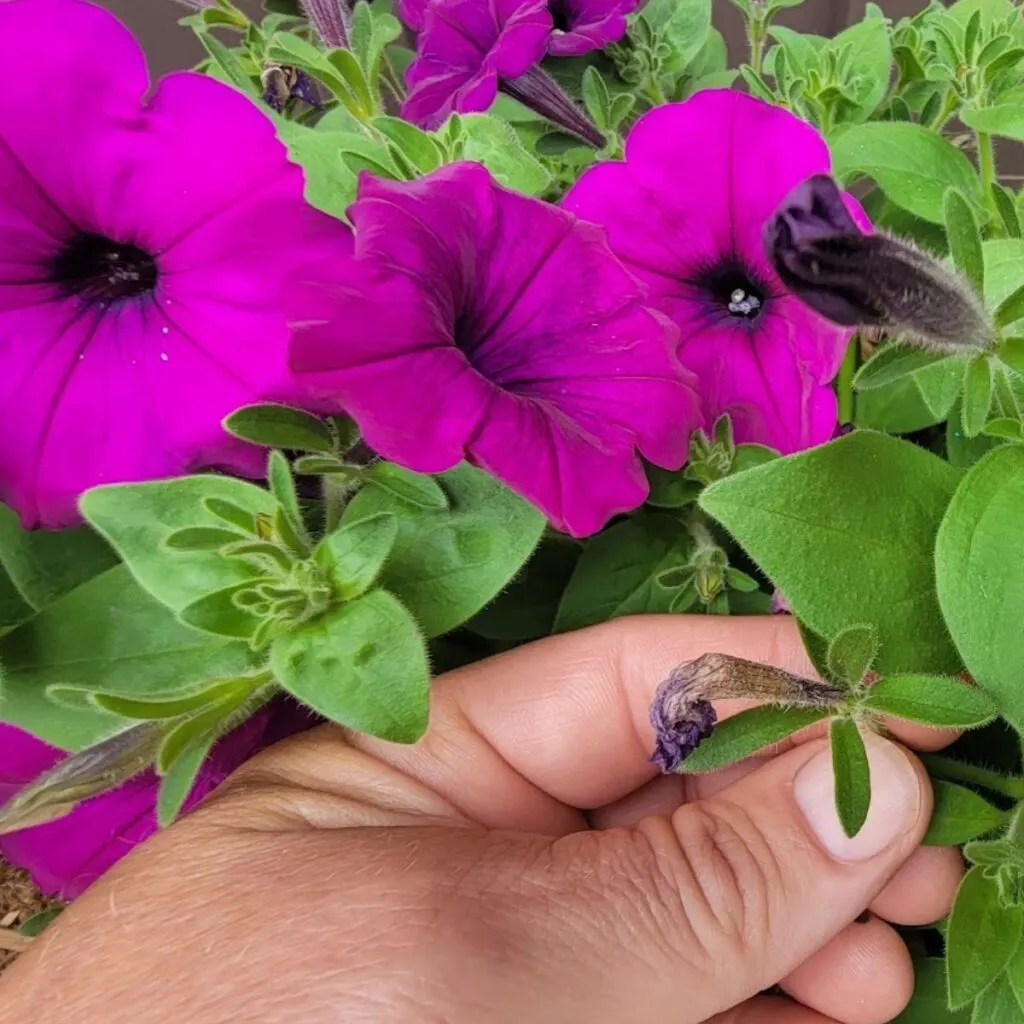
When a petunia bloom starts to fade and die off, pinch it off right at the base where the flower meets the stem. This tells the plant to stop putting energy into the old bloom and redirect it into new flower production instead.
If left in place, dying blooms will eventually begin forming seeds. When that happens, the plant thinks its job is done and will stop flowering. Make deadheading a part of your regular routine. Especially in late summer when you’re trying to get as many blooms as possible out of the plant.
Here is to taking a few simple steps to perk up your petunias in late summer. And even better, getting to enjoy them blooming big all the way into late fall!
Follow Our Facebook Page For Great Gardening Tips And Advice! This Is My Garden Facebook Page
This Is My Garden is a garden website created by gardeners, for gardeners. Jim and Mary Competti have been writing gardening, DIY and recipe articles and books and speaking for over 15 years from their 46 acre Ohio farm. They publish three articles every week, 52 weeks a year. Sign up today to follow via email, or follow along!
Wondering how to water your containers and hanging baskets with just the perfect amount of water?
Watering container plants might seem like one of the easiest tasks of all for gardeners, but in truth, it’s one of the most misunderstood. Every summer, countless gardeners unknowingly damage or even kill their container plants simply by watering them incorrectly.
Whether it’s watering too much, too little, or simply not knowing when the soil is truly dry, it all leads to plants suffering with less growth and far fewer blooms. And sometimes, so much so that the plant completely dies off!


One of the biggest challenges with container and hanging basket plants is that their environment is so much different than plants growing in the ground. With limited soil space, faster drying times, and smaller root zones, containers require more attention and care when it comes to watering. Unfortunately, many gardeners rely on visual cues from the surface of the soil or by guessing based on the weather, and that’s where the problems begin.
But here’s the good news – there is a simple solution that can take all the guesswork out of watering your container plants. A single tool can help make sure your plants get the right amount of water every time – and help prevent the problems of overwatering and underwatering for good.
Container plants don’t have the luxury of deep soil. Unlike garden plants that can send roots far and wide to find moisture, container plants are limited to a few gallons of soil at most. When the soil dries out, the roots can’t reach out any further. And when that happens, the plants quickly go into distress.
On the flip side, containers that stay too wet also present big issues. When soil is overly moist for long periods of time, it suffocates the roots. As it does, it then robs them of the oxygen they need to survive. Constantly wet soil can also cause root rot, mold issues, and fungal disease.


Unfortunately, from the surface, both overwatering and underwatering can look the same. Both can cause wilting, yellowing of the leaves, and weak plant growth.
That’s what makes watering containers so tough. Just looking at the top of the soil tells you almost nothing about what’s going on down at the root level, which is the only place that really matters!
When it comes to watering, the real focus should always be on the moisture content at the roots. That’s where the plant takes in water, and that’s what matters most for overall health.
Unfortunately, many gardeners make watering decisions based on the top inch or two of soil. If the surface looks dry, they water. If it looks damp, they skip it.
But here’s the truth: the top layer of soil in containers can dry out quickly in the sun, even when there’s still plenty of moisture down deep. Or, just as common, the top might feel moist from a light rain or watering, while the roots underneath are bone dry.
Listen In Below To Our Podcast On How To Fertilize Hanging Baskets For Big Blooms!
The only way to know if your plant needs water is to check where the roots live – and that means checking 4 to 6 inches below the surface in most medium to large containers. But sticking your fingers in that deep is difficult and not always accurate, especially in tightly packed or hanging baskets. And that’s where one simple tool makes all the difference.
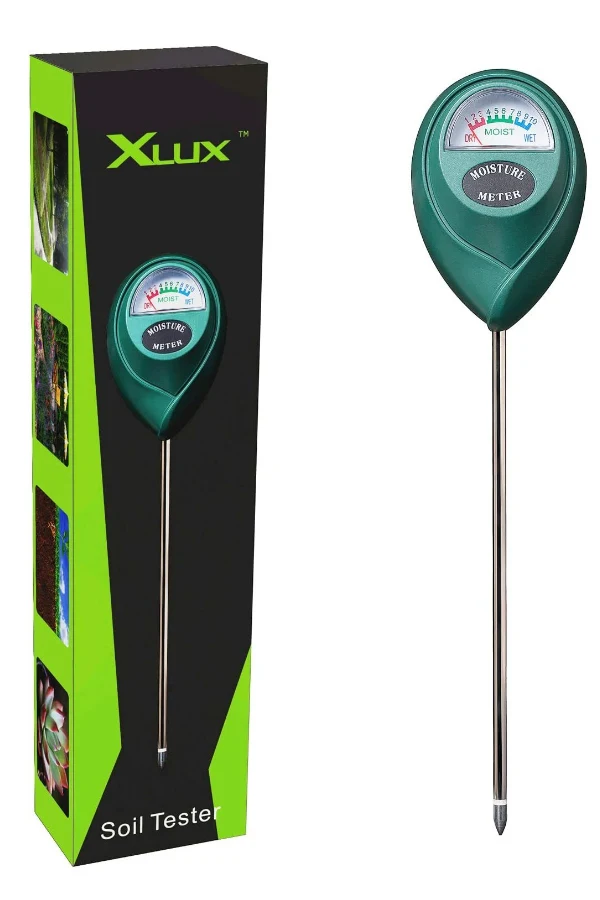
The best way to know when and how much to water your container plants is with a long-probe soil moisture meter. These inexpensive, easy-to-use tools can be inserted directly into the soil to measure the moisture level at the root zone – the one place that really matters. XLUX Long Probe Deep Use Soil Moisture Meter Sensor, Water Monitor Indicator
Most soil moisture meters work without batteries and give an instant reading. Some are digital, but the basic analog dial-type models work just as well. The key is to get one with a long probe, ideally 6 to 12 inches in length. That lets you reach the bottom half of most containers and get an accurate reading of the moisture where roots are pulling in water.
Using one is simple: Insert the probe into the soil, give it a few seconds to register, and read the gauge. If it shows dry or near dry, it’s time to water. If it shows moist or wet, hold off. That’s all there is to it. You’ll be surprised how often the surface soil and the root zone show different readings.

By using a soil meter, you not only avoid overwatering and underwatering, but you also help your plants grow stronger. Consistent watering at the right time reduces plant stress, encourages better blooming and fruiting, and lowers the risk of disease.
Knowing when to water is half the battle – but how you water is just as important. Once you’ve confirmed your container needs water, follow these tips to make sure your efforts are effective:
Water Deep, Not Light – A light sprinkle only wets the surface. You want to thoroughly soak the soil until water runs out of the bottom drainage holes. This ensures the entire root system gets moisture, and it also helps flush out excess salts and build-up from fertilizers.
Water in the Morning – Early morning watering gives plants time to take up moisture before the heat of the day. It also allows foliage to dry off quickly, reducing the chance of fungal disease.
Use Mulch on Top – Adding a light mulch on top of containers can help retain moisture. It will also help cool the soil and reduce how often you need to water.
Avoid Splashing the Leaves – Watering directly at the base of the plant helps keep leaves dry, which is especially important for disease prevention in flowers, vegetables, and herbs.
Don’t Count On The Rain – A quick summer shower might not be enough to rehydrate containers. Always use your moisture meter to check whether your pots actually got enough moisture after a storm.
Here is to use a simple tool to help you water your containers and hanging baskets to perfection. And to having gorgeous potted plants all summer long! For more on hanging baskets, check out our article: How To Save Struggling Hanging Baskets.
Follow Our Facebook Page For Great Gardening Tips And Advice! This Is My Garden Facebook Page
This Is My Garden is a garden website created by gardeners, for gardeners. Jim and Mary Competti have been writing gardening, DIY and recipe articles and books and speaking for over 15 years from their 46 acre Ohio farm. They publish three articles every week, 52 weeks a year. Sign up today to follow via email, or follow along!
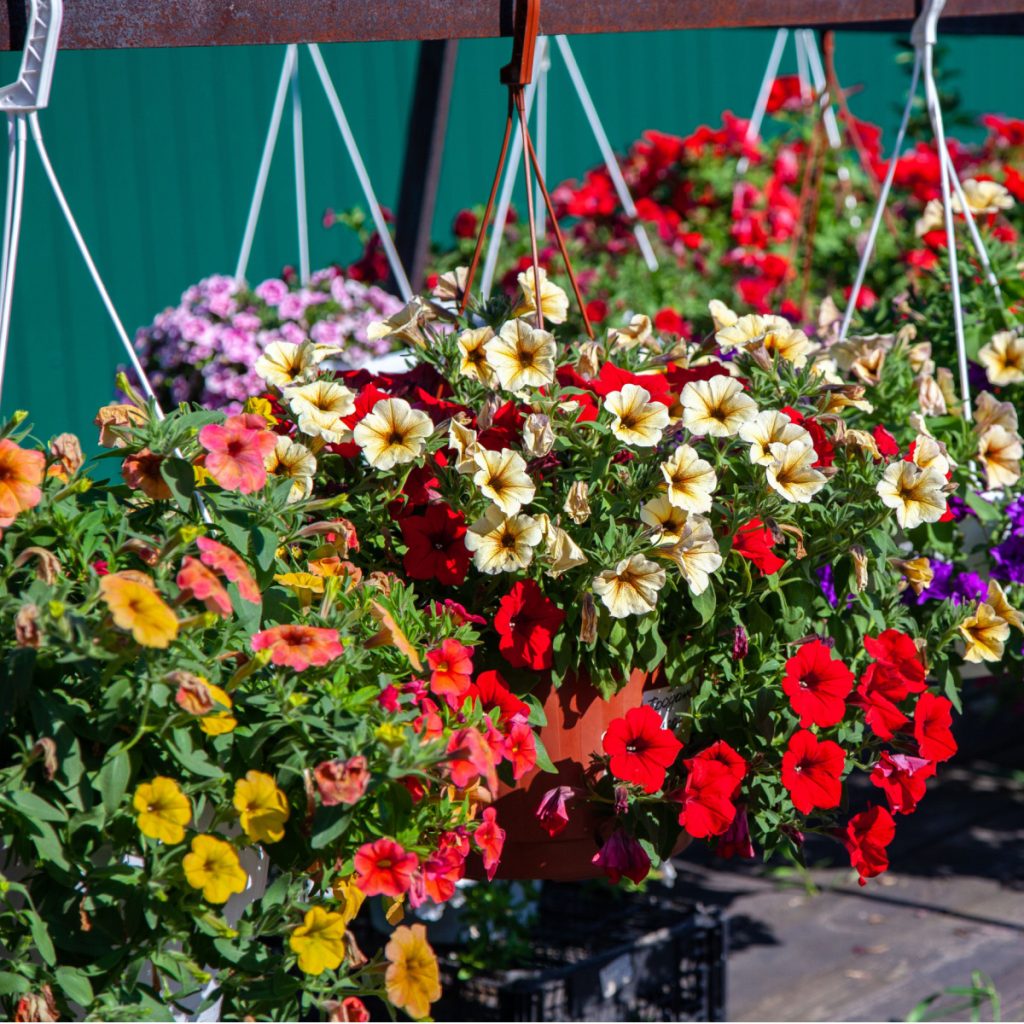
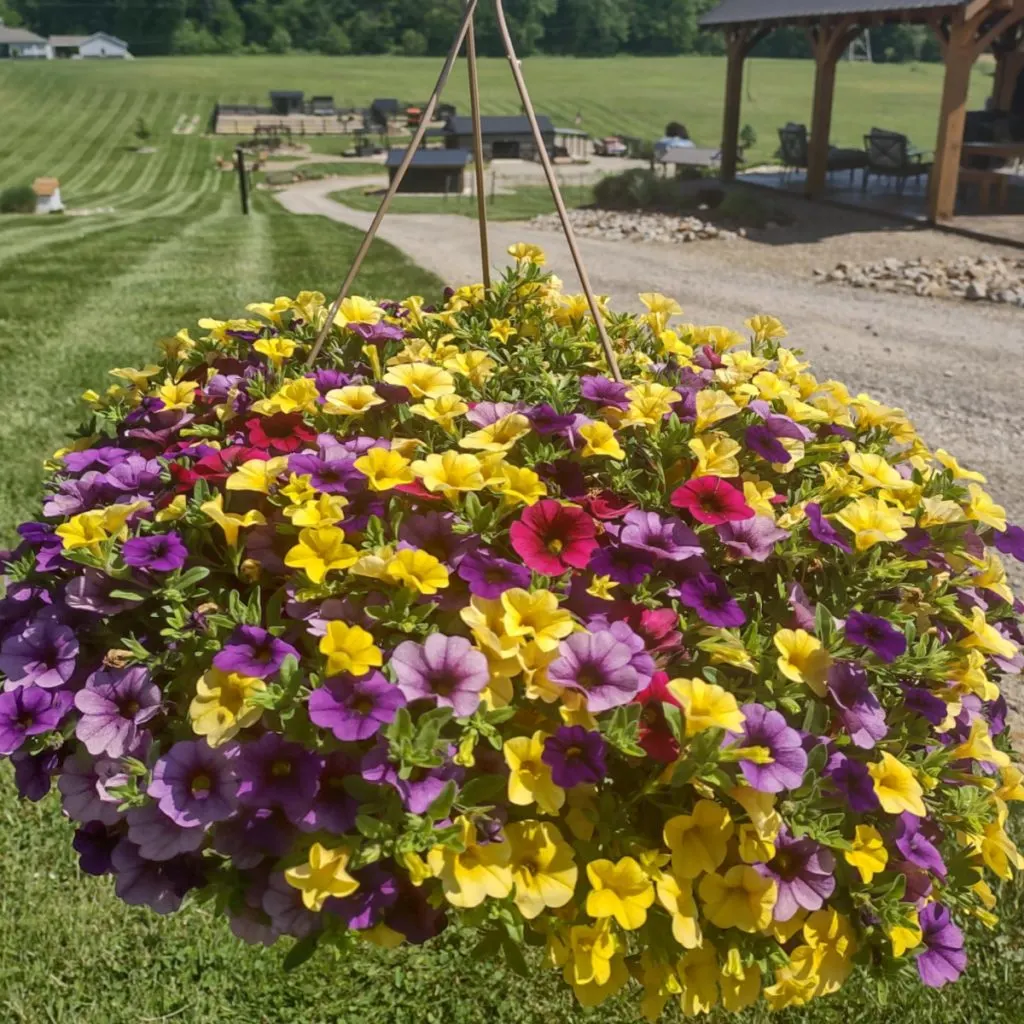
Looking for a few simple tips and tricks to keep those just-purchased beautiful flowering hanging baskets blooming strong all summer long?
Spring is in full force – and hanging baskets are flying out of nurseries and garden centers like nobody’s business. But for many, the struggle to keep their baskets looking as full and healthy as they look right now all summer long is a tough one. But it doesn’t have to be that way!
Unfortunately, most baskets that are purchased or planted in the early spring don’t make it past mid-summer. In fact, sadly, some don’t even make it to late spring without their foliage fading, and their once plentiful blooms becoming more scarce with each passing day.

When hanging baskets do begin to fail, many gardeners assume they just need more water or fertilizer. And although those two needs are very important for their health, there are a few other issues that usually are a factor when plants fail before they should.
With that in mind – here is a look at 3 simple tips to keep your baskets blooming from spring til fall – and have you enjoying big color anywhere you place them!
More than anything else, if you want to keep your new baskets flowering – you need to fertilize. And regularly! Without adding additional energy and power to your hanging basket plants throughout the growing season, they simply will not be able to survive the entire summer.
The plants growing in a hanging basket have a limited amount of soil from which to absorb energy. Unfortunately, they have no ability to expand beyond the basket and find additional nutrients. That means fertilizing is a must. But how and when you fertilize is the real secret to blooming success.
Hanging baskets need to be fed a low, slow and steady stream of nutrients. If you provide plants with too much power too quickly, they will expand their roots and foliage too fast. The result will be a plant that outgrows its basket and stops blooming because of it. See our article: How To Fertilize Hanging Baskets.

With hanging baskets, liquid fertilizing options are the best choice. Liquid fertilizers absorb both through the roots of a plant and through its leaves. This double absorption means plants get the nutrients much easier than with granular applications.
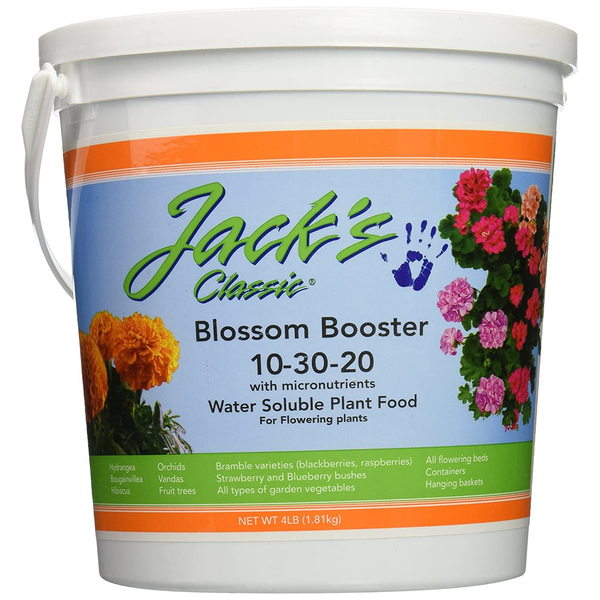
It’s important to choose a fertilizer that has a higher amount of phosphorus and potassium than nitrogen. Nitrogen helps with growth, but phosphorus and potassium help with blooms! Affiliate Link: Jack’s Classic Blossom Booster 1.5 lbs, 10-30-20
To keep baskets growing and blooming strong, it’s far better to give a lower dose of nutrients more frequently. A light dose of fertilizer applied to your baskets every 10 to 14 days is best. This will feed the plants slowly with a constant dose of power. When using a commercial liquid fertilizer, mix at half of the recommended strength to keep the dose light.
Insufficient or irregular watering can play a major role in the early demise of hanging baskets. Because the soil hangs out in the open in a basket, it dries out much faster than flowers growing in the ground.
When flowering plants dry out, their roots and leaves shrink, shrivel and curl from the stress. Left dry long enough, they will begin to brown and die off. But even when water is eventually supplied to the plant, the shriveled roots make it hard for the plant to absorb it.
Get in the habit of watering plants at a consistent time of day. Early morning is by far the best time to water. It not only helps plants take on the upcoming stress and heat of the day, but there is less chance of damage from the sun’s rays burning the foliage.
Check plants daily to see if the soil is completely drying out. Especially on exceptionally hot or windy days. If so, you may need to water once in the morning and again in the evening.
Just as important as making sure your plants stay hydrated is to make sure they don’t become waterlogged. All too often, excess water from rain or watering gets trapped in the baskets, unable to drain through.
When this occurs, the roots of the plant become swollen. As they swell, they become unable to take in moisture or nutrients. It sounds almost impossible since there is so much water around them, but when roots become waterlogged, they actually can’t take in food or water.
Always make sure your hanging baskets have a few drainage holes in their bottom. If they only have one in the center, drill out a couple more with a 1/2 inch drill bit. With multiple holes, if a single drain hole becomes blocked, water can still drain away.
The longer you allow dying and decaying blooms to stay on your baskets, the longer it will take new blooms to form and unfurl. That is why removing those old blooms is a huge key to keeping your baskets flowering strong!

When old blooms are left on a plant, not only do they become an eyesore, they use up valuable resources. Resources that should instead be going to new growth and more blooms.
Remove dead and dying blooms from your hanging baskets on a regular basis. This is also a great practice for container and bedding plants as well. Doing this will keep the plant’s energy and resources focused on creating new blooms and better looking baskets.
Here is to keeping those new hanging baskets you just purchased blooming big – and looking just as good right up until fall! For tips on keeping container plants healthy & strong, see our article: How To Water Containers & Hanging Baskets – The One Simple Secret To Success!
Follow Our Facebook Page For Great Gardening Tips And Advice! This Is My Garden Facebook Page
This Is My Garden is a garden website created by gardeners, for gardeners. Jim and Mary Competti have been writing gardening, DIY and recipe articles and books and speaking for over 15 years from their 46 acre Ohio farm. They publish three articles every week, 52 weeks a year. Sign up today to follow via email, or follow along!
Looking to avoid some of the most common and biggest fertilizing mistakes gardeners make that can ruin the lifespan and bloom time of their hanging baskets?
When it comes to keeping hanging baskets vibrant and blooming all summer long – there are three common fertilizing mistakes that many gardeners make each and every year that shorten the life and beauty of their baskets.
Hanging baskets are unlike traditional flowers in the ground. Because they’re growing in a small amount of soil and in containers that drain quickly, they need extra help to keep growing strong. But knowing what, when and how to give your baskets the energy they need is the real key to success!

Unfortunately, without the right kind and frequency of fertilizer, many hanging baskets fade well before summer is over. Even when you’re watering regularly, placing them in the right light, and pruning them as needed, if you’re not feeding them correctly, your baskets will start to show signs of stress.
The good news is powering your hanging baskets doesn’t have to be difficult. Or time consuming. In fact, by simply avoiding the three fertilizing mistakes below – you can keep your baskets blooming big right up until fall!
One of the most common fertilizing mistakes with hanging baskets is choosing the wrong type of fertilizer. Especially when it comes to using dry or granular fertilizers instead of liquid ones.
Many gardeners are used to applying granular fertilizer to garden beds and flowerbeds. In those areas, it slowly breaks down over time and feeds plants as it dissolves. But that kind of fertilizer just doesn’t work well for hanging baskets.
Hanging baskets have limited soil, and they dry out quickly. Because of that, when you water them, the water drains through the basket fast. When that happens, it often washes the granular fertilizer away before it has a chance to break down and reach the roots.

Even if some of it sticks around, it takes time to dissolve and feed the plants. By then, the plants may already be struggling. That’s where liquid fertilizer really shines. Liquid fertilizer works fast. It feeds plants through the roots as soon as it soaks into the soil. But even better, it also feeds them through their leaves and stems when sprayed directly on the plant.
This double boost of nutrition helps hanging basket plants get the nutrients they need right away. And is that ever important when they’re growing in such a limited space!
When you use a liquid fertilizer, your plants can bounce back quickly from heat stress, dryness, or other growing struggles. It also helps them keep producing flowers regularly, which is a big part of what makes hanging baskets look so impressive. See: How To Save Struggling Hanging Baskets – 2 Easy Ways To Revive Your Hanging Baskets!
Instead of waiting days or weeks for granular fertilizers to break down, liquid fertilizers give plants the power they need almost instantly. But the best part of using liquid fertilizer is that it gives you more control.

You can mix it at a lighter or stronger strength depending on how your plants are doing. And as you will see next – that can be a huge advantage to keep your baskets healthy and blooming!
The second mistake that ruins hanging baskets is not sticking to a regular feeding schedule. A lot of gardeners start off strong and feed their baskets when they first plant them. Then a few weeks go by, and they forget to feed them again. Or they feed them once every few weeks or once a month with a big dose of power all at once.
Hanging baskets grow fast. Because of their limited soil and quick-draining containers, they use up nutrients quickly. On top of that, every time you water your basket, some nutrients are washed away. That’s why it’s so important to feed consistently. But not with too much at a time!
The best way to fertilize hanging baskets is with a diluted liquid fertilizer every seven to ten days. This steady schedule keeps plants supplied with just the right amount of nutrients without overwhelming them.
It’s better to feed lightly and often than to wait too long and then try to give them a big dose all at once. When you feed regularly, you’re giving your plants the ongoing power they need to keep blooming. They won’t experience dips in energy, and they’ll be better able to handle stress from heat or dryness.
A diluted mix also helps prevent fertilizer burn, which can happen when you feed with a strong mix all at once. A good rule of thumb is to use about half of the recommended strength on the label and feed your plants every week or so.
You’ll be amazed at how much better your hanging baskets perform with this simple change!
Last but not least, even if you are using a liquid fertilizer, it still won’t do much good if it has the wrong balance of nutrients. Unfortunately, all too many gardeners feed their hanging baskets with a fertilizer that has too much nitrogen – and not enough phosphorus or potassium.

Nitrogen is great for growing green leaves and stems, which is helpful in the early stages of plant growth. But for hanging baskets that are already established and growing, too much nitrogen can actually hurt more than it helps.
When a fertilizer has a high nitrogen content, it pushes the plant to grow more leaves and roots, but that growth can come at the expense of flowers. You might end up with a hanging basket that’s big and green – but without the blooms that make it beautiful. And even worse – a basket that becomes root bound fast!
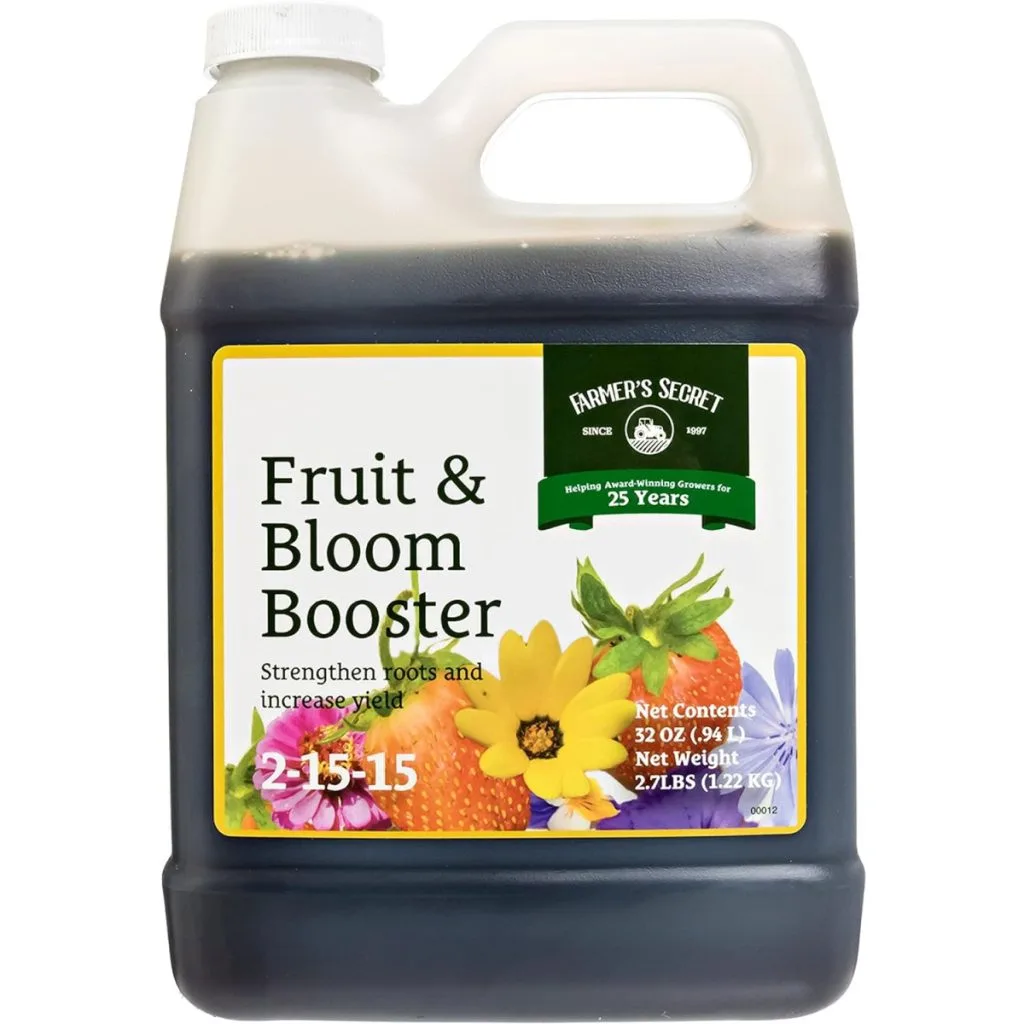
Instead, the key is to use a fertilizer that has a higher amount of phosphorus and potassium compared to nitrogen. Phosphorus is the nutrient that helps plants form more buds and flowers. It’s what powers bloom production. Affiliate Link: Farmer’s Secret Fruit & Bloom Booster Fertilizer 2-15-15
Potassium helps with overall plant health and strengthens the plant’s ability to handle stress, heat, and dry conditions.
Avoiding these three mistakes – using the wrong fertilizer type, using the wrong nutrient mix, and not feeding consistently – can make a huge difference in the health and beauty of your hanging baskets. With a little attention and the right kind of feeding, your baskets can stay full, green, and bursting with color all season long!
Follow Our Facebook Page For Great Gardening Tips And Advice! This Is My Garden Facebook Page
This Is My Garden is a garden website created by gardeners, for gardeners. Jim and Mary Competti have been writing gardening, DIY and recipe articles and books and speaking for over 15 years from their 46 acre Ohio farm. They publish three articles every week, 52 weeks a year. Sign up today to follow via email, or follow along!
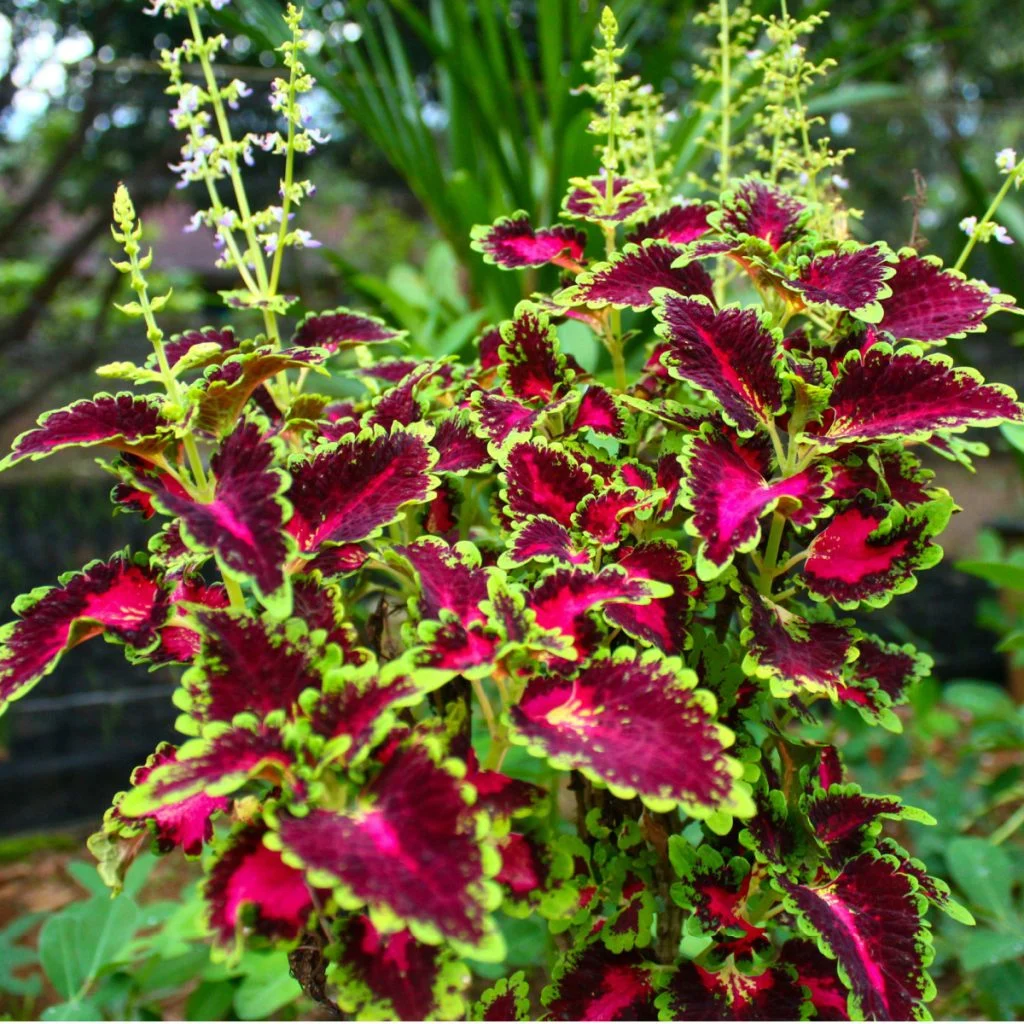
If you are looking for an eye catching plant to fill your containers this year with big color and interest, then you need to be growing coleus!
Not only can coleus fill your pots with long lasting beauty – it also happens to be incredibly resistant to pests – including deer and rabbits. Adding to its allure, the uniquely bright and patterned foliage doesn’t take a lot of effort or nutrients to maintain. In fact, coleus is one of the lowest maintenance plants around.
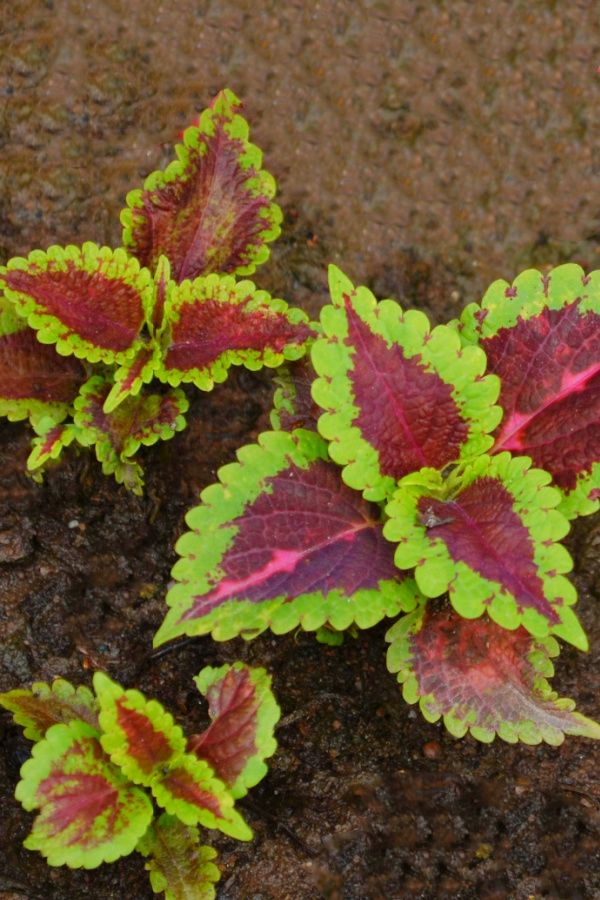
Unlike many annuals and perennials, coleus is grown not for its flowers, but instead, its vivid and radiating leaf patterns. The different colors and patterns on its foliage add a unique look to any space it is grown in. What’s better is that there are new varieties being introduced each year, giving gardeners even more choices than ever before.

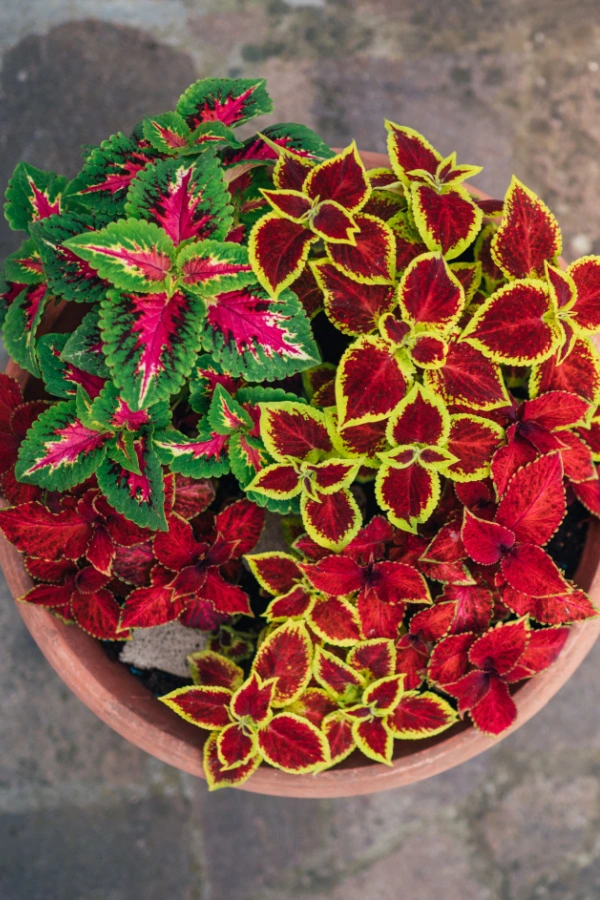
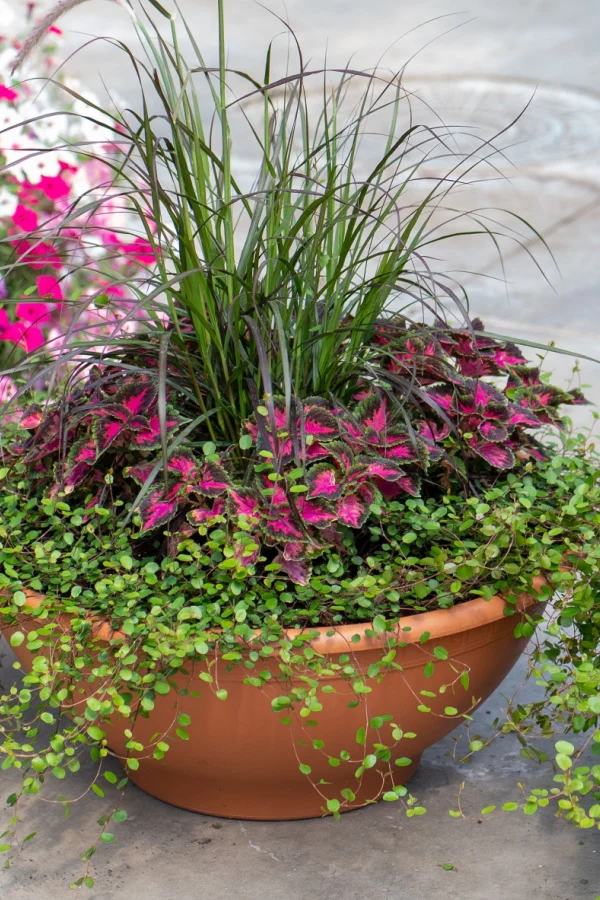
Coleus will grow to the size of its container quite easily. But what really makes this plant special in containers is that most pests leave it alone – including deer, rabbits and squirrels. Why? Because the plant contains a compound that is actually toxic to them. And all of those beautiful leaves with their intricate patterns sends a signal to them to stay away.
Coleus will also grow and fill any container you choose. If you are wanting plants to stay small and tidy, then choose a smaller container. If you want plants to spread out and fill up a larger area, choose a larger container. Coleus is also a perfect plant for growing with other container plants, growing well with vining plants or even large spikes.
The material of the container you use does not matter. It just needs to have sufficient drainage holes since coleus does not like to sit in standing water. If you have a container you want to use that doesn’t have drainage, either add them yourself or use a plastic growing container with holes and place that inside your container.

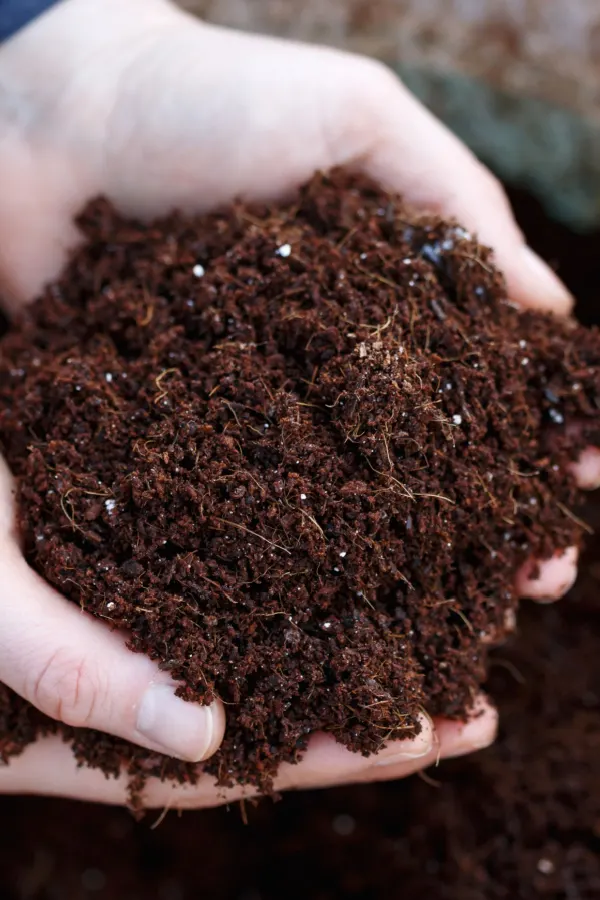
With any container plant, the soil you use is crucial to having a successful growing season. If you use poor soil, the plant will struggle to thrive and even survive in some cases. Proper soil will set your plants up for success right from the start,
When you grow coleus as potted plants, choose a potting soil mix that is made for container plants. Mix in a few cupfuls of compost or worm castings to help improve the nutrients as well as the soil drainage when you initially transplant your coleus. Affiliate Link: Miracle-Gro Potting Mix, For Container Plants.

Coleus plants tend to be a bit more sensitive to overwatering and underwatering compared to other plants. This is especially the case for potted coleus plants. If you see that the plant’s foliage has started to droop and look limp, you need to water the plant more.
On the other hand, foliage that is starting to brown and turn mushy indicates overwatering and root rot. More times than not, the plant will suffer from overwatering more than underwatering.
Having a consistent watering schedule is best for potted coleus plants. Check the soil moisture in your container plants daily. If the soil is moist about an inch down, then hold off on watering. If your soil is dry, it’s time to give the plants a nice drink.
Water coleus plants deeply and early in the day. Doing so early in the morning gives plants plenty of time to dry out and have some of the water evaporate during the hottest part of the day.
Most coleus can handle a combination of part sun and part shade without having any adverse effects on their foliage color and growth. With all of the different varieties of coleus though, you should have no issues finding a type to work for your specific growing location.

Also, keep in mind that coleus plants do not do well with wind. Their stems and foliage can easily snap or get broken off during harsh winds. If that happens, just remove the bottom half of the leaves and stick the piece back into the soil. It’s likely the coleus piece will put out roots and become another part of your potted plant display.
Coleus is not a high nutrient plant like most other annuals that need more frequent fertilizing. For coleus, adding fertilizer once a month is more than enough to keep them thriving.
When fertilizing, a balanced, slow release granular fertilizer will work best to feed the plants slowly over a longer time. Liquid fertilizers will work, but need to be diluted and applied every few weeks instead of a monthly granular option. Affiliate Link: 10-10-10 Plant Fertilizer Slow Release All Purpose Granular Fertilizer.
The last tip to keeping your potted coleus plants healthy and growing strong all season in containers is to pinch and prune plants as needed.
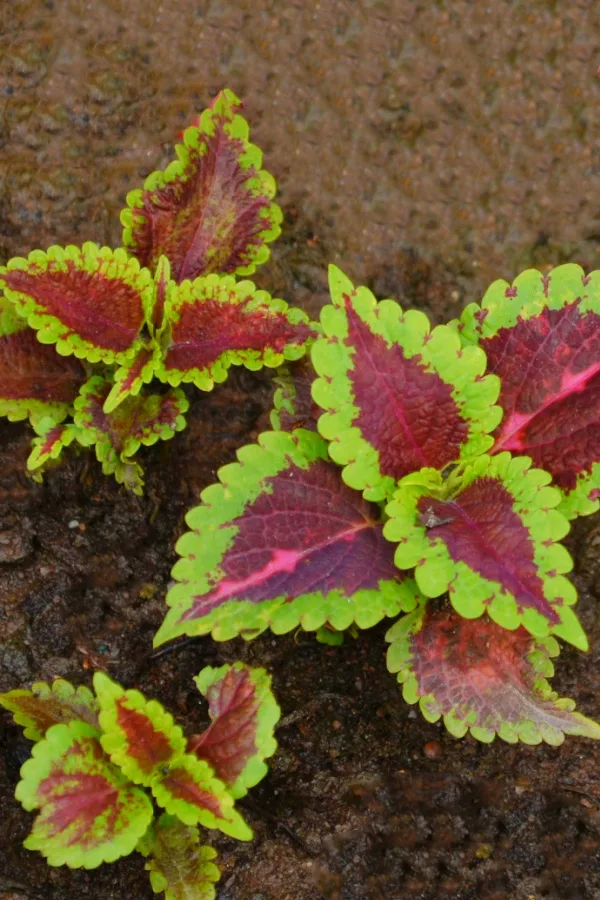
Pinching the coleus plant needs to occur when plants start to become tall and leggy. When you pinch off a stem right after a leaf node, the plants will then produce additional stems and branch out as opposed to continuing up. You can start to pinch plants any time after the stems are about six inches tall.
Pruning needs to be done if your coleus plant produces blooms. Coleus blooms appear as tall, thin spikes with tiny white or purple blooms. They do not really add much visual appeal, since coleus is usually grown for foliage growth. In order to allow your plants to focus their resources and energy on producing beautiful foliage as opposed to seeds, prune off the blooms.
The best way for growing even more coleus plants for containers is to propagate plants you already have growing. Not only is it easy to do, but it won’t cost you a thing!
In order to propagate coleus, you need to get a stem cutting. Use pruners, scissors, or a knife to cut off a 4 to 6-inch long stem. Cut down all the way to a leaf node so you don’t end up with a stump left behind.
Remove all of the leaves on the bottom half of the cutting. Place the cutting in a small container filled with water in a warm, bright location. A sunny window works quite well for this. It will take about two to three weeks for new roots to develop. Once they do – simply plant in the soil and you have a new coleus plant!
You can also quite easily keep coleus plants alive over the winter as a houseplant. And then, simply take cuttings to have free plants for your containers once again next year! See our article: How To Keep Coleus Plants Alive Over The Winter As A Houseplant.
Here’s to growing coleus in containers this year – and to creating the best low maintenance, pest proof pots around!
Follow Our Facebook Page For Great Gardening Tips And Advice! This Is My Garden Facebook Page
This Is My Garden is a garden website created by gardeners, for gardeners. Jim and Mary Competti have been writing gardening, DIY and recipe articles and books and speaking for over 15 years from their 46 acre Ohio farm. They publish three articles every week, 52 weeks a year. Sign up today to follow via email, or follow along!
When you take time to grow your own hanging baskets from seed – not only can it help to save big on your gardening budget – it also happens to be one of the best ways to create incredibly unique and stunning planters that can last all season long!
Hanging baskets are by far one of the most expensive purchases gardeners make each and every spring. Smaller flowering baskets can easily range from $25 to $50. And larger ones? As scary as it sounds, they can easily top $75 or more!
What really makes it tough on gardeners is that all too often, the baskets they purchase from stores don’t last the entire season. In fact, many baskets are so over-planted and mature by the time you purchase them in May, they only have a month or two left. But that is where growing your own baskets from seed can save the day!

There are actually all kinds of great reasons to grow your own hanging baskets. As noted above, it can certainly be incredibly beneficial when it comes to the savings. But starting your own baskets from seed also allows you to grow unique varieties that are often hard to find or even unavailable in local stores and greenhouses.
But perhaps best of all – by growing plants from seed and creating your own hanging baskets, you also have the advantage of controlling the soil make-up and size of your basket. And those two factors are extremely important in how well hanging baskets grow. And even more – for how long they can stay growing strong all throughout the growing season.
Starting your own flowers from seed indoors is easier than you might think. And the process doesn’t require expensive equipment nor a big investment in time. All it really takes is following a few simple and timely steps, the first of which happens to be starting your seeds indoors early. But not too early!
Most commercial greenhouses actually start planting their hanging baskets in December. Why? Because in order to have those big, beautiful baskets for spring buyers, the plants need plenty of time to grow.
Unfortunately, because commercial basket planting takes place so early, they often outgrow their containers by mid-summer. But when you grow your own, you can account for that and create baskets that last all season long.

So how early do you need to start your seeds for hanging baskets? To be sure to have strong, healthy baskets by spring, you will need to start your seeds about 10 to 12 weeks before the last usual frost date in your area.
Unlike bedded flowering annuals and vegetable garden plants, hanging baskets are easy to bring indoors when frost threatens. This means they can be started much earlier in the year indoors to take advantage of the warm and sunny days in between frosts. By allowing them more outdoor time early, they have more ability to fill out.
For best results, aim to start your seeds about 10 to 12 weeks prior to full outdoor life. This will allow them time to grow to the perfect size and begin blooming – but still have plenty of growing life left to last all summer and into fall.
The easiest way to start seeds for your hanging baskets are in traditional seed trays. If you have the room, they can certainly be started directly in the baskets. Although this eliminates an extra step, it can be hard to give large baskets enough indoor light early on – so seed trays are usually the better choice.
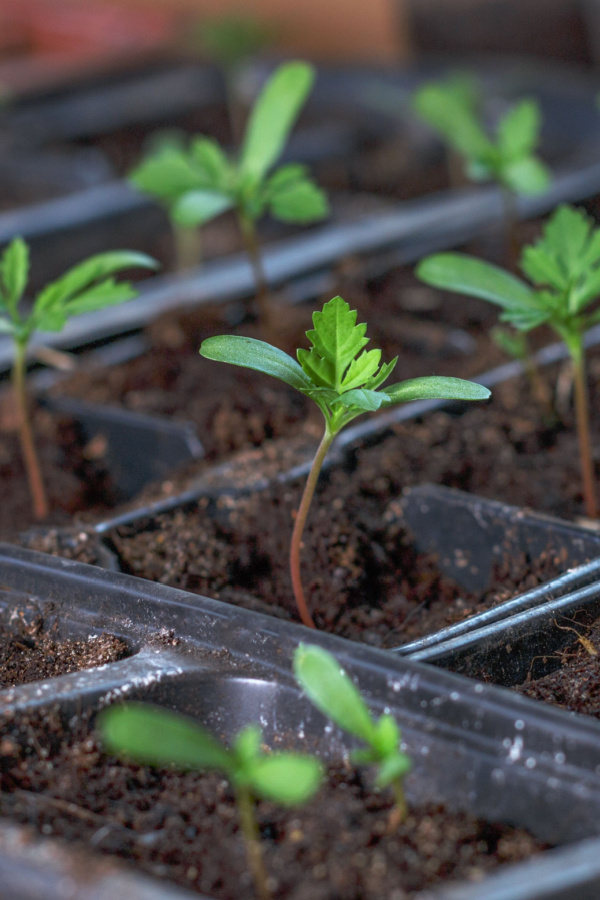

Remember, these plants have to be started far earlier than other vegetable or flower plants. But the good news is you can start them first, then at the four or six week mark plant them into your baskets. That also gives plenty of time to have the room to plant any additional seedlings for your garden or flowerbeds indoors.
For starters, always select fresh, quality flower seeds. Be sure as well to order your seeds early to have a good selection. Ordering early also ensures you have seeds on hand in plenty of time to start. Affiliate Link: Sow Right Seeds – Dwarf Mixed Petunia Seeds
There is no need for special equipment or heating pads to start flower (or vegetable) seeds indoors. A couple of inexpensive fluorescent or LED 4′ shop bulbs will provide more than enough light for seedlings to grow.
One thing you don’t want to do when growing hanging baskets from seed is to start your plants in a windowsill. There is simply not enough light. Because of that, plants growing in windows become leggy and weak. See our article: The Best Lights To Use For Starting Seeds Indoors – Simple, Easy & Inexpensive!
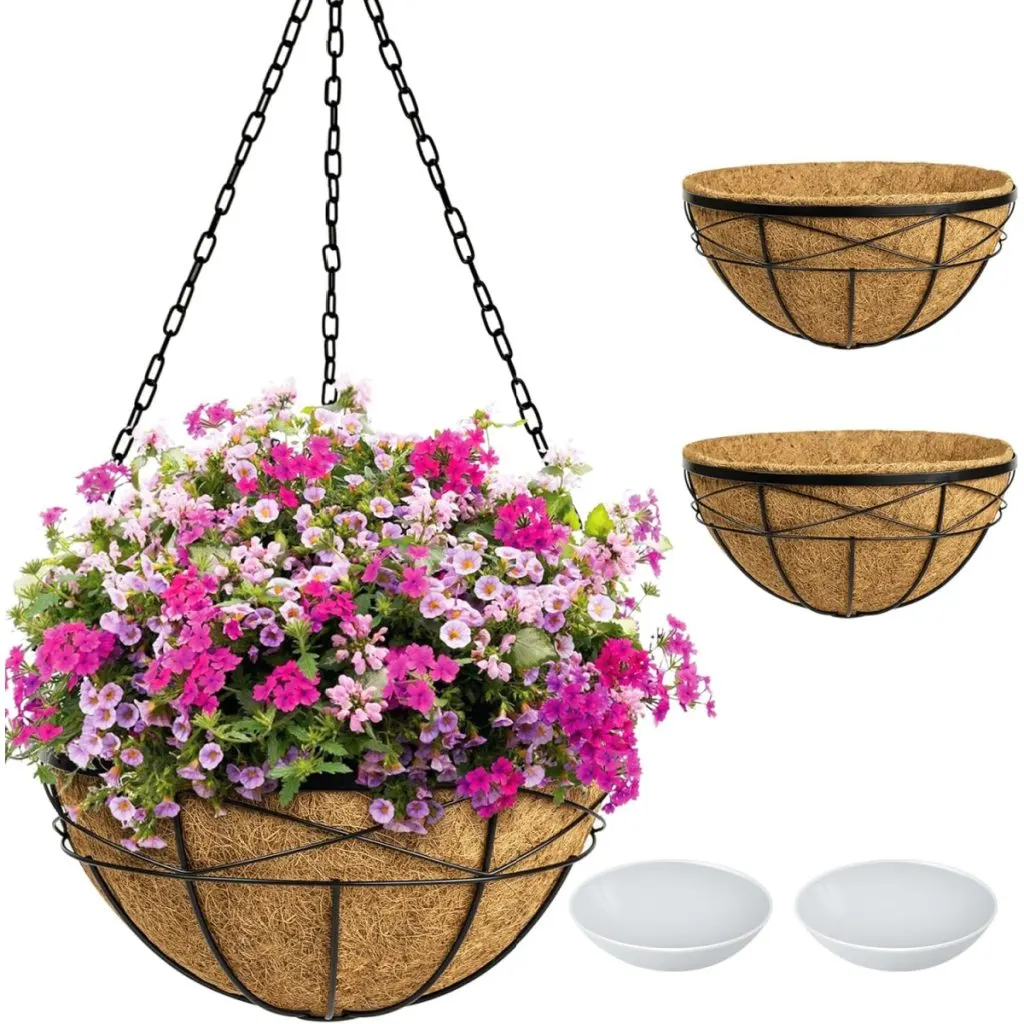
When seedlings get to about six weeks of age, it’s time to get them into their baskets. By planting at this point, the small transplants have time to root easily in their final soil. As for those baskets, select larger diameter baskets to give plants plenty of room to expand and grow their roots.
Unfortunately, hanging baskets smaller than 14 inches in diameter can rarely last an entire season. Plain and simple, the larger the basket, the longer the plants can survive in them! Affiliate Link: 2 Pack 18 Inch Extra Large Deep Hanging Baskets for Plants
Another big tip for success is to always use a quality potting soil mix for your baskets. A great potting soil needs to be lightweight, loose, and filled with nutrients as plants grow.
Last but not least, resist the temptation to over-plant your baskets with too many transplants. For a 14 to 16 inch basket, 5 transplants is more than enough. For 18 inch baskets and larger, 5 to 8 plants per basket will do the trick. Once they get growing, they will fill in quickly!
As daytime temperatures start to warm, set baskets outside in increasing intervals. This step helps plants adjust to outdoor life slowly. Even more, taking them out during warm stretches also helps baskets fill out at a much faster pace.

No matter how great your potting soil is, hanging baskets need to be fertilized. The nutrients in even the best of potting soils will only last for so long. But when fertilizing hanging baskets, especially early on, the key is to power them consistently, but low and slow.
If you provide too much fertilizer at one time, plants use the energy to grow too many roots and too much foliage. With too little, they simply don’t have the power to grow and produce blooms. So how much is enough?
Unfortunately, this is the issue with many commercially sold hanging baskets. They are given huge doses of fertilizer early on in an effort to fill them out for sale. The only issue is by the time the consumer gets them, the roots and plants are too big to last an entire season.
Fertilizing regularly with a liquid fertilizer mixed at half strength is the ultimate recipe for success. A light solution applied every two weeks works well to keep plants at their best, but without overpowering them. And you can start fertilizing this way as soon as your plants are four weeks old.
Finally, proper watering of your baskets is another must to keep them healthy and strong from start to finish. Never allow your baskets to dry out for long periods of time between watering. Just as important, be careful not to overwater and suffocate the plant’s roots with moisture. For more information on keeping those hanging baskets blooming beautifully all season long, be sure to check out: The 3 Biggest Fertilizing Mistakes That Ruin Hanging Baskets – And How To Avoid Them!
Here’s to getting your seeds ready – and to growing your own hanging baskets from seed this year!
Follow Our Facebook Page For Great Gardening Tips And Advice! This Is My Garden Facebook Page
This Is My Garden is a garden website created by gardeners, for gardeners. Jim and Mary Competti have been writing gardening, DIY and recipe articles and books and speaking for over 15 years from their 46 acre Ohio farm. They publish three articles every week, 52 weeks a year. Sign up today to follow via email, or follow along!
Looking for the perfect houseplant that can grow with ease indoors all year around – or outdoors in the spring, summer and fall? Then you need to grow a pothos plant. Or perhaps – quite a few of them!
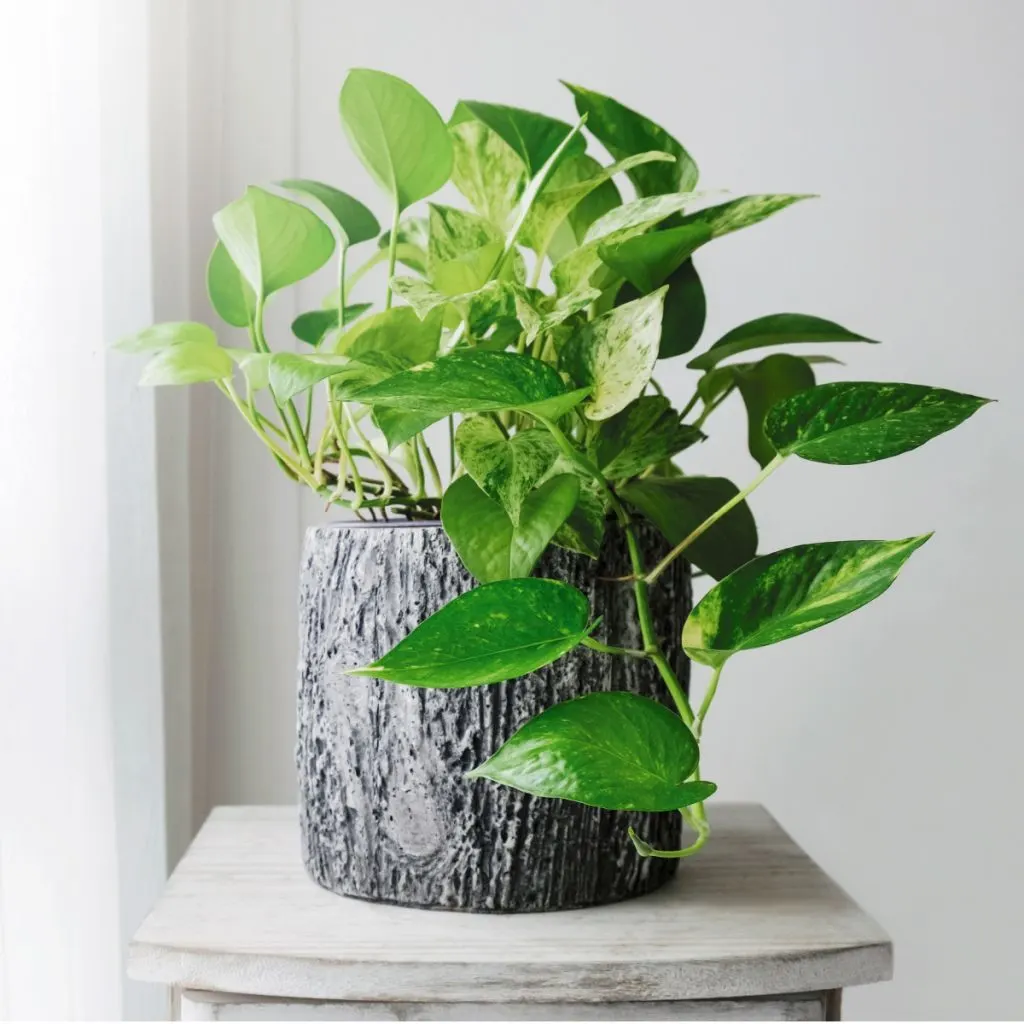
Pothos is one of the easiest and best plants to grow to add the perfect touch of greenery to your home – both indoors as a houseplant – or outside during the spring, summer and fall as a gorgeous hanging basket or container plant.
With its vibrant foliage and low-maintenance care requirements, it’s truly one of the easiest plants to grow and enjoy. Often known as Devil’s Ivy, pothos is prized for its long, trailing stems that fill with beautiful green and variegated leaves. But it’s also loved for its versatility and ability to survive in almost any situation and location!


The durable plant requires minimal attention, thrives in a variety of conditions, and is rarely affected by pests. In fact, even if you forget to water it for long stretches, the plant is more than capable of survival. One thing is for sure, it is nearly indestructible, even for those without a proverbial green thumb.
So just how easy is it to care for pothos plants? Success really comes down to taking care of the most basic of needs. The good news? The needs are minimal and simple!
Pothos thrives in well-draining, ordinary potting soil. It’s not a heavy feeder, so you rarely if ever need to worry about fertilizing. And when it comes to watering, more is less with pothos. In fact, overwatering is one of the few things that can harm the plants.
Pothos only needs to be watered when the top inch of soil feels dry to the touch. As a houseplant, that is usually once every week to ten days. Outdoors as a hanging basket or container plant, it will usually require watering every few days. Wherever you grow it, it is important to make sure your container has drainage holes to prevent soggy soil.

As a tropical plant, Pothos thrives in temperatures between 60°F and 85°F. Of course, that makes it ideal for indoor growth, or for growing outdoors in the spring, summer and fall months. The only thing the plant cannot take is freezing temperatures.
Pothos naturally grows in tropical regions under shaded canopies, so it prefers filtered or indirect light. As a shade loving plant, the only real key is to place it in locations that do not receive direct sunlight.
What really makes pothos a star is its versatility as either a houseplant or as a patio plant. And when you throw in how easy it is to create new plants by simply taking cuttings from an existing plant, it takes almost nothing to have enough plants to grow it everywhere – all for free!
Indoors, Pothos is a fuss-free plant that can adapt to a wide range of environments. But during warm months, it really does thrive outside. And can it ever add a lush, tropical touch to a shaded area of your garden, patio or deck.
Pothos is perfect for filling outdoor pots, containers, and hanging baskets. Its trailing vines create a stunning effect, and when you consider how expensive hanging baskets can be, creating a few every year from pothos cuttings is a great way to save big on your gardening budget!
As for what it can handle outdoors, pothos grows well in growing zones 10 through 12 all year round, but in cooler climates, you can grow it outdoors as an annual and then bring it back inside when the cold temperatures arrive.
Because they are so easy to propagate, many gardeners opt to simply compost the outdoor plants and start fresh the following spring with more cuttings from their indoor pothos plants. And speaking of propagating – here is a look at just how easy the process is to create additional pothos plants!
Whether you want to expand your indoor collection or create new plants for outdoor use, propagating Pothos is a simple and straightforward process.
To start, all you need to do is select a healthy stem. Choose a stem with at least one leaf and a few inches of stem below it. Before cutting, make sure the stem includes nodes. Nodes are the small bumps where roots will form, and they appear on almost all stems.
When cutting a stem, cut at an angle just below a node. By cutting at an angle it will help the stem absorb water more easily. This is because it gives it a bit more surface area. Next, simply submerge the cut end and nodes in a clear glass of water. When doing this, always ensure that the leaf remains above the waterline.
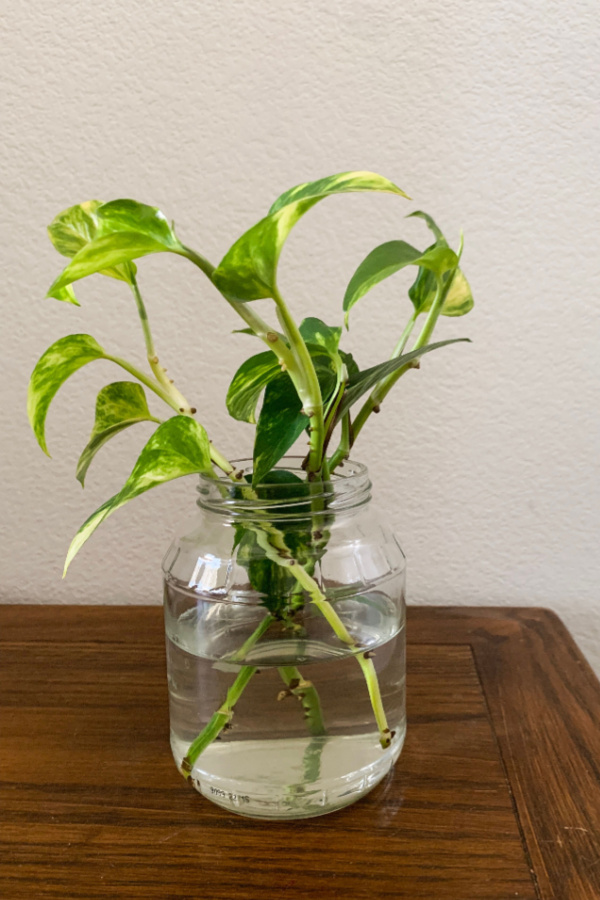
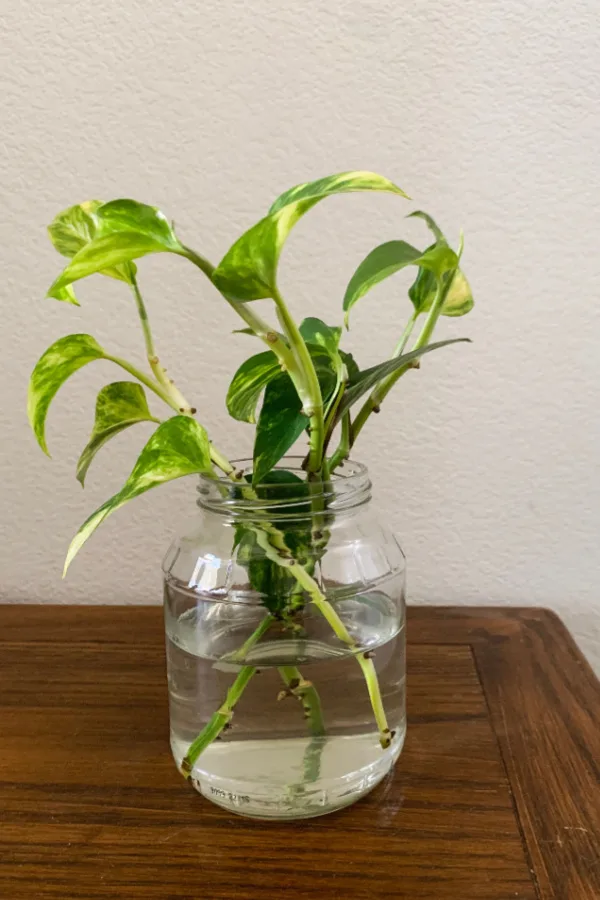
All that is left is to place the jar with cuttings in a spot with indirect sunlight. In just a few weeks, roots will begin to form and grow from the nodes. As soon as the roots are a few inches long, you can then transplant the cutting into potting soil. Affiliate Link: Back to the Roots 100% Organic Potting Mix
Again, pothos doesn’t require a nutrient dense soil to grow well. Ordinary potting soil will work just fine. The real key is to avoid overwatering and to make sure your new container has good drainage. By propagating in late winter, you can have mature plants ready for outdoor spaces by mid to late spring – adding gorgeous greenery for free.
Here is to growing pothos – the perfect houseplant! And for more easy houseplants to grow, check out our article: The Easiest Houseplants To Grow – 8 Plants Anyone Can Keep Alive.
Follow Our Facebook Page For Great Gardening Tips And Advice! This Is My Garden Facebook Page
This Is My Garden is a garden website created by gardeners, for gardeners. Jim and Mary Competti have been writing gardening, DIY and recipe articles and books and speaking for over 15 years from their 46 acre Ohio farm. They publish three articles every week, 52 weeks a year. Sign up today to follow via email, or follow along!
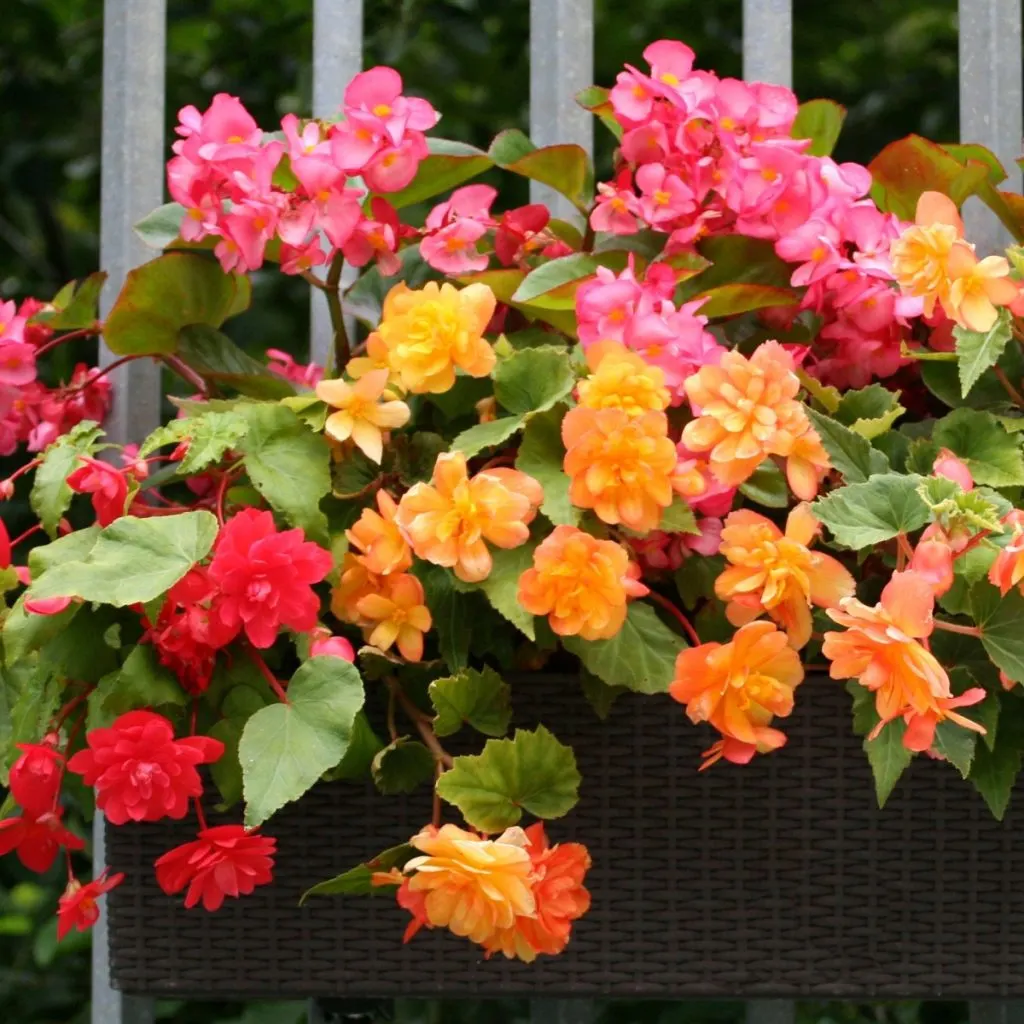
Looking for a few quick tips and tricks on how to best fertilize your begonias this summer to keep them full of life and loaded with big blooms all the way to late fall?
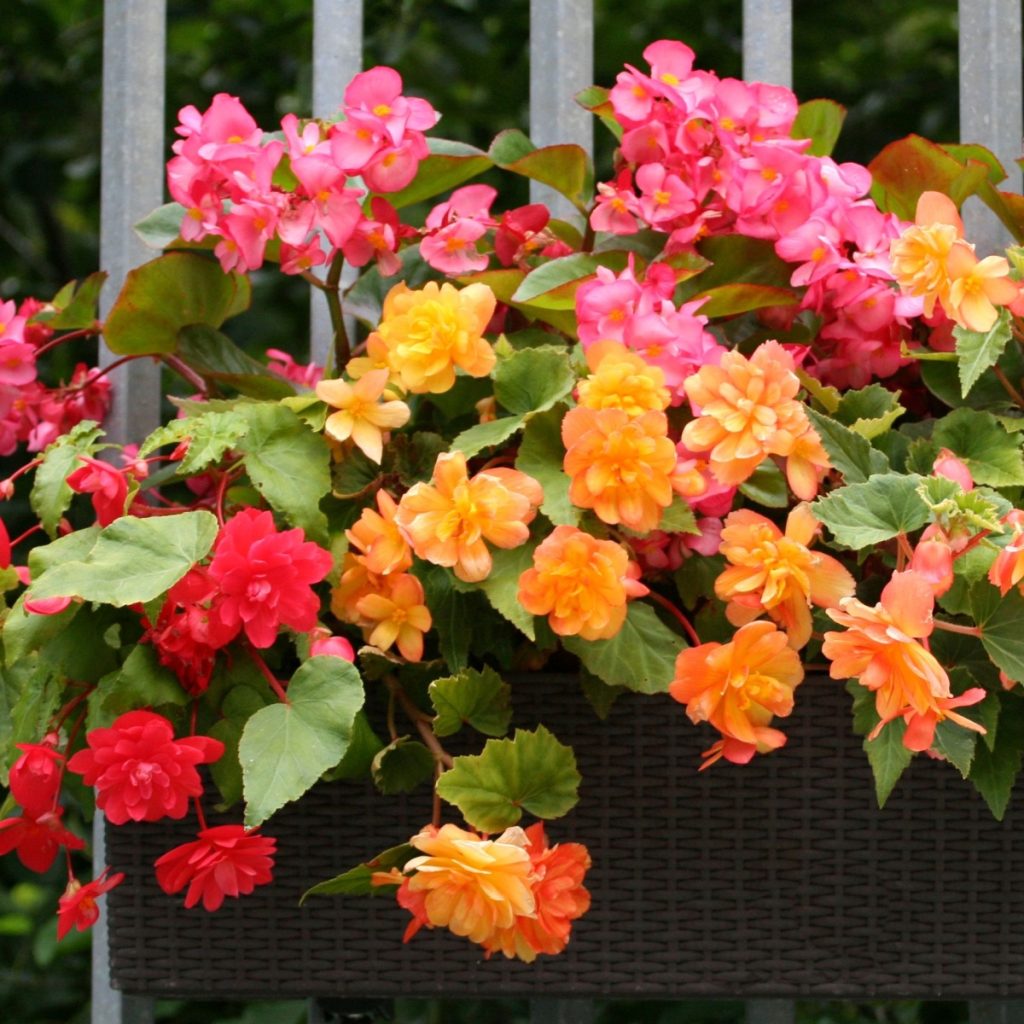
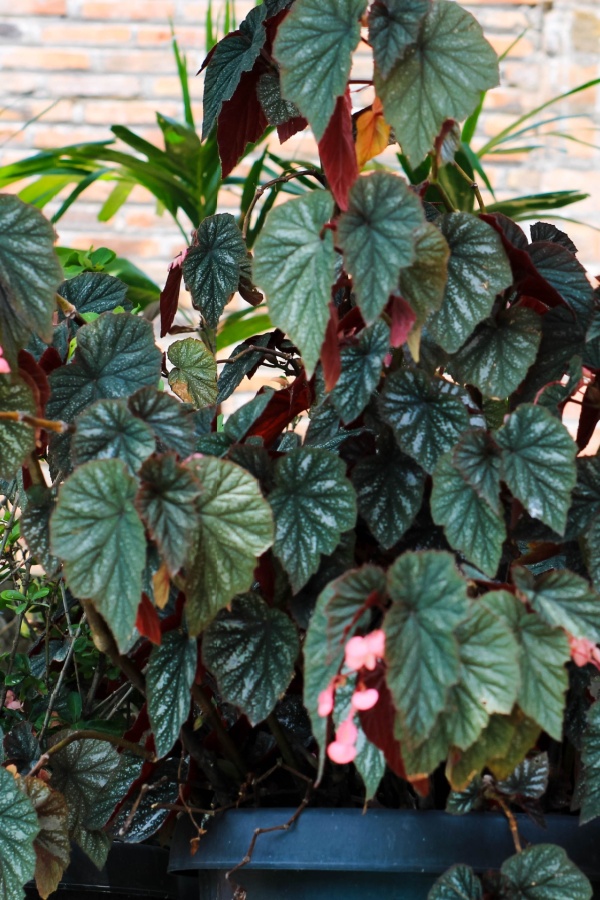
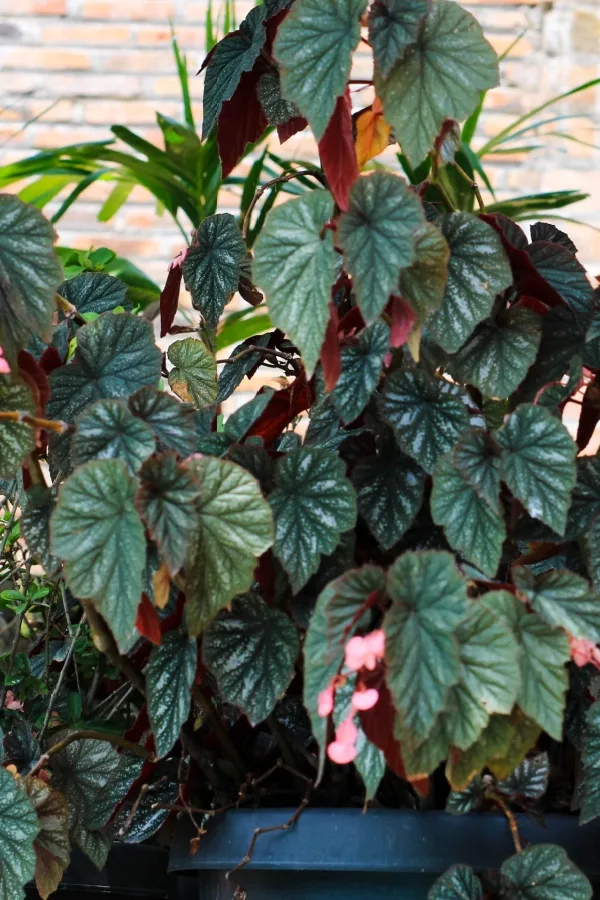
Begonias are a classic flowering annual that are often grown for their colorful foliage and ultra-bright blooms. In recent years, they have seen a new interest in popularity, especially with all of the new foliage and blooming varieties that are now on the market.
What makes begonias even better is that they can really take the heat – literally! Begonias thrive in warmer locations and will continue to push out blooms in both sunny or shady locations – as long of course as they get the energy and moisture they need for flowering. And that is exactly what today’s article is all about!
No matter whether you grow begonias in your flowerbeds, containers or in hanging baskets – they are going to use up the nutrients in the soil. And without replenishing those nutrients, eventually, the plants will start to suffer.
Often, the first part of a begonia plant to show signs of a struggle are the blooms. Begonias, as with most flowering annuals, require a lot of special nutrients in order to set and maintain blooms. And if the plants get stressed or there is a reduction of available energy, the blooms are the first to go.
This is exactly where fertilizing your begonias on a regular schedule can save the day. But when it comes to powering more blooms, that fertilizer needs to contain the specific nutrients begonias need most for flowering.
To produce the most begonia blooms possible, the trick is to use a low dose of fertilizer but apply it more frequently. The time between applications depends on whether you are growing them in pots and containers – or if they are in flowerbeds.
For hanging baskets, pots, and containers, provide plants with a low dose every seven to ten days. For those in flowerbeds, you can stretch the dosing out to once every two to three weeks.
For begonias, it’s best to use an all-purpose granular fertilizer. Why granular? Because begonias can suffer from getting too many nutrients too fast. A slow release granular type will avoid that issue. In addition, the foliage of begonias is more easily damaged by liquid fertilizer than most other annuals.
Finally, when looking for a granular fertilizer, select one with a higher percentage of phosphorus than nitrogen or potassium. This helps to promote bloom production as opposed to foliage growth. Affiliate Product Link: Schultz KNOX High Phosphorous Granule Plant Food
In addition, applying worm castings around the base of each plant monthly can really help begonias stay energized over the long haul. Worm castings are an excellent, 100% organic, and natural fertilizer.
When placed around the stem of plants, each time it rains or you water plants, the nutrients are leached down into the soil. The roots can easily absorb the extra boost of nutrients and convert it into energy.
When using castings, it’s important to still provide plants with a low dose of liquid fertilizer as well. The castings will help greatly with overall health, but not specifically blooming. Affiliate Product Link: 100% Worm Castings
In order for begonias to be able to absorb the fertilizers properly, they also need moist soil. While roots that are too dry are a big cause for concern, overwatered plants will end up with swollen roots that will struggle to take in nutrients as well. The key is to get the perfect balance.
Begonias grow tuberous roots that need about an inch of rainwater or hand watering in order to stay healthy. This usually winds up being about one to two good rainfalls each week.
For begonias growing in containers or hanging baskets, allow the soil to dry out in between waterings. This helps prevent roots from being over-saturated and rotting. To check the moisture levels, use an index finger and reach down deep into the soil. If it is dry to the touch, it’s time to water.
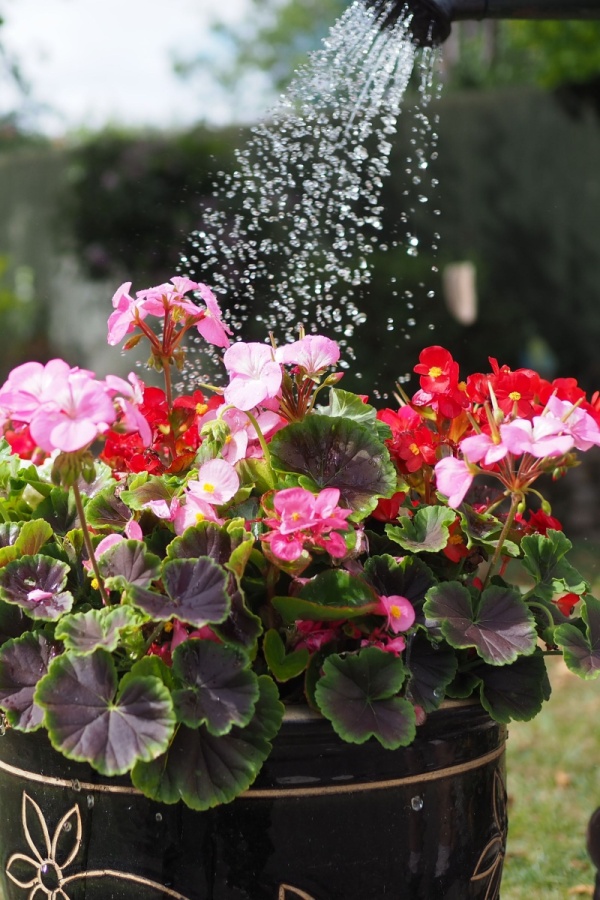

Don’t be surprised if you have to water container begonias every day. This is especially the case during particularly hot and dry spells. Waiting too long between waterings will result in a large reduction of blooms.
For both container plants and those growing in flowerbeds, water plants early in the morning for best results. This helps the plants dry out a bit before the worst heat of the day arrives. Avoid watering overhead when possible to help prevent mildew issues.
Begonias have a tendency to become leggy over time. To help maintain their shape and keep plants healthier, pruning back every four to six weeks is ideal. Pruning will also encourage plants to produce new growth at the point of the cut. Additional growth equals even more blooms per plant.
Deadheading – which is removing spent or dead blooms – will also help immensely to promote additional blooms. Even though the spent blooms are on their way out, the plant will continue to spend its energy and resources attempting to “fix” the blooms.

If too many blooms are left on the plant, it will slow down its production of new blooms. Removing them allows the plants to focus that energy instead on producing new blooms. See: How To Deadhead Annual & Perennial Flowers
You do not need pruners or special tools to do this task as the stems break off quite easily. Just use your fingers to snap off the spent blooms or stems. Between providing plants with the proper fertilizer, watering them often and keeping plants pruned and deadheaded, you will be able to enjoy stunning begonia blooms all summer long!
Follow Our Facebook Page For Great Gardening Tips And Advice! This Is My Garden Facebook Page
This Is My Garden is a garden website created by gardeners, for gardeners. Jim and Mary Competti have been writing gardening, DIY and recipe articles and books and speaking for over 15 years from their 46 acre Ohio farm. They publish three articles every week, 52 weeks a year. Sign up today to follow via email, or follow along!
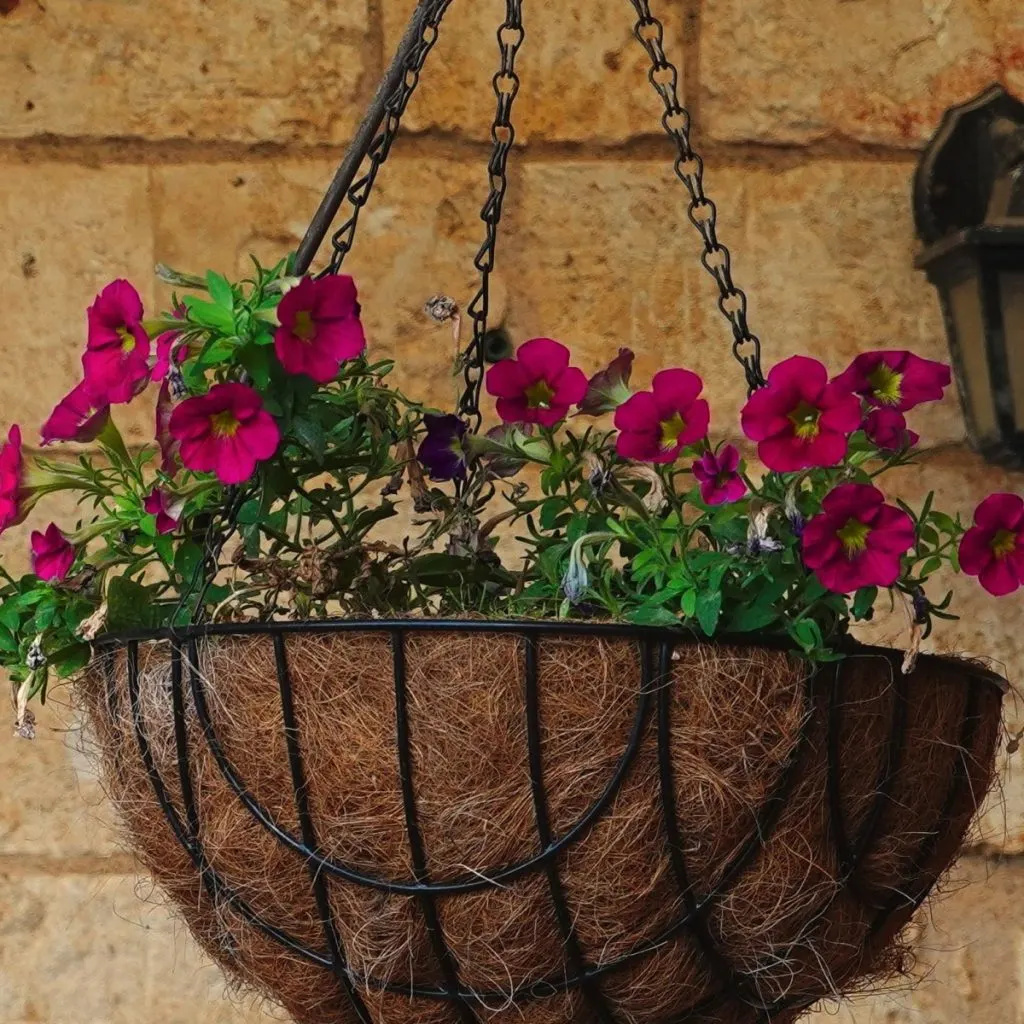
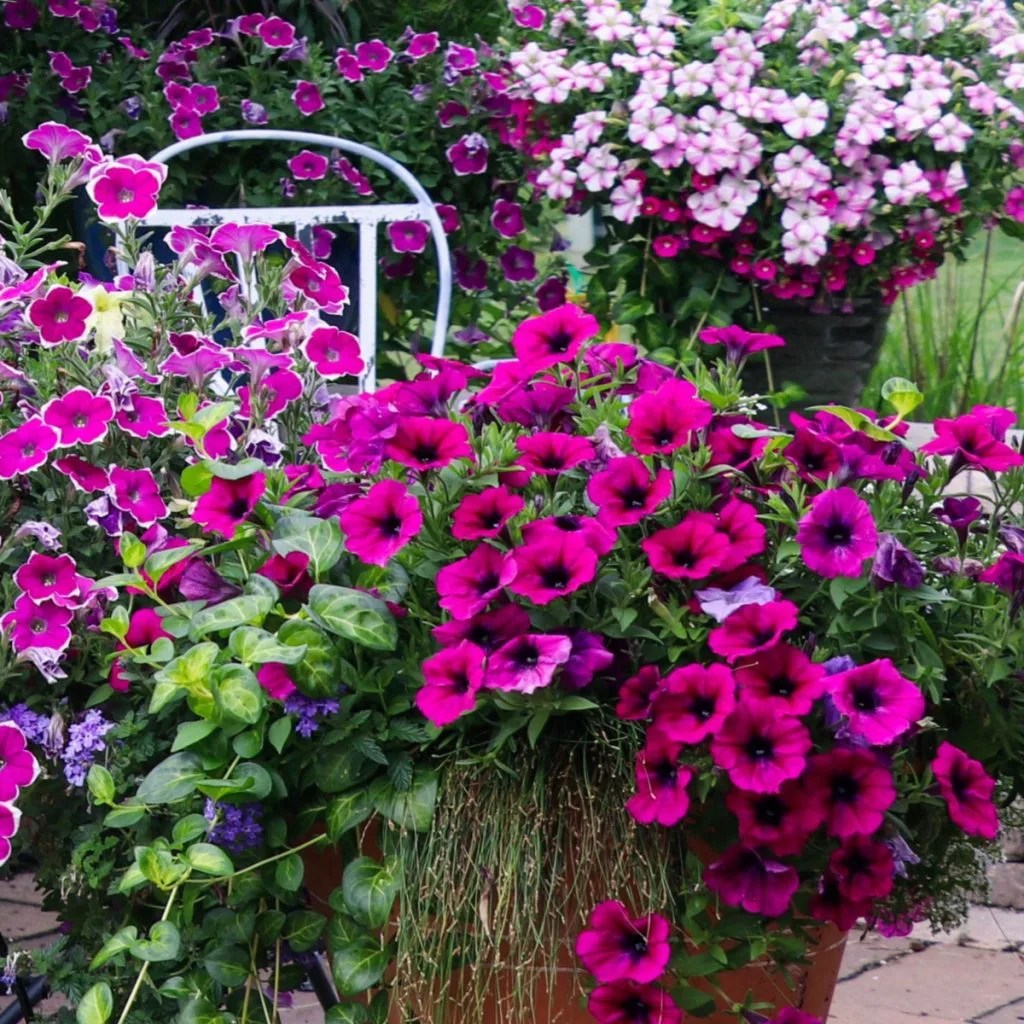
Looking for a few simple and easy way to save your struggling hanging baskets this summer?
For many gardeners, the arrival of summer also signals the beginning of the end for their hanging baskets. Their once lush plants that were covered in hundreds of blooms just a few weeks back are suddenly now sporting only a few flowers here and there.
Even worse, the dark green foliage, stems and shoots also begin to turn pale, light and yellow. What is perhaps most frustrating of all is that it can happen seemingly overnight. Is it too much or too little water – or too much or too little fertilizer? Or could it simply be that the hanging baskets are running out of the room they need to grow?

As it turns out – both can play a huge role in the health of your baskets. And the key to reviving your baskets is to quickly figure out which of these issues are affecting your plants – and then fix it. The good news is that it’s easier than you might think to diagnose and correct either problem in short order!
As it turns out, there are a few simple signs to help you diagnose if it’s a water and fertilizing issue – or if your plants have simply run out of room to grow in their basket.
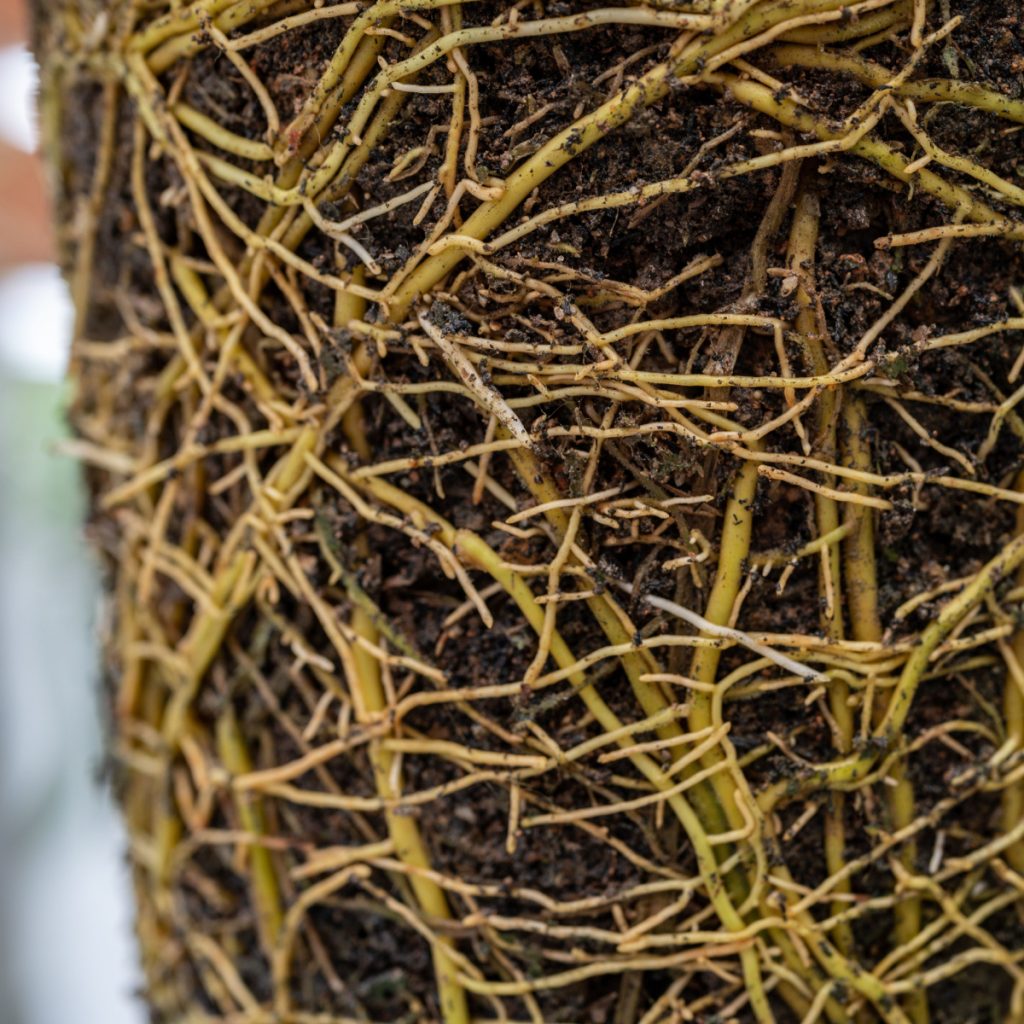
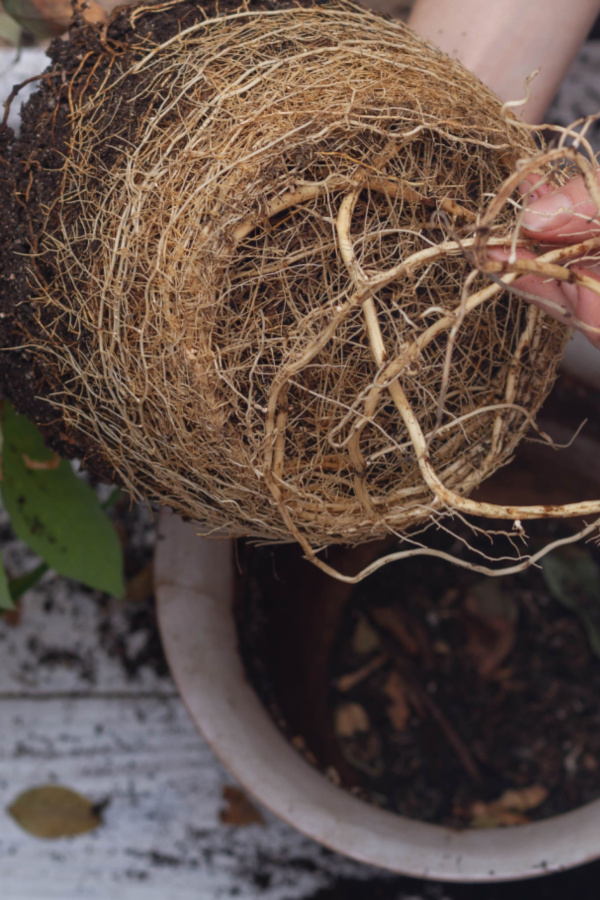
More times than not, when hanging baskets begin to fail in mid-summer, it is usually that the plants are outgrowing their container with simply too many roots. And when this happens, the only way to fix the issue is to replant into a larger container – or if not possible, plant the entire plant into your flowerbeds to let them rejuvenate and flourish once again.
If the issue is water and nutrient related, the fix is also easy. The remedy is simply to start giving your plants exactly what they need – and once again they will flourish.

Unlike plants growing in the ground, hanging baskets have a limited amount of soil. And because of that, they can dry out quickly – and run out of nutrients fast as well.
So how can you tell what is ailing your baskets? The best test is the water test. As in, when you water from the top – does the water simply pour right through below and out the bottom? If it does, you can almost be certain that your plants are root bound and have simply outgrown their container.
However, if when you water, the water absorbs into the top, or simply sits stagnant on top – you most likely have a watering / fertilizing and/or drainage issue. With that in mind – here is a look at what to do to revive your plants based upon the result of the water test!
Nutrient and watering issues usually cause plants to turn pale green or even yellow. When the roots of a plant swell, they can’t absorb either moisture or nutrients. They also have trouble doing that when the roots are shriveled due to a lack of water.
Hanging baskets need to be watered daily in most cases. And in extremely hot weather, even twice a day. They also need to be fertilized on a regular basis to get the flowering nutrients they need to flourish.
When it comes to watering, the best way to success is to use an instant water moisture meter. By simply sticking the probe in the soil down to the root level, you get a quick read of the moisture of the soil. For nearly all hanging basket annual plants, it should be around 50% moist. If it’s much lower, water, and if it’s higher, hold off.
It’s also important that your hanging baskets can drain excess water. Make sure the holes under your plants are free and clear – and if need be drill a few more into it from underneath. When the roots have too much moisture from overwatering or bad drainage, it will cause the plant to be weak and frail, with little to no blooms.
As for feeding your plants, the biggest mistake gardeners make in the summer is to not feed consistently. You should be feeding your hanging baskets every seven to ten days with a light dose of liquid fertilizer. But at about half of the recommended strength. This allows for more frequent power, without making the plants overgrow.
Last but not least when fertilizing – select a liquid fertilizer with double to triple the amount of phosphorous and potassium compared to nitrogen. These are the key ingredients to power blooms. Product Affiliate Link: Jack’s Classic Blossom Booster 1.5 lbs, 10-30-20
If you use too much nitrogen, you will once again grow the plant and its roots too big for its container. For summer feeding, it’s all about the phosphorous and potassium! See our article: How To Fertilize Hanging Baskets – 2 Simple Secrets To Keep Plants Blooming.
By the time you purchase plants in the early spring, they have already spent an incredibly long time in their respective containers. And we are not talking just weeks, but in most cases, months!
In order to get container plants to bloom in the early spring, growers start plants months in advance in greenhouses. Sometimes as early as December or January.
And although they are healthy, thriving, and blooming when you first pick them up, their roots also have already started to run out of space. And when that happens, it spells big trouble for the long-term health of your plants.
The first sign of trouble is the pass-through watering phase. But even though your plants might be suffering, weak and turning pale – it’s certainly no reason to throw them out.

In fact, there are two simple and easy ways to give them a huge new life. The first is to replant into a large container and continue to keep them as hanging baskets. And the second is to simply plant them into your flowerbeds to bring massive color to your landscape.
Begin by removing the potted plant from it’s original container. In most cases, when plants are root-bound, they will lift easily from their vessel.
Next, break apart the root ball gently, starting from the bottom. You can usually use your hands for this task, but if they are extremely bound, use a sharp knife or blade to slice them free a bit. When you replant hanging baskets, this step is vital in allowing roots and shoots to spread out into their new surroundings.
If planting into a larger container, try to select a container at least 50% larger. If you can go bigger than that – even better. This will allow enough room for the plant to make it to the end of the growing season in full bloom.
To finish, put new potting soil in the bottom and around the sides and fertilize with a good dose of a phosphorous and potassium heavy liquid fertilizer. Continue to fertilize lightly every 7 to 10 days. As long as you continue to provide good watering, your plant will quickly revive.
If your plant is simple too big for replanting into a basket, you can plant into your flowerbeds. To start, dig a hole in the landscape twice the diameter and 1 and 1/2 times the depth of the root ball. Add in equal parts of compost and soil back into the hole, setting the base of the plant even with the soil line.
Be sure to water the roots deeply when re-planting and cover with mulch to help hold moisture in. When re-planting, this is the perfect time to boost your plants with a little liquid fertilizer. It will amaze you just how fast your once sad plant will readjust and take off.
Here is to saving your hanging basket plants for a big flowering second life this summer!
Follow Our Facebook Page For Great Gardening Tips And Advice! This Is My Garden Facebook Page
This Is My Garden is a garden website created by gardeners, for gardeners. Jim and Mary Competti have been writing gardening, DIY and recipe articles and books and speaking for over 15 years from their 46 acre Ohio farm. They publish three articles every week, 52 weeks a year. Sign up today to follow via email, or follow along!
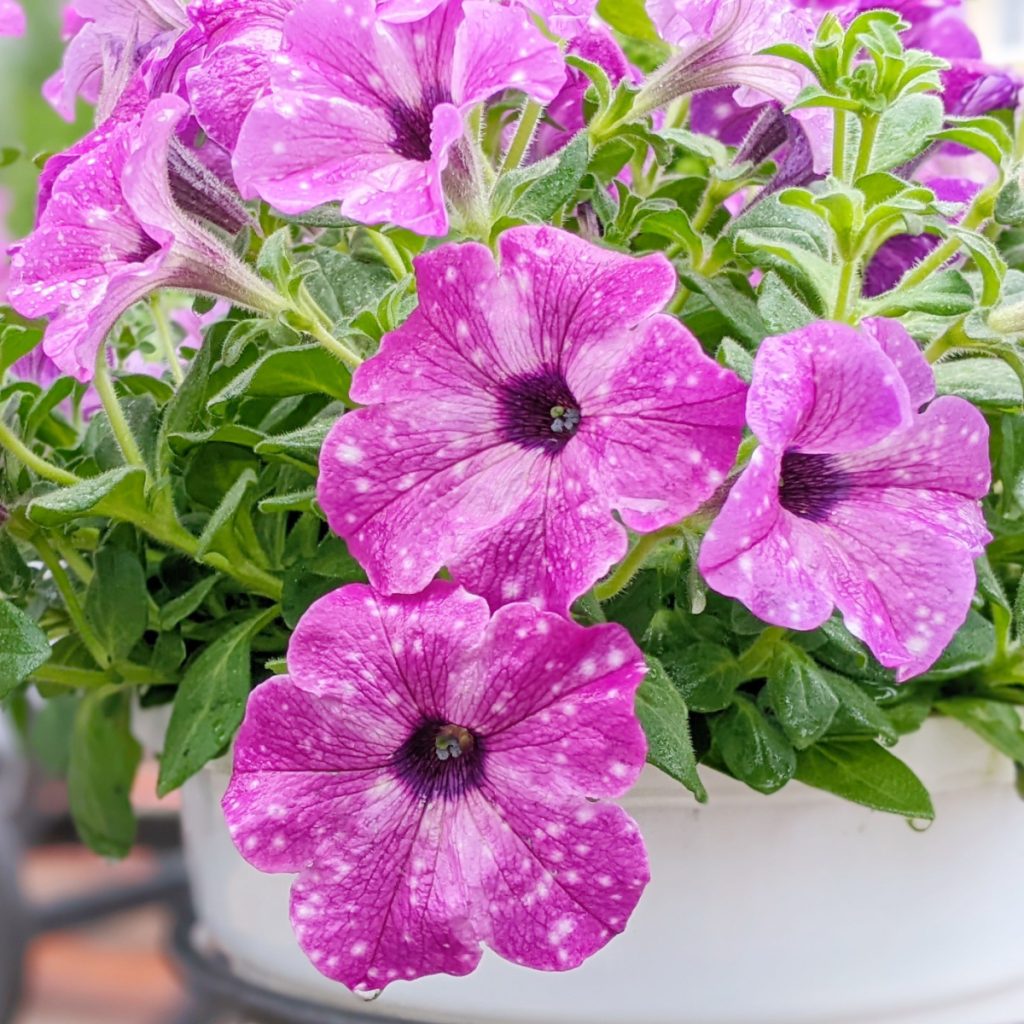
Wondering how to fertilize your petunias this summer to keep them healthy and blooming bigger and longer than ever?
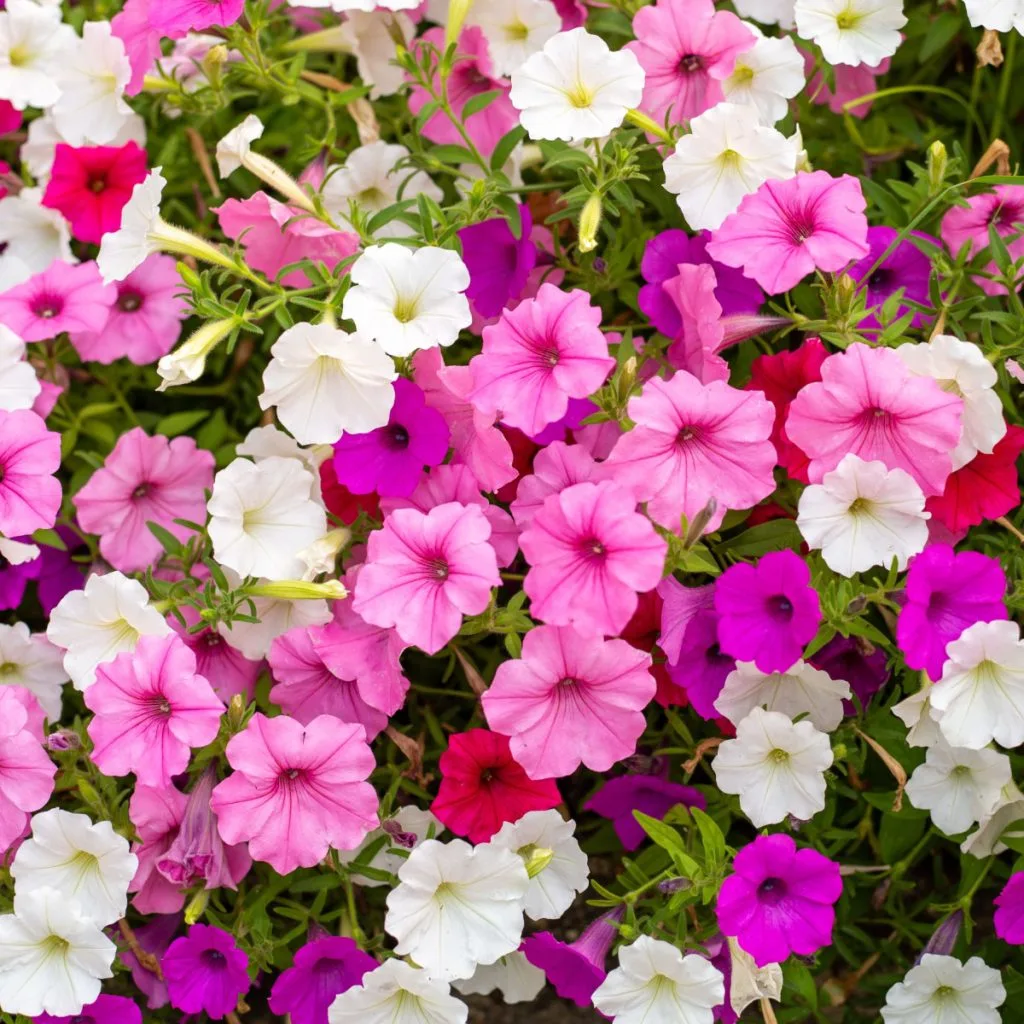
Petunias not only produce massive amounts of bright, funnel-shaped blooms, they do so in a wide range of colors. And with new types and blooming color combinations coming out with each passing year, the flowering annual has now become more popular than ever.
But if there is one common issue that many gardeners face with petunias, it’s getting their plants to stay flowering strong late all through summer and early fall. Although petunias are usually thriving and full of color in late spring and early summer, all too often, the plants show early signs of wear and tear as they begin to age.

More times than not, the issue isn’t with the plant. Nor is it from disease or pest issues. Instead, when petunias begin to slow their blooming and begin to fade, the problem can usually be traced back to a simple lack of available energy in the soil.
Petunias require a lot of nutrients to power all of their bright, colorful blooms. Because of that, they can deplete even the best potting soil or flowerbed soil of those nutrients quite fast. And once it’s gone, it doesn’t take long for the foliage and pretty blooms to begin to suffer.
But when it comes to getting petunias to stay strong, healthy and continue to flower big – the real secret to success is feeding your plants the right mix of nutrients for blooming – and not just to green them up.
The good news is by simply providing your plants with the right dose and type of fertilizer on a consistent basis throughout the growing season, you can easily keep your petunias thriving. And in the process, have them blooming big right up until your first hard frost or freeze!

One thing is for sure, how, when, and what you fertilize your petunias with all make a big difference in just how well your plants perform all season long.
If you give petunias too much power all at once, it will actually harm the plants and their blooming potential. When annual flowers (and vegetable plants) get too much energy, they change their growth pattern. Instead of using it to produce more flowers, they use the energy to simply grow bigger.
Likewise, if they get too little energy, or have too much of a delay between feedings, they will also slow or stop blooming. Because of this, it’s important to supply your plants with a consistent but low dose of energy. Even more, it’s also vital to give it to them in a form they can easily and quickly absorb.
The good news is that with petunias, it’s easy to do this with two simple fertilizer feedings. One of which supplies a steady stream of nutrients to maintain vitality. The other then supplies petunias with all the power they need to keep flowering big!
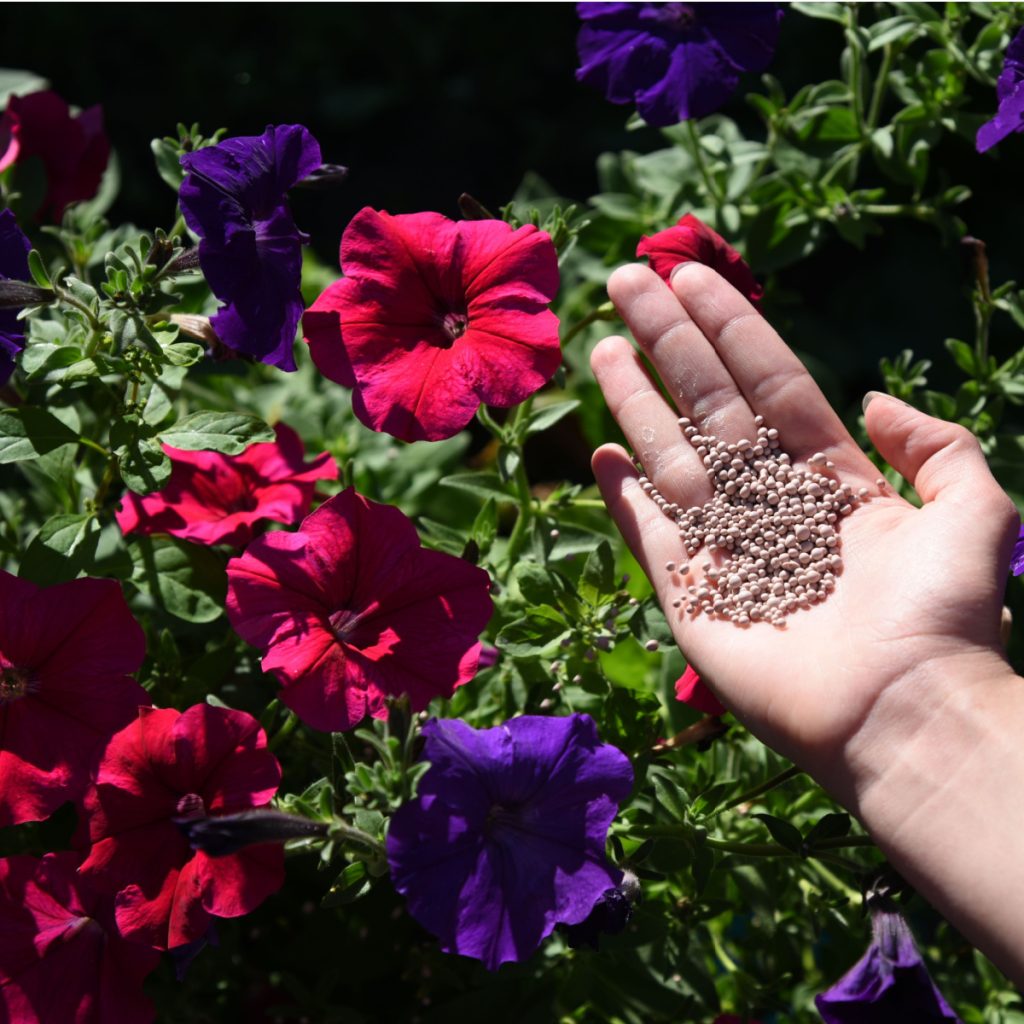
To maintain good foliage and health, petunias need a source of slow and steady power. Again, too much will simply make them grow big – and often outgrow their containers in the process. The first answer? Worm castings or a light dose of all purpose granular fertilizer applied to the base of the plants every month.
The nutrients in worm castings are pure and easy to absorb. This all natural fertilizer is great for powering steady growth and helping to keep the foliage strong. Product Affiliate Link: 100% Pure Organic Worm Castings Fertilizer
With 1/4 to 1/2 cup of castings applied every month to the surface, every time you water or it rains your petunias get a slow dose of nutrients trickling down to their roots. It really is the perfect way to give your plants the power they need to maintain their health.
For this low and slow fertilizing, you can also use a dry, granular fertilizer. The key here is to select a fertilizer that has a low but equal percentage of nitrogen, phosphorous and potassium (N-P-K). This will keep the growth of your plants manageable.
So what about fertilizing for blooms? For that, it’s all about giving your plants a regular dose of liquid fertilizer filled with the ingredients that make blooms explode!
Without a doubt, when it comes to energizing petunias and powering blooms, liquid fertilizing is the way to go. Liquid fertilizers are able to absorb into plants in two separate but powerful ways. And that double action is a huge help in keeping plants continually blooming!
When a liquid fertilizer is applied to the soil around a plant, it soaks down into the roots. Because it is in a liquid form, the roots are able to absorb it quickly. This allows the plant to use the power almost immediately.
But liquid fertilizers also absorb into a plant through its leaves and stems. As the liquid touches the foliage, it absorbs in through the cells of the plant. This provides an additional source of energy that doesn’t have to take time to come through the roots.
Another big benefit of using liquid fertilizers for blooming power is that with liquid power, you can easily adjust the level of strength. And that makes delivering the perfect dose of energy much easier. And when it comes to giving that perfect dose, it’s all about selecting a liquid fertilizer designed to power blooms!
When looking for a liquid fertilizer to power your petunias, look for options that have larger amounts of phosphorous and potassium in the nitrogen-phosphorous-potassium (N-P-K) ratios listed on commercial fertilizers. This will help more with producing blooms than just plant growth.
Plants use nitrogen for growing strong stems and foliage. But it is phosphorous and potassium that power blooms. And by selecting a fertilizer that is higher in phosphorous and potassium versus nitrogen, you are providing your plants with just the right energy for more flowers.
Many fertilizers now designed for better blooming will have the words bloom and booster right on the package. Affiliate Link: Jack’s Bloom Booster 10-30-20
Once you have your fertilizer, the next key is to dilute it to one-half of the recommended dose. By weakening the solution, you keep the plant from getting too many nutrients all at once. This also allows you to give the plants a dose more often to keep a steady supply of energy.
For best results, when fertilizing with a commercial fertilizer, use at half-strength every seven to 10 days. This is the perfect balance of giving great nutrients with a low and steady method. With this little 2 step approach to fertilizing – your petunias will thank you with amazing blooms all season long!
One last note – don’t forget to remove those old blooms regularly too. By deadheading your petunia plant’s blooms as they die off, you will save valuable energy for your plants. Energy they can then use to power more blooms. See our article: How To Deadhead Petunias
Follow Our Facebook Page For Great Gardening Tips And Advice! This Is My Garden Facebook Page
This Is My Garden is a garden website created by gardeners, for gardeners. Jim and Mary Competti have been writing gardening, DIY and recipe articles and books and speaking for over 15 years from their 46 acre Ohio farm. They publish three articles every week, 52 weeks a year. Sign up today to follow via email, or follow along!