
If you are looking to grow a unique, beautiful and fragrant perennial in your landscape that is sure to turn heads, then it’s time to plant hops this year!
Yes, we are talking about the same hop plant has long been grown by homemade beer enthusiasts as an ingredient for their home brewing efforts. But in addition to helping to flavor beer, hops are catching on as an unusually eye-popping perennial plant choice that can add instant beauty to your landscape as well.
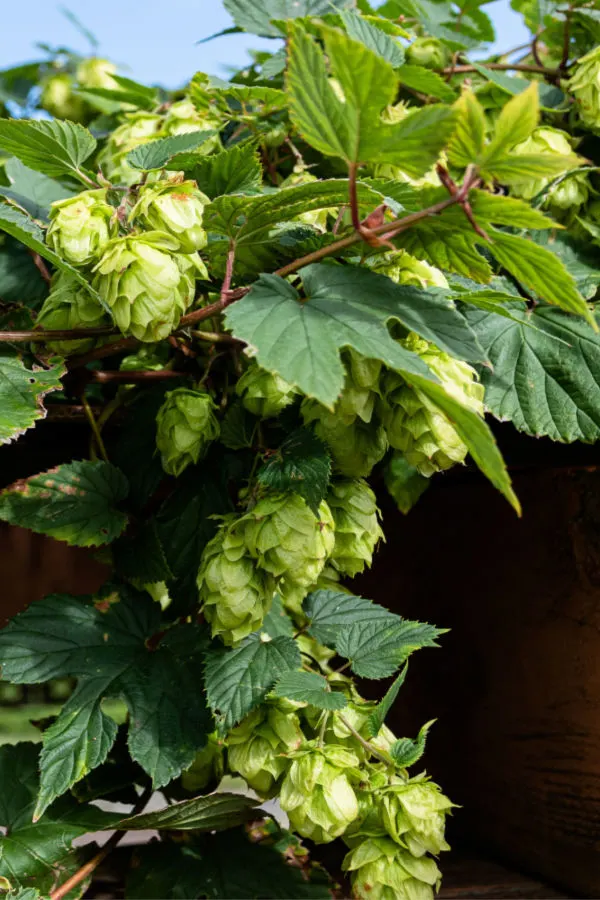
For home and commercial beer makers around the world, the hop plant is beloved for the cones it produces along the stems of its vines. Once harvested in early to mid fall, the cones are then dried and used in the brewing process to enhance brews.

As an additive, hop cones give bitterness and other unique flavoring qualities to beer. This helps to smooth out the flavor of the sweeter malt that it combines with, giving each beer its own unique taste.
That is all and good for beer makers. And it certainly might interest you to grow your own if you happen to be one of the ever growing home brewers who like to tinker with making their own recipes and beer. But even if you don’t want to brew at home – hops is an amazing perennial to grow for its sheer beauty in the landscape!
How To Plant & Grow Hops
The hops plant is a vining perennial that grows from rhizomes, which are small tube like roots. It can be planted from seed or from rhizome transplants, which are taken as cuttings from the roots of existing plants.
Most hop varieties grow best in growing zones 5 through 8. There are a few varieties that can grow with success into zones 3 and 4, but they are prone to freezing out in those zones if there is a harsh winter. See: Understanding Growing Zones & Frost Dates – How To Plant Smart!
Although hops can be grown from seed, it can be a tedious and difficult process. In fact, not only is it difficult, it can take two full years of growing before seeing the plant flower and produce. (We include planting instructions for seed and transplants below)


For that reason, most gardeners shy away from starting plants from seed and opt for bare rhizomes or transplants. Either can be planted in the spring as soon as threat of frost passes, allowing them to get a fast start.
The Growing Pattern Of Hops – How To Plant Hops With Ease!
One thing is for sure, once they establish in the soil, hop vines can grow quick. In fact, many varieties can grow fifteen to twenty-five feet in a single growing season!
It makes them perfect for growing along fence lines, arbors and and trellises, adding a touch of elegance and greenery to structures. The fast growth can provide a stunning privacy block or a great focal point to a yard in quick manner.
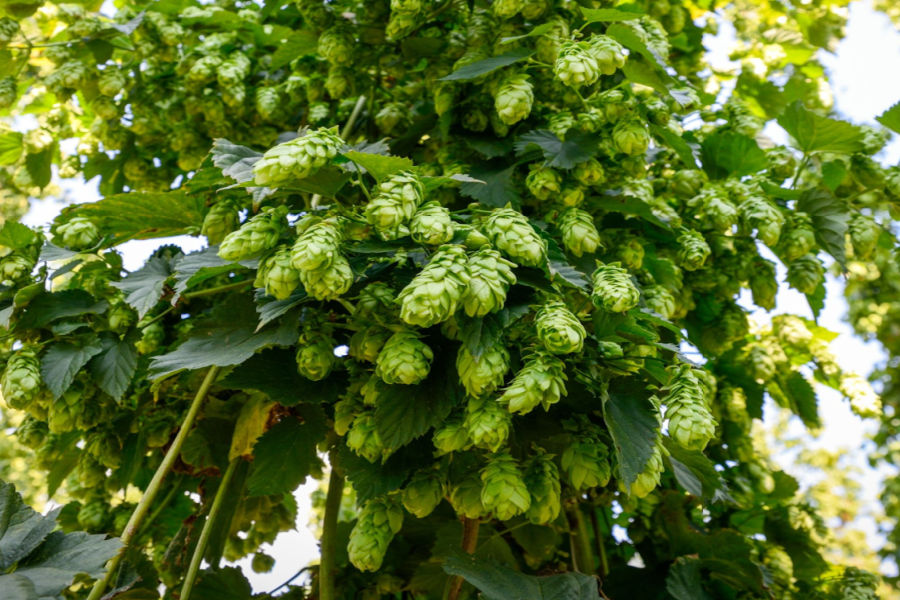
As the plants flower and produce their cones in the summer, the plant takes on a whole new dimension. The aromatic hop cones form and dangle from the vine in large numbers. The scent is light, airy and quite prolific. Especially if you slightly crush a cone in the palm of your hand!
Planting Hops For Success
Hops have two major requirements to perform well, a fair amount of sunlight and good support for their vines. When selecting your growing location, it important to choose an area that receives at least 6 to 8 hours of daily sunlight.

Hops are not overly picky about the soil where they grow as long as it drains well and is fairly loose. They do, however, benefit from a bit of spoil preparation before planting – whether planting by seed or with rhizomes or transplants.
Planting From Seed – How To Plant Hops With Ease
If planting from seed, it is best to first refrigerate your seeds for at least a month prior to planting. Place seeds into an equal mix of sand and potting soil and store in the back of your refrigerator. This will give the seeds the proper amount of chilling to help them germinate.
Allow the soil to warm in spring to at least 60° (F) before planting. Loosen the soil to a depth of four to six inches, mixing in equal amounts of compost as you do. Plant the seeds a few inches deep, watering them in. Cover with a light coating of mulch and keep the soil watered.
It can take a few weeks or more for seeds to germinate. This lengthy process is exactly why most opt to plant with transplants or rhizomes. It is certainly less expensive, but the waiting game can be tough for sure!
Planting Rhizomes – How To Plant Hops With Ease
When planting bare root rhizomes, first dig your planting holes about 12″ deep and 12″ wide. Mix back in equal amounts of compost and soil into the planting hole water. Plant your bare root down deep in the hole about 6 inches from the surface, laying it in the hole sideways.
Water to moisten the roots and fill the remaining hole with the compost/soil mix. Lightly tamp the soil and water the surface just to moisten the top. Allow at least 6 to 8 feet between plants if growing more than 1 plant.
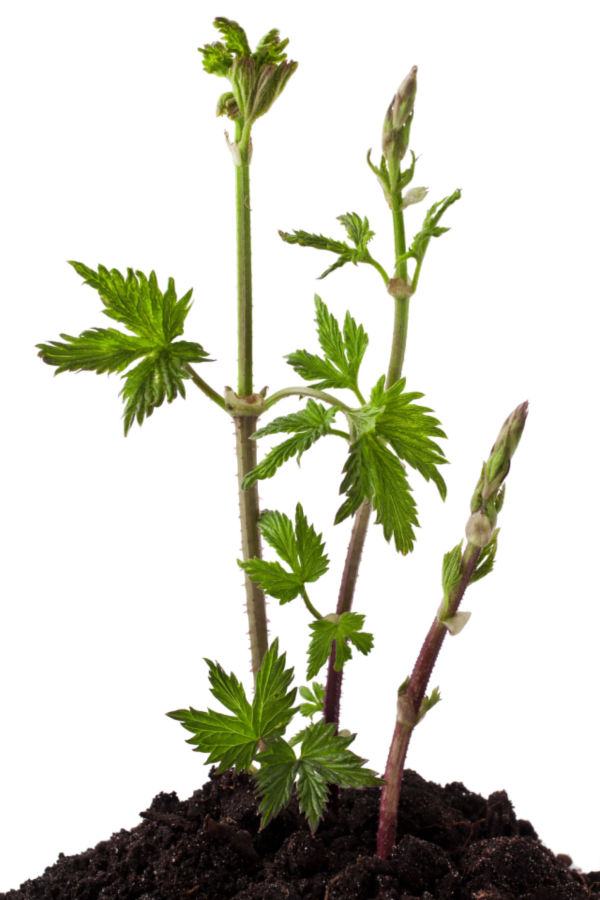
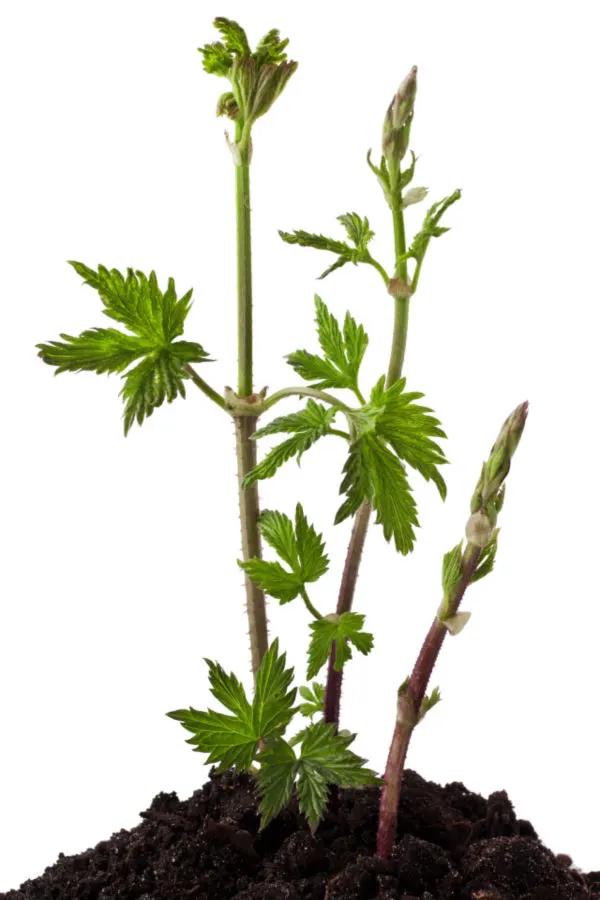
The plant should break through and sprout about two to four weeks after planting. A lot will depend on the weather and the warmth of the soil. Once the vine breaks through, you can begin to train it to whatever support you will be using.
Planting Transplants – How To Plant Hops With Ease
For transplants, again dig planting holes about 12″ deep and 12″ wide. Mix back in equal amounts of compost and soil into the planting hole, setting the transplant in so that the surface of the soil is slightly above the surrounding soil. This will keep the plant from sitting in water.
Water the surrounding soil to keep the transplant moist but not saturated. When planting transplants, it is best to have a small stick or post to begin training the vines to your permanent support structure.
Long Term Maintenance – How To Plant Hops With Ease
Hops are extremely hardy, drought and heat tolerant once established. Most importantly, keep them trained to whatever trellis or support system you will be using.


They do not perform well and can injure easily if allowed to simply sprawl on the ground. Hops vine perform so well as a climbing plant that they can grow with ease vertically on heavy string or rope tied to a pole or even a building.
It is very important to keep plants well watered the first year while becoming established. This allows the roots to firmly establish in the soil. In the fall, prune your plants back to ground level after the foliage dies off. Adding a few inches of mulch on top will help protect them through winter.
As they grow and mature, you can divide your hops plant to create more plants and to keep original crowns from becoming too large. A good rule of thumb is to dig up and divide rhizomes every 3 to 5 years.
This not only helps the plant’s overall health – it also can keep them from becoming invasive. Hops do so well in some areas, that if left unchecked, they can take over. Here is to adding hops to your landscape and enjoying this beautiful perennial year after year!
Follow Our Facebook Page For Great Gardening Tips And Advice! This Is My Garden Facebook Page
This Is My Garden is a garden website created by gardeners, for gardeners. Jim and Mary Competti have been writing gardening, DIY and recipe articles and books and speaking for over 15 years from their 46 acre Ohio farm. They publish three articles every week, 52 weeks a year. Sign up today to follow via email, or follow along!