
Wondering to do with your daises as they finish blooming this summer? One thing is for sure – a little late summer care can make all the difference in keeping your daisies healthy, full of flowers, and looking better than ever next year.
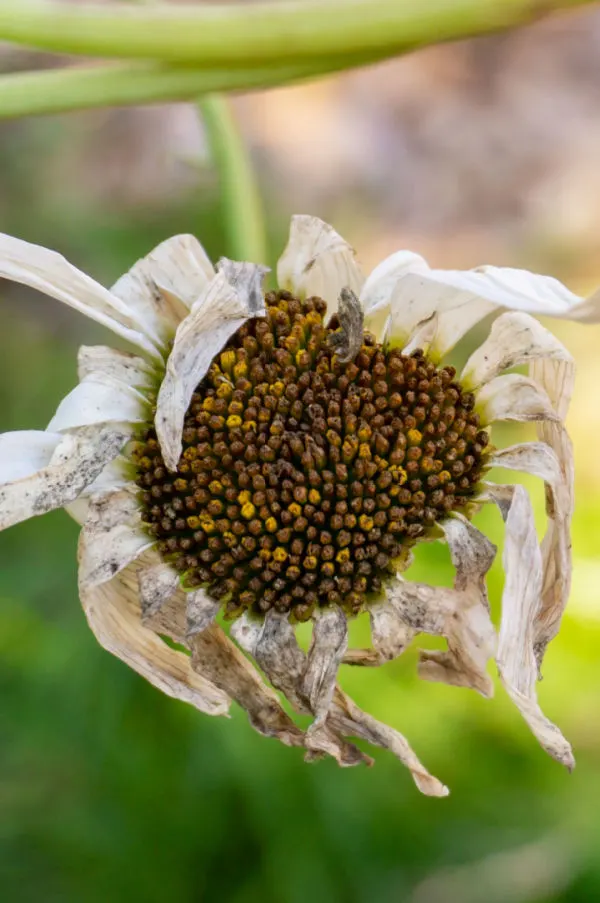
Daises can certainly bring big color and interest to your flowerbeds. But once those vibrant blooms begin to dry up and fade, it’s time to give your plants a little attention before fall arrives – and that attention all starts with removing all of those fading blooms once they begin to die off.
Removing spent flowers helps prevent unwanted self-seeding, keeps plants looking tidy, and allows them to direct more energy into building stronger roots and healthier growth for next year. Better yet, if your daisies have become overcrowded or outgrown their space, late summer is also one of the best times to divide and transplant them, giving you healthier plants and plenty of new daisies to enjoy throughout your landscape.
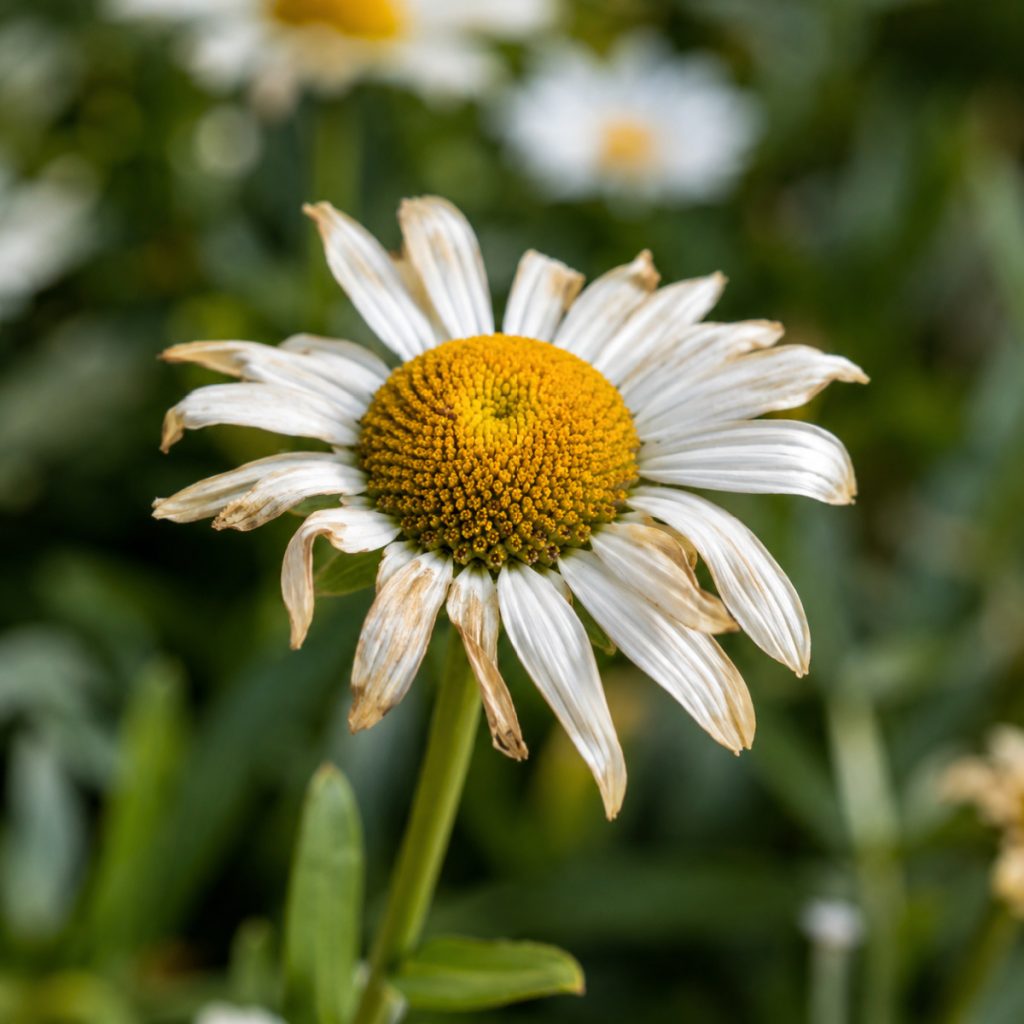
What To Do When Daises Finish Blooming
Removing Spent Blooms
Once daisy plants have completed their bloom cycle, one of the best things you can do for your plants and you is to remove their spent blooms. Although seed heads are great food for birds, allowing them to remain can create a lot of issues. Not just for your flowerbeds, but for you as the gardener as well!
Daisies are prolific self-seeders. When seed heads remain late into fall on the stems of plants, they dry out and drop from the plant. And all of those seeds can quickly become new daisy plants.
Most of the seeds drop right around the existing daisy clump. Others can blow in the wind or be carried by birds. And as they are, they are then deposited all over the landscape. One thing is for sure, it can create an overload of volunteer plants that can border on being invasive.
By simply cutting back the spent flowers as they finish blooming, you can all but eliminate volunteer plants. As for the birds, if you would still like to feed them, try putting the seed heads near a bird feeder. As long as they are away from the soil and mulch in your flowerbeds, the self seeding issue is far easier to keep under control.
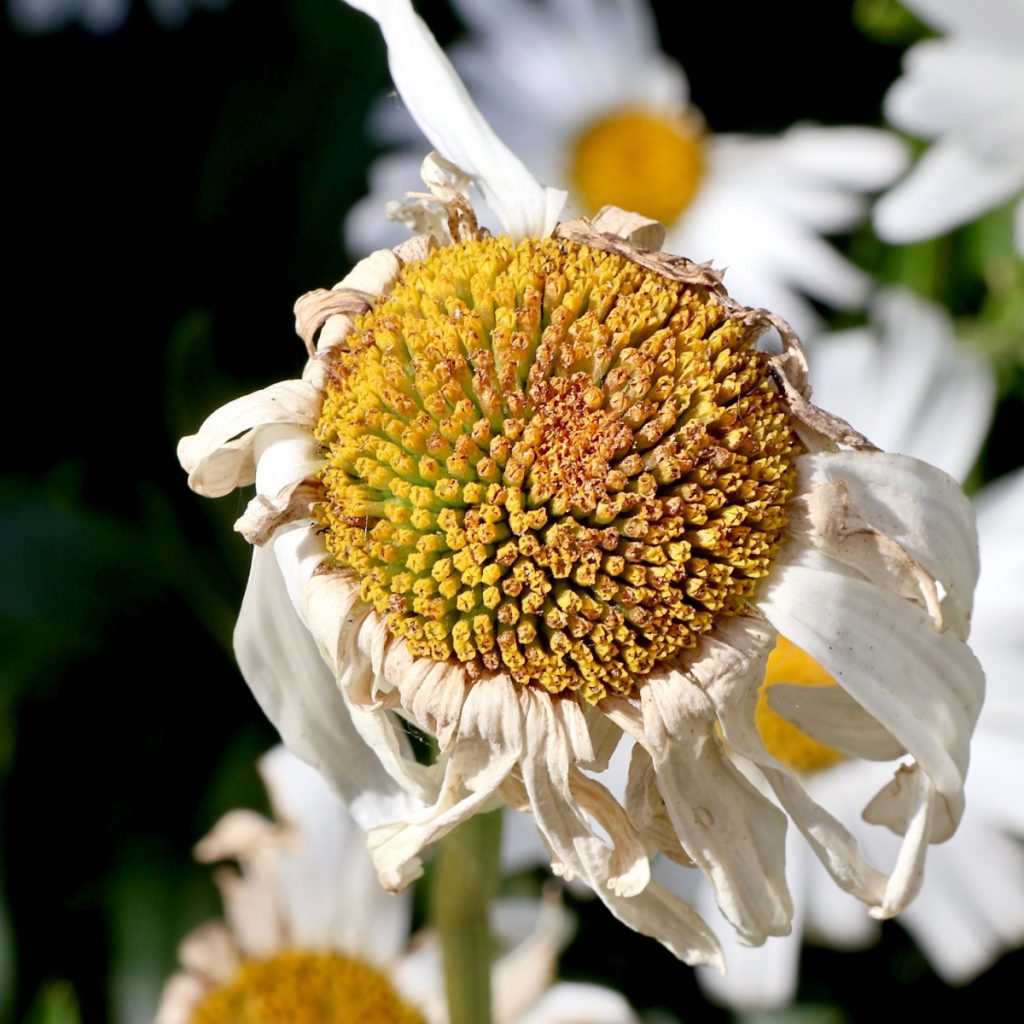
Spent blooms should be cut back as soon as they begin to fade to keep reseeding issues to a minimum. To do this, simply snip the bloom and stem down to where it pops up from the foliage. This not only makes the plant far neater, but also makes the stem and flowers easy to remove.
Cutting Back Foliage
As daises progress deeper into the autumn season, the foliage of the plants will begin to fade as well. At this point, it’s time to cut the entire plant back near the ground for winter.
A sharp pair of hedge trimmers are perfect for this task. Simply take the shears under the plant and shear the foliage off a few inches above the soil line. If you have already removed the seed heads, the remaining foliage and stems are a great addition to your compost bin. Affiliate Product Link: GARDEN GURU Hedge Shears Clippers for Trimming & Shaping
Now all that is left is to decide whether your plants need divided and split – or to simply mulch them and let them go till next year!
Leave The Seed Heads Out Of Your Compost Pile!
One thing is for certain – be sure to keep the seed heads out of your compost bin. Most home compost piles simply don’t get hot enough to kill the seeds, and you can end up with plenty of volunteer plants next year wherever you use it.
This is a good practice to follow when cutting back any of your perennials in the fall. The fewer the seeds in your compost pile, the less chance you have of volunteers coming up wherever you use your compost. See our article: How To Avoid The 4 Most Common Composting Mistakes
How To Divide Overgrown Daisies When They Finish Blooming
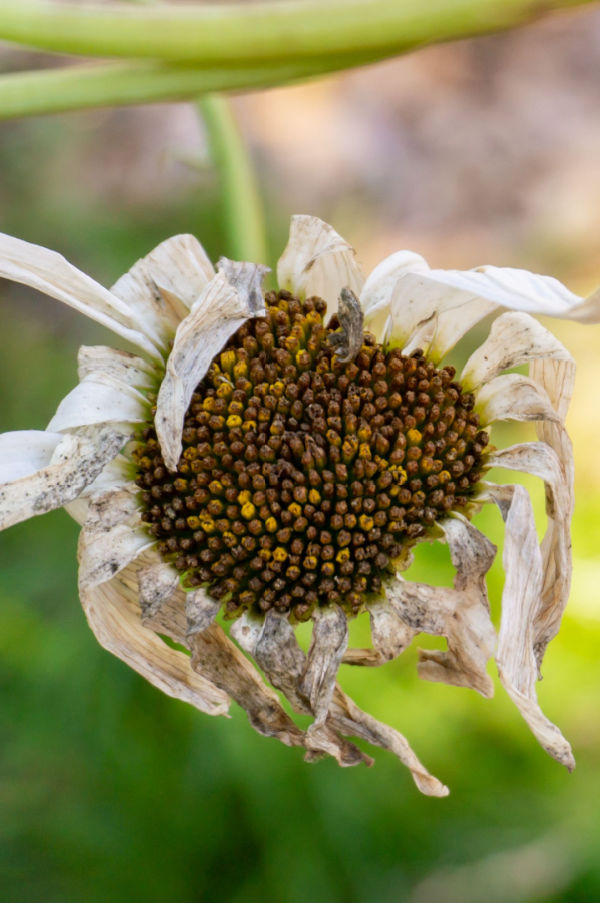
Daisies grow outwardly in a clump formation. When these clumps get too large, they often begin to die from the center out. At the same time, larger root structures also make it hard for the plant to absorb proper nutrients and moisture to power the plant.
The end result is an overgrown plant that not only looks unsightly, but blooms with far less frequency and vigor. To avoid this, it’s best to dig up and divide your daisies every three to five years.
You can actually divide them right as they finish blooming or later in the fall when the foliage completely dies back. We like to divide right after they finish blooming as it gives the new transplants a bit more time to set roots before winter, getting them ready to hit the ground running come next spring.
Dividing
To divide, begin by cutting back all of the foliage and stems as if you were preparing the plant for winter. Next, dig a few inches all around the outer edges of the clump to loosen it from the soil. The plant should then pop out of the soil fairly easily as the roots of daisies are usually not extremely deep.
To divide the plant, turn it over to expose the bottom of the roots. By turning it over, it makes it easier to see the true size and structure of the roots. It also happens to make slicing the plant into even sections much easier.
Using a sharp spade or garden knife, slice the plant into three or four even sections. Keeping the divisions all about the same size will give you equal size plants the following year. This is where a Hori-Hori knife comes in handy. They truly are one of the best tools around for slicing and digging up perennials! Affiliate Product Link : Hori Hori Knife
Check Out Our Latest Podcast Below


How To Transplant
It’s best to always transplant any new plant divisions as soon as possible. The longer the clumps remain out of the soil, the quicker they can dry out and die off.
To transplant, dig the planting hole to twice the diameter and one and a half times the depth of the clump. This will allow loose soil for the roots to easily re-establish in their new space. Daisies do not require a lot of nutrients to survive, but planting each new start with a 50/50 mix of compost and soil will do wonders for helping the plants to thrive.
Fill the bottom of your planting hole with the soil/compost mix. Set the new transplant in the hole so the top of the clump sits barely above the soil surface line. Keep the transplant slightly elevated. This will keep water from pooling around the roots, which can rot the clump out before it establishes.
To complete transplanting, water the plant in with a deep soaking. Finish by applying a two to three inch mulch over the top of the plant. This will help keep moisture in, and help protect the plant’s roots through winter.
If you transplant in late summer or early fall, your daisy may start to regrow. No worries – it will simply go dormant again as winter approaches.
Even if you are not digging up and transplanting new starts, you should still mulch your daisies in the fall for winter protection. A few inches of mulch on top of each plant will do the trick. Here is to knowing what to do when your daisies finish blooming this year – and to even more daisy blooms next year!
This Is My Garden
Follow Our Facebook Page For Great Gardening Tips And Advice! This Is My Garden Facebook Page
This Is My Garden is a garden website created by gardeners, for gardeners. Jim and Mary Competti have been writing gardening, DIY and recipe articles and books and speaking for over 15 years from their 46 acre Ohio farm. They publish three articles every week, 52 weeks a year. Sign up today to follow via email, or follow along!