
Want to save all of that expensive used potting soil you purchased this spring and be able to plant in it again next year?
Potting soil is one of the most expensive purchases gardeners make each and every spring. This is especially true if you love filling your porch, patio or deck with hanging baskets and large flowering containers. Depending on the number and size of your pots, it doesn’t take long to go through a surprising number of bags!
But the good news is that you don’t have to replace all of that potting soil every year. By saving your old soil at the end of the growing season and recharging it with compost, you can bring it back to life for next year. It’s quick, simple and an excellent way to save a small fortune on your spring planting costs!
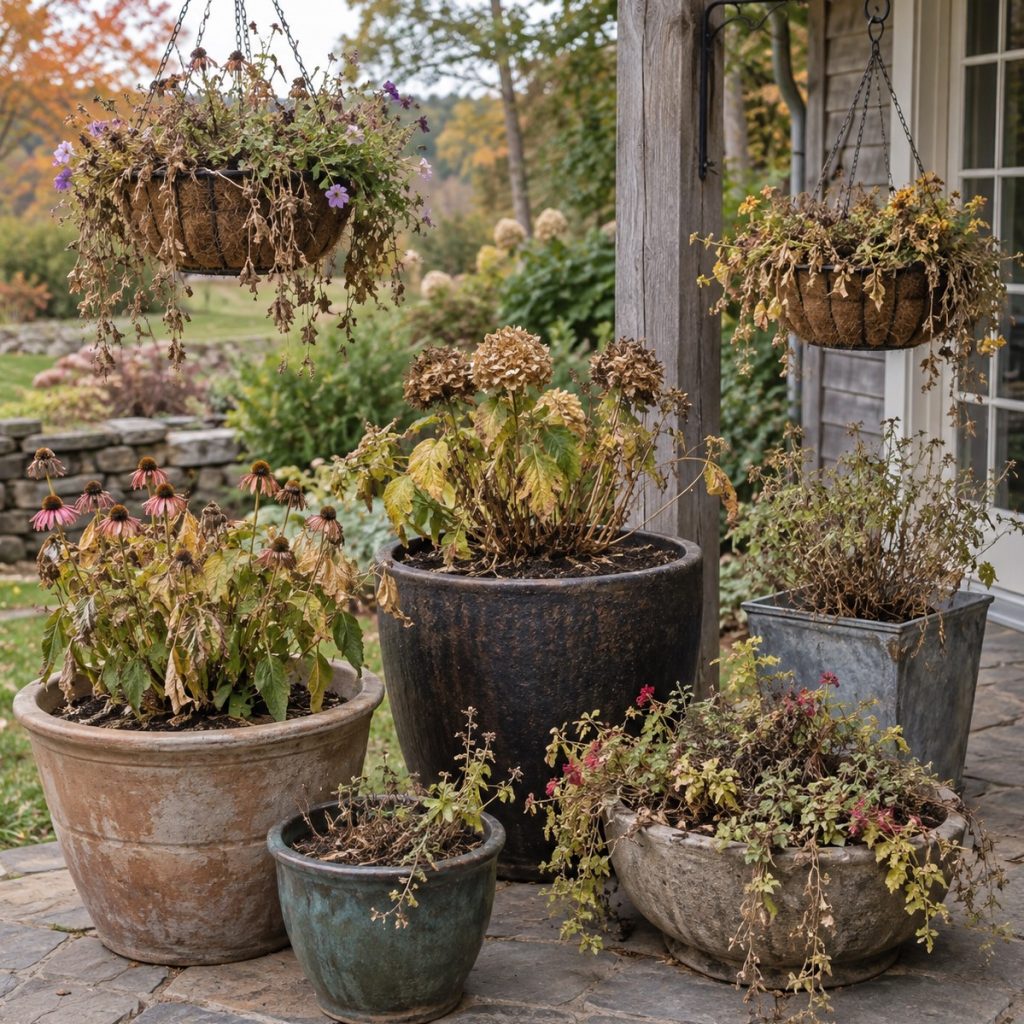
The Best Way To Save Used Potting Soil This Fall
Whether you grow flowering annuals, vegetables, or herbs in your pots or containers, they all take their toll on the power of the potting soil inside. Container plants drain the life from soil. And they can do it quickly in a single growing season.
Even the most fertile of potting soils will lose most of their nutrient levels by the end of summer. But in addition to losing its power, the soil also loses a lot of its structure. So what is soil structure and why is it so important? The structure of a soil is what allows it to hold moisture and nutrients. And when a soil has no structure, no amount of watering or fertilizing can help the plants that are growing in it.
Ever notice that by the end of the growing season the soil in your pots seems dry and flaky? And that when you try to water or even fertilize it just runs right through. That is usually because of two major issues. The first is that the plant is root bound – and the second is because the soil has lost all of its structure.
Good potting soil is filled with humus. Humus is rich, organic matter. And it’s what gives soil structure, or more importantly, the ability to absorb and hold water and nutrients. And once that humus begins to deteriorate from the soil, the soil will have trouble sustaining life.
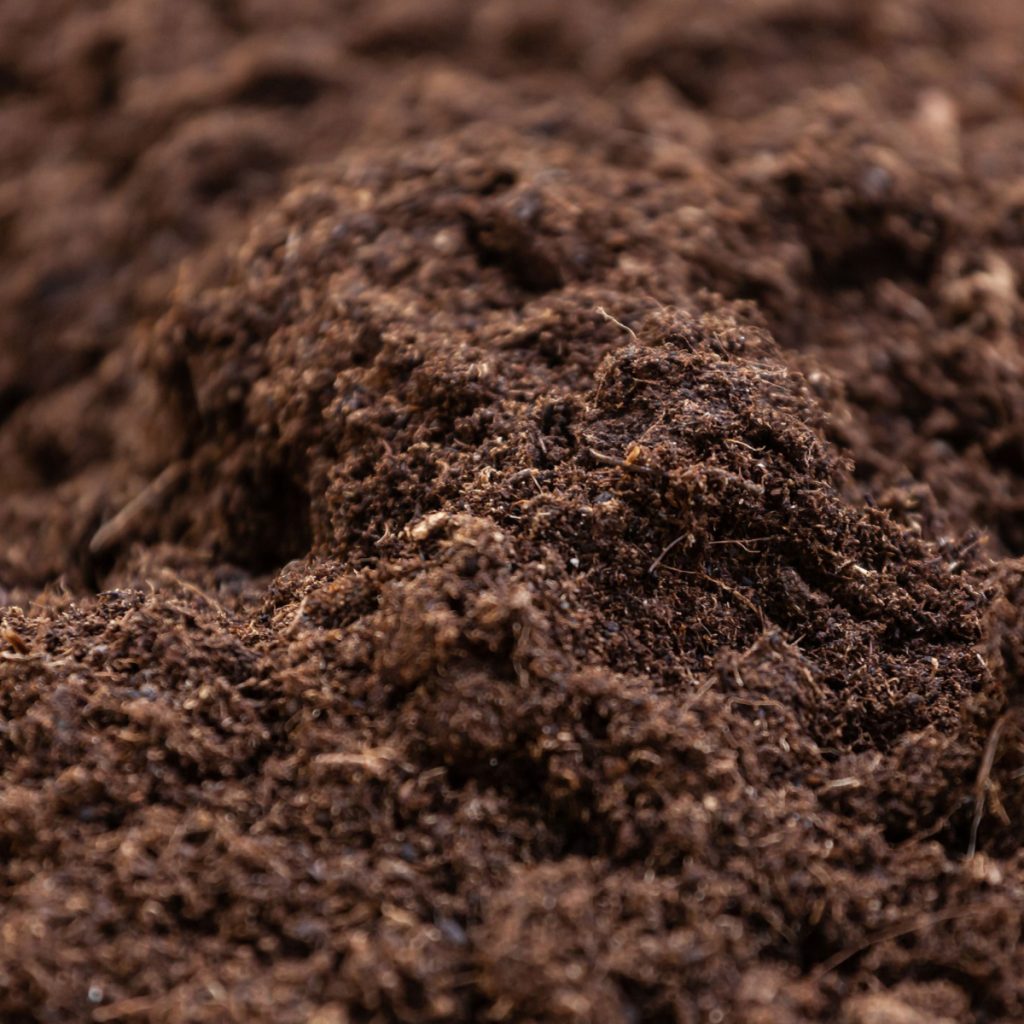
How To Save Used Potting Soil By Composting & Recharging
Although you can throw all of your old potting soil into your regular compost pile to recharge it, it’s far better to compost all of your potting soil separately – and for two very important reasons.
For starters, a traditional compost pile is going to leave you with only compost. And as amazing as pure compost is, you can’t simply fill your pots and hanging baskets with it to grow your plants next year. Unfortunately, pure compost is too rich and loose.
Not only will it likely burn plants, it also wouldn’t hold them up without the help of added soil structure. The second reason not to put your old potted plants into your regular compost pile is that the pile won’t break down fast enough with the other compost materials to be ready to reuse in the spring.
A traditional compost pile can take a long time to break down all of its various ingredients. Whole leaves, garden scraps, twigs and other yard waste simply can’t decompose fast enough. At least not to be ready by next spring to use. And so once again, you will be buying all new potting soil!
But by creating a stand-alone used potting soil compost pile you can change the game. Instead of adding anything and everything, you add only small ingredients that not only break down fast, but power up the soil fast too.
With this simple method, by early spring, you will be left with a pure potting soil mix that is full of life – and is perfect for planting up all of your pots, containers and hanging baskets!
Building A Potting Soil Compost Pile
You can create a potting soil compost pile anywhere. In a corner of your garden, in a flowerbed, or of course, in a traditional compost bin. Although you can simply pile the soil up, if you contain the pile with a small screen or fence, it will help it heat up a bit faster.
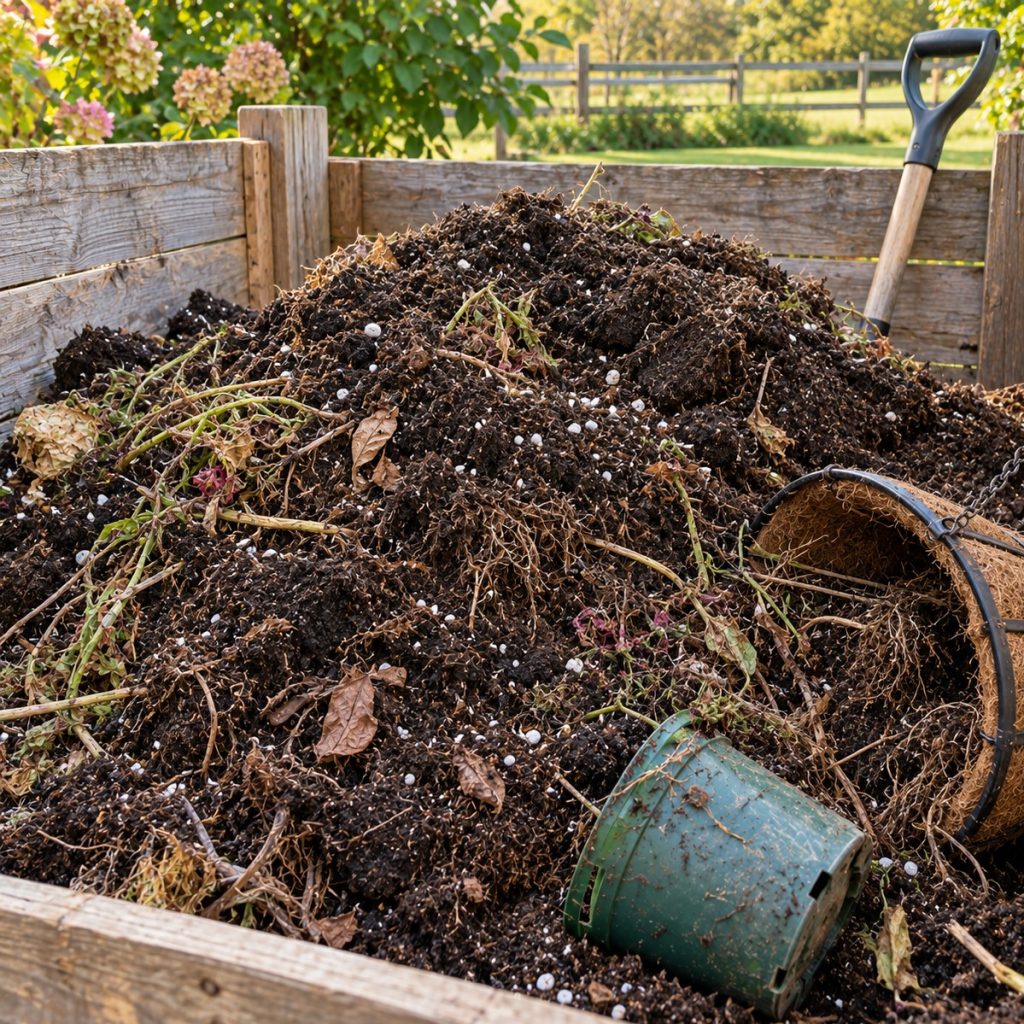
With a potting soil compost pile, you want to build it all at once. As you will see in a moment, you can still add some materials that break down quickly later on, but building the pile all at once is important to its overall success. This allows it plenty of time to break down and be ready for you next spring.
Begin by dumping all of your old potting soil into one single pile. It’s okay to put in the roots and plant materials that grew in the container, but chop them up first. The smaller the material, the faster it will decay.
Once your pile of used potting soil is in place, it’s time to add in materials that can recharge it. You will want to add enough new material to double the size of the pile.
This will provide enough energy to the pile as they all break down and decay to fill the old potting soil with nutrients, humus and structure. The good news? In the fall – finding those materials couldn’t be easier!
Feed Your Pile
There are two keys to success when adding additional potting soil compost pile materials. The first is to only add materials that are full of nutrients and break down quickly. And the second is to make sure those materials are as finely chopped as possible.
Two of the best to add are green grass clippings and finely shredded leaves. If you have a bagging attachment, this makes collecting and shredding a breeze. Other great additions are finely shredded vegetable scraps, coffee grounds, and pulverized egg shells. Make sure the egg shells are completely ground to break down into the pile.
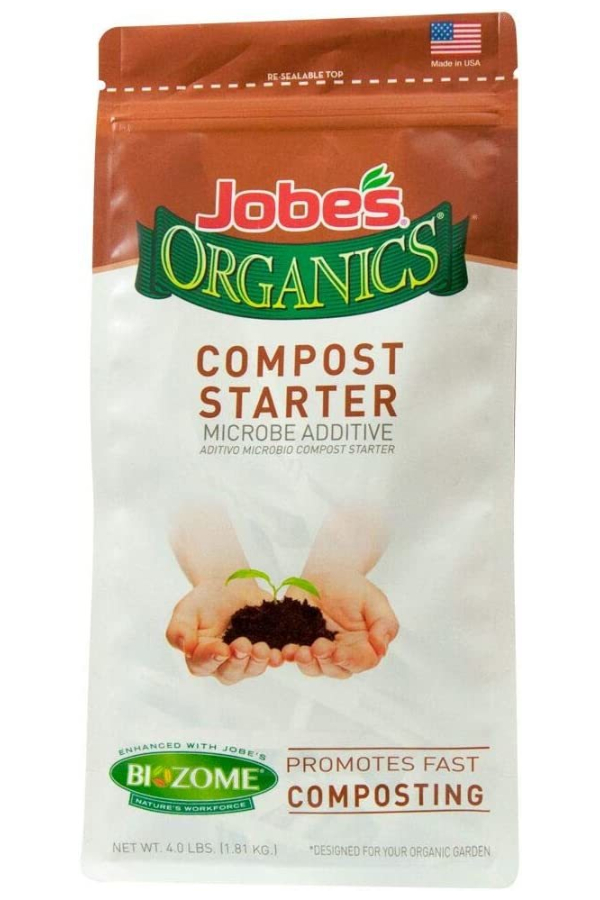
In addition to these materials, now is the time to add in a bucket full of compost – or a compost starter. Compost is teeming with bacteria that will help break down and heat up materials fast. If you can’t add compost, a compost starter will do the same trick. Affiliate Link : Jobe’s Organics 09926 Fast Acting Fertilizer Compost Starter
Maintaining The Pile
Now that your old potting soil pile is in place, it’s time to mix together all the ingredients to recharge it. The more you can turn your pile (once or twice a week is great, daily is best of all), the more quickly it will break down. Turning adds oxygen which the pile uses to heat up. Keep turning until winter weather doesn’t allow.
If your pile becomes overly dry, water it and mix the water in. The moisture is needed along with the oxygen to get the pile as active as possible. You want the pile to be slightly damp.
Although you don’t want to add big materials – continue adding in coffee grounds, pulverized egg shells and small scraps of vegetable peels. All of these will break down quickly. They will also continue to help the pile heat up. Do this as long as you can until winter freezes the pile over.
When spring rolls around, your pile should be teeming with nutrients and ready to grow. And you will be more than happy to not have to buy all of the potting soil from scratch! As a side note, many add in worm castings or a bit of new potting soil in the spring to help recharge the soil even more before using.
Here is to taking time to save your used potting soil this year – and to saving big on your gardening budget next spring! For more on fall composting, check out our article: How To Create The Perfect Fall Compost Pile – Have Compost Ready For Next Spring!


This Is My Garden
Follow Our Facebook Page For Great Gardening Tips And Advice! This Is My Garden Facebook Page
This Is My Garden is a garden website created by gardeners, for gardeners. Jim and Mary Competti have been writing gardening, DIY and recipe articles and books and speaking for over 15 years from their 46 acre Ohio farm. They publish three articles every week, 52 weeks a year. Sign up today to follow via email, or follow along!